Monday, January 31, 2011

Wampum finale!


I promised to explain how we finish the wampum belts. Ugh. Perhaps I should mention: it REALLY helps if kids know how to tie knots! (Evidently they don't. And if I'd looked at their shoelaces and realize they can barely tie bows, I shouldn't have gotten my expectations so high.)
- - - - - - - - - - - - - - - - - - - - -
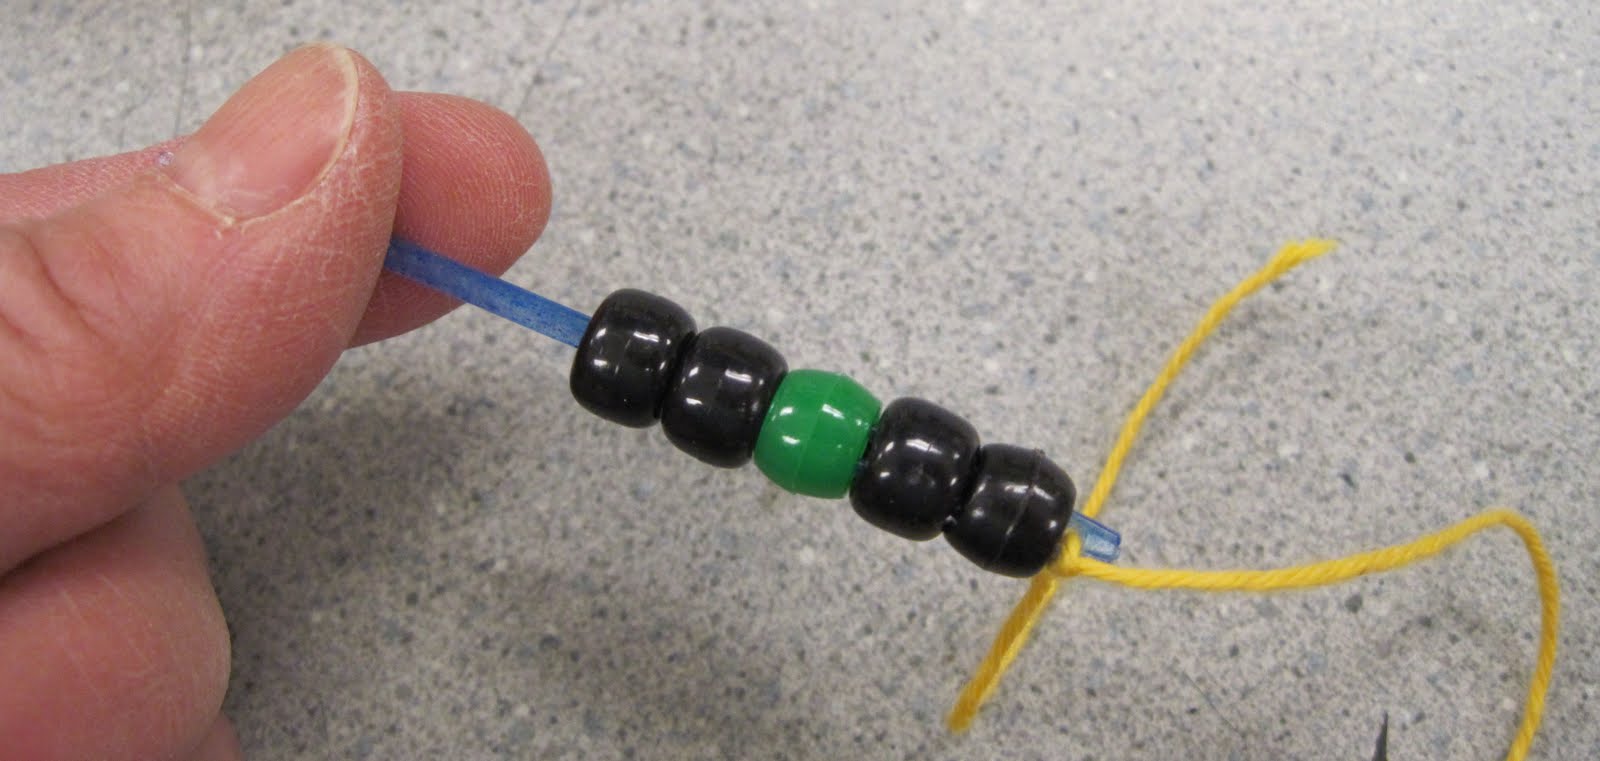
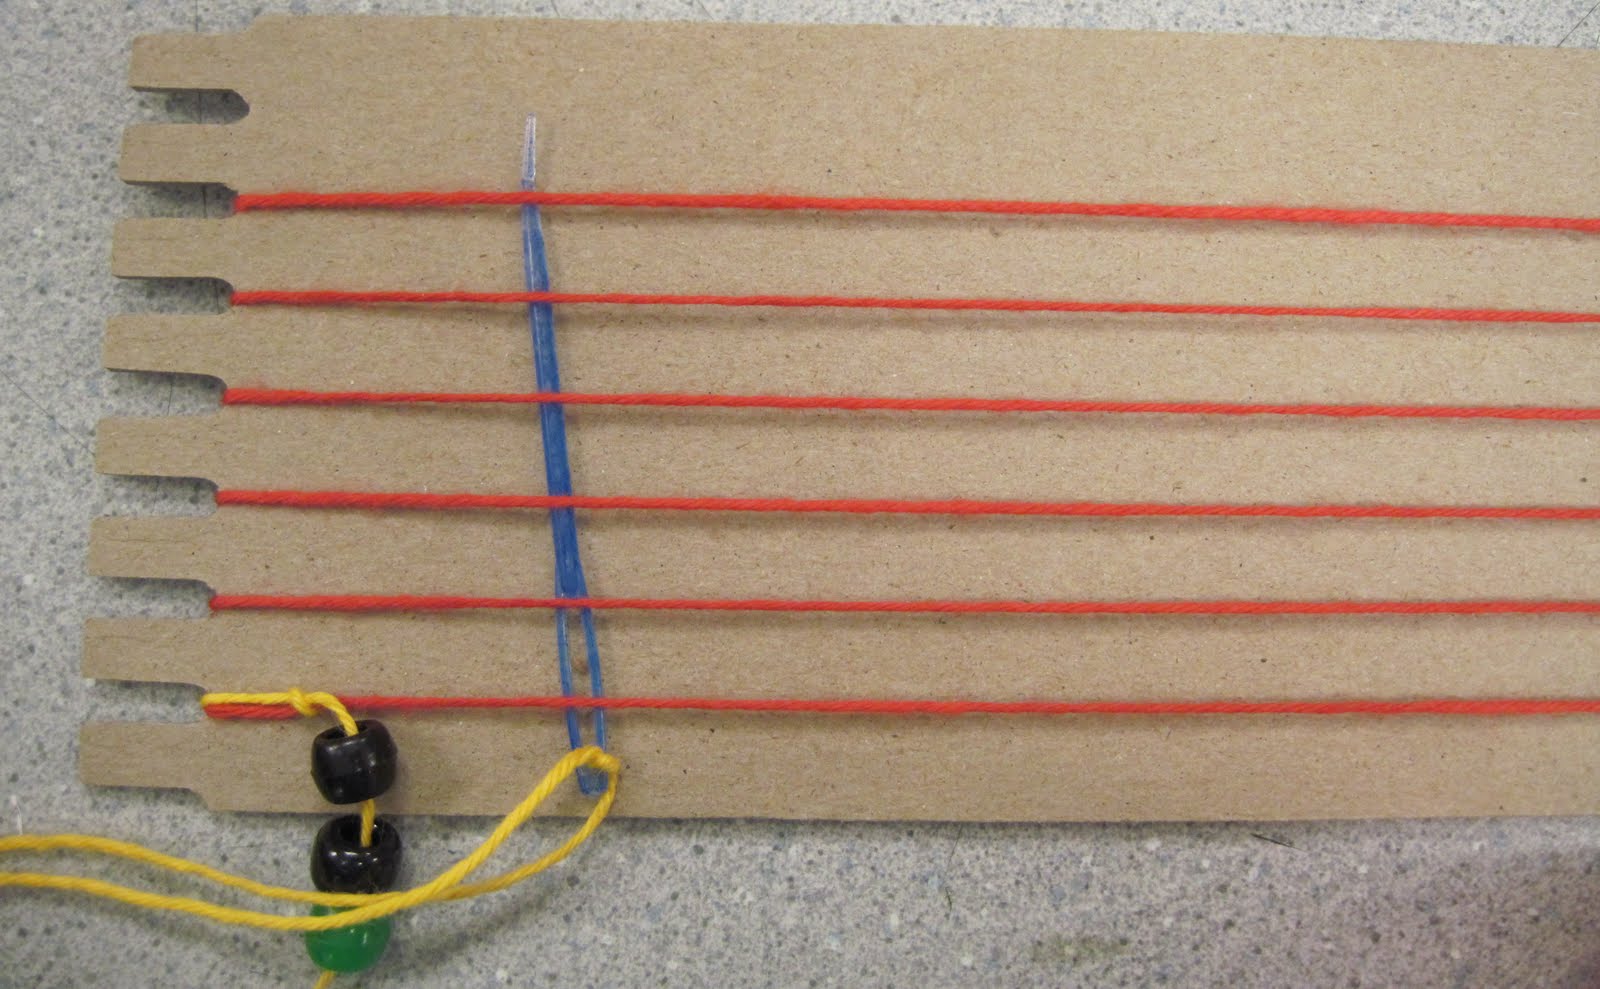
Anyhow, I've been so busy helping tie knots that I never got any photos of the process. But I'll explain it as easily as I can. We cut the warp string that goes across the back of the loom, right across the middle, to take the weaving off the loon. Then we use square knots to tie these strings together in pairs, close to the last row of beads on each end. Then we gather the strings together on each end and tie them together in an overhand knot. The kids in the photos are holding them up at this knot. OH! You have to make SURE they remember to tie off the weft string at the end of the weaving. One boy didn't do this, and brought his weaving back to me with beads plopping out everywhere. Of course I had to fix it. Argghh...
- - - - - - - - - - - - - - - - - - - - -
Anyhoo - when this is all done, to make them into headbands or belts or whatever, I showed the kids how to put 3 or 4 (long) strings on their needle and pull them through the last row of beads. Knot them together and do the same on the other end of the weaving. These long strings can then be tied together around the head or waist or whatever.
- - - - - - - - - - - - - - - - - - - - -
I'm sure there's probably better ways to do this, but frankly the kids are so excited to stick them around their heads and necks that I devised this way as the quickest solution. If you have any better ideas/solutions that you discover when you try this project please let me know. And if you have any secrets to teaching the kids to tie viable knots, well, I'd REALLY like to know them.
- - - - - - - - - - - - - - - - - - - - -
SO, as the kids are finishing their weavings, some of the fastest workers asked "can I make another one?". Here's what I answered: "Yes, but YOU ARE ON YOUR OWN. I will NOT UNTANGLE you. I will NOT TIE ON MORE STRING if you run out. I will NOT TIE A SINGLE KNOT for you. I WILL provide the beads, the looms, and the string, and beyond that you are ON YOUR OWN.
- - - - - - - - - - - - - - - - - - - - -
I'll let you all know how they do!

Sunday, January 30, 2011

Sunday comic #10 & a bit of excitement


This comic, from today's Sunday paper, seemed just perfect! First, there's the winter eather so many of us have been dealing with.
-
And then there's the fact that I'm in papier-mache world in the art room these days (though we're not making monster masks right now - but maybe later this year...)
-
And then, there's thing that has had me all a-twitter all week - a comment left on my post "Messy Art Room Alert". The comment was from Dan the Monster Man, a 6th grade teacher and papier-mache artist living in Seattle who makes the most amazing monsters and especially (my personal fave of course) dragons! In case you can't tell, I'm smitten with his work.
-
In the mid 1980's, I bought a book he wrote called "The Simple Screamer", which is now out of print. I don't recall where and how I happened upon this book, but I was sold from the get-go. I love the dry sense of humor that is evident throughout the writing and photos, and also the fact that, like in my house, there's always a cat in there somewhere, sitting on or destroying the stuff you are trying to use. Anyhow, some middle school students and I followed his instructions and made our own "screamer" (I'll have to find and scan a photo to show you, since one of the kids kept it. I know I have photos, but hey, it was 1986 or '87 when we made our screamer so the pics are pre-digital and are in a box or album somewhere - you understand I'm sure!).
-
Anyhow, here's Dan's website (Dan, I hope you don't mind that I'm writing/posting this, but I figure if you have a website and a blog you want people to read it, right?) - anyhow here it is - http://www.gourmetpapermache.com/. Through the website you can find his blog and lots more, plus you can find his newer books on making monsters and dragons and such that are very much in print and available, unlike the book I have.
-
Take a trip to his website/blog/etc and check him out - I guarantee you'll love what you see!

Thursday, January 27, 2011

Self-Portraits, by awesome 3rd graders!


The kids have been working so hard on these self-portraits, trying to match their face, hair, lip and skin colors, after doing their pencil drawings. Then today we assembled the mirrors, and my 3rd graders are SO proud!
There are some kids still finishing up, but I couldn't wait to show you those that were complete. The metallic "mirrors" didn't photograph too well, but hopefully you get the idea.

I wish I could show you the mirrors NEXT to their real faces, but... not such a good idea I guess. All I can tell you is - they've done a FABULOUS job!

Oh Toilet Paper Roll, oh what would I do without you?

Have you seen the commercials, where they show the Empire State Building filled up with toilet paper rolls? There's a toilet paper company singing the praises of their new cardboard roll-less toilet paper. I understand the desire to save trees and be environmentally conscious, but WHAT'S AN ART TEACHER TO DO?!!

Aah, the wonders of the little cardboard TP roll! They are legs for teddy bear chairs (I posted some here: http://plbrown.blogspot.com/search/label/teddy%20bears.) They are handles for maracas. They are of course, legs and snouts for piggies. Cut in 1/2 lengthwise and reshaped they have become legs for Kachina dolls made from dish detergent botles. On papier-mache masks they become long noses, protruding mouths, or squashed into bird beaks. On goofy papier-mache critters and tikis they can be arms, legs, tails. Their slightly longer cousins, the cardboard rolls from tin foil or paper towels serve as back supports on those teddy bear chairs, legs for fat papier-mache kitties, little rain sticks, stems for giant flowers... need I go on?
We NEED those toilet paper rolls!!!
*
Every so often, I send home a little note, saying I'm looking for a few items, such as TP rolls, old CD's, cereal boxes, bottle caps, etc. I also send it out as an "all staff" email, and every morning I find bags by my classroom door, left by students, parents, & staff members. Sometimes I have to deal with the stuff that gets dropped off that I DON'T want, but that's OK. Do you also scrounge from your parents and the school staff?

Wednesday, January 26, 2011

Messy Art Room Alert - bad choreography!

I think teaching elementary art involves a lot of choreography. You plan so that there aren't too many wet paintings at once for the drying rack, too many sculptures for the storage... oops. Somehow my 3-D projects have all bumped into each other as a result of bad timing.
So I have those 6th grade "people in motion" plaster bandage sculptures, 5th grade papier-mache flying pigs, and now 1st grade abstract cardboard sculpures growing - all at once!
Things are piled EVERYWHERE. It's going to get crazier when the papier-mache projects all get gooey, and even moreso when the pigs get their wings. And the cardboard sculptures will get taller, and then everything will need to get painted. YIKES!!!
BUT...
The cardboard sculptures are one of my easiest, favorite-ist projects, always successful (at least as long as I'm using Elmer's Glue-All and not the inferior product, Elmer's School Glue). And it's no secret that I absolutely LOVE papier-mache. So my room may look like a disaster area, but it's happy!
* By the way - the piggie armature is a plastic bread bag stuffed with newspaper, and toilet paper rolls are cut in 1/2's to use for legs and snouts. Cereal boxes make ears, and will eventually make wings as well. Stay tuned, more to come!!

Wampum Weaving - how to do it

I promised to post the instructions for our wampum belts, so here they are! Note that I use an Elmo (document camera) to demo this process. It makes it so much easier!


First, to warp the loom, we tape our string on the back of the loom. Then we bring it up through the first notch, around the back, and so on, going around and around the loom. When we finish warping, we tape the other end of the string on the back. We aren't using the last notch, because our pattern has 5 rows and therefore needs just 6 strings. It's up to you how much of the loom you use.

Then we tie a new piece of string on the bottom left corner of the loom (we follow our patterns left to right). Tape the shorter end of the string on the back.
Thread a needle on the longer end. Now we're ready to weave.
Put beads on the needle in order, from bottom to top of your design. (We work the pattern left to right, bottom to top. )
Drop the beads off the needle down onto the string. Now push the needle up under all the strings.
Pull the beads under the strings, and place one bead in between each string.
Pull the needle back through all the beads, making sure the needle goes ON TOP of the warp thread on the way back. (This is the biggest mistake the kids can make, so make sure they know the needle goes OVER the warp string as it passes back through the beads.
Pull it tight! Cross off the row on your pattern, and then start the next row. That's it!
Hopefully tomorrow I'll post how to take it off the loom. Happy weaving!

Monday, January 24, 2011

cold hands, warm...

SOUP!

I've seen lots of "cool hands, warm hearts" projects posted and have been planning something with hearts and Jim Dine, but since it was 18 degrees below 0 (Fahrenheit) when I got to work this morning, my mind is on warm soup instead of lesson plans.

This was my week in soup: Saturday was butternut squash soup, yesterday was spinach/lentil (loaded with garlic and tomatos too), and earlier in the week, when I was feeling poorly, was the soup we call "Jewish penicillin" (my Jewish mother's traditional flavorful yummy chicken soup).

Sorry about the diversion; back to lesson plans with the next post, I promise. Maybe I need a food blog?

Saturday, January 22, 2011

I need some advice - can you help?


All right, creative art teachers, I need you!! Here's the problem:

You may recall that my 6th graders are building "people in motion", using wire armature, newspaper, tape, and then plaster bandage. As you can see by the SCUBA diver, not all the people are standing on their feet. There's swimmers and divers, there's someone meditating who is levitating above a rug, there's a karate kick caught in mid air, and more.

But my big challenge is the three basketball players, all who are designed to be caught in mid-dunk. Which means of course you need a basketball hoop. So far we've started with a dowel rod stuck into a styrofoam base, and a backboard made from foam core. But what can we make the basket out of? It needs to look enough like a basketball hoop, but should support a hanging sculpture. And I'm not about to start crocheting. It needs to be easier than that. Any ideas? For a size perspective, the basketball player sculptures are between 12 to 15" tall.
Thanks in advance for your ideas!

Isn't it pretty outside?


That's my house in the 2nd photo ~

Friday, January 21, 2011

There's no delay; there's school today!

Oh dear, guess I need to shovel.
OK, I've made it to the car; now I'd better clean it off.

Getting there...
Let's peek down the alley and see if it's been plowed.
Nope. Oh well.
Hopefully the city streets are better than the alley.


Question: Wonder if the highway will be cleared?
Finally. Car is clean (sort of) and warmed up, windows defrosted, and the sun is coming up. I'm off to school.

Answer - NO the highway was not ready for us early travelers. A one or two hour delay would have made a vast improvement on the conditions of the morning commute. I'm glad it's Friday. There have been a couple of treacherous morning drives and a challenging afternoon one, and while, (as you know) I love my car, I've had enough for a couple of days!

Thursday, January 20, 2011

So many questions! Wampum belts part 2

Don't you love the blue fingernails? :-)


Many of you have asked questions, so I decided it would be easier to put answers in a post, rather than in a comment response that you might not notice.


So - some basics:
The looms are 6-1/2"x 13" Wide Notch Chipboard Looms. You can find them in Nasco, Sax (division of School Specialty) and probably most other school supply art catalogs.
*
The beads are not wooden; they are the cheapo plastic "pony beads". You can get them in bags of individual colors, or bags of mixed colors from any of those same catalogs, or places like Jo-Anns or Wal-Mart too. Some colors don't come in individual bags though, so that's a decision you have to make when purchasing. For the size we are making (5 x 30 beads) we obviously need 150 beads per child. The looms are big enough to do them with 6 rows, but I decided 5 would be enough. You could probably fit about 36 columns if you wanted, so 6 x 36 = 216.
*

For stringing the warp and for weaving, I've got a Trait-Tex Cotton Warp, which is white, and Leesburg Carpet Warp, which comes in colors like black, blue, red, and yellow.
*
Cheap plastic needles work well; I find the metal ones are too slippery and harder to handle. Large eye needles are fine, but not jumbo - those don't fit through the beads.
*
As for graphing the designs: I give the kids sheets with all the available colors listed, and three graphs of 5 x 30. They can use as many sheets as they need, until they figure out exactly what they want, and most of them used at least 2 sheets! Lots of them were plotting out initials or words, and the others all did patterns as per my instructions. We added and subtracted rows as needed to make designs center or balance.
*
I'll save explaining the whole weaving and finishing process for another night; that will be harder to put in writing. Now it's time to read tonight's blog posts...
*
Oh - I shouldn't forget - a big shout-out to Krista G, who presented a workshop at our NY state art teachers' conference a couple of years ago. These "wampum belts" were one of the lessons she presented, and she put up with me practically assaulting her in the elevator later that day to get a better explanation for the process, and then my subsequent emails asking for more picky details. If you are out there reading this, Krista, THANK YOU!