My 3rd graders know everything there is to know about Vincent van Gogh!
They noticed that his swirls of paint looked thick and bumpy, and we reviewed the word "texture". We discussed how our paint is not thick enough to make a bumpy texture like van Gogh's, so we used glue and sand (an idea "borrowed" from Katie's and the wonderful artwork she posted here: Adventures of an Art Teacher). I posted about this briefly last week.
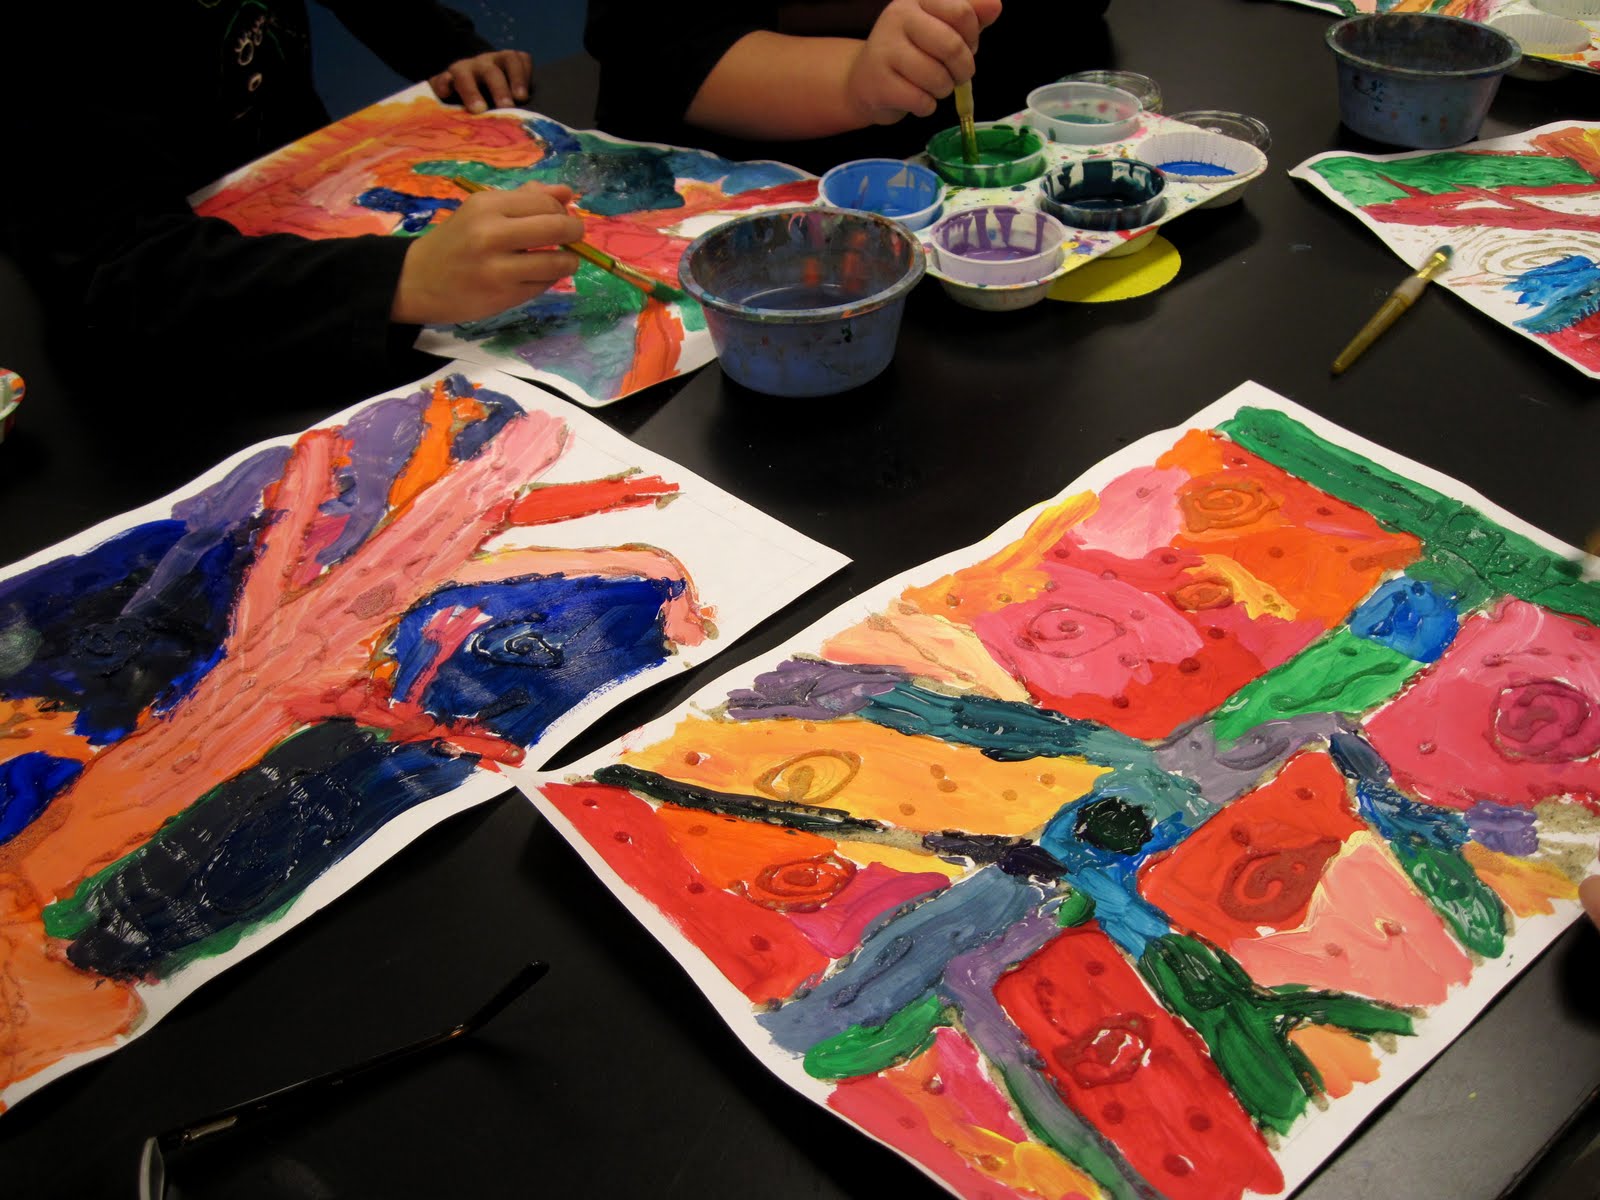
A word about the tree above on the left - I'm SO proud of this young artist. He does not have much fine motor skill, and after painting the tree and sky, it was an absolute mess. You couldn't find the tree anywhere. On the final work day, when we touched up colors and outlined with black as desired, I really encouraged him to locate his missing tree and sky. He went to work and in the end it's my favorite of all the paintings. I love the off-center placement of the tree; I think it looks pretty sophisticated, don't you?


The process - to begin, the kids drew their trees, added some bark texture, some ground texture, and some swirls in the sky (all with glue) and shook on some sand. When it was dry, in our next our class, they painted, beginning with warm colors in either the sky or tree. The following art class it was cool colors, in the parts not previously painted. The tree directly above on the right was done by a boy who was absent when we did the glue and sand. So he added glue and sand to his tree after he painted it, when the paint was still wet. It's totally different than the others, but still really cool! In the final art class, the kids added more color where needed and then used thinned black tempera to outline and highlight texture as desired. I'm in love with these paintings!

 The tree on the right was done by a young gal who has been refusing to wear her art shirt (a fast rule in my room when there's 23 kids painting). But I wanted her to participate. I gave her markers and a wet paintbrush and this is her result - really interesting I think! And now she's back in her art shirt :)
Four of these were shown individually above, but not all so I thought I'd post as much of the board as I could fit in my lens. Each tree is SO unique!
Food for thought about drawing trees with kids-
Many of you post about drawing/painting trees, using the "V" or "Y" method. The problem is, when I look out my window here, every tree has a distinct trunk that continues, narrowing, to the top of the tree. Actually, with all the woods out my window, I only can see ONE tree that has a "Y" trunk, though there are plenty of "Y" branches. So unlike the rest of you, I generally don't teach tree drawing that way. It happens that THESE trees in this post all head right off the top of the paper, solving the problem of "how to end the tree". Maybe it's cheating, but they look pretty good, don't you agree?
Hopefully soon my 4th graders will be starting those charcoal trees that you all liked so much last year. Maybe we can try to include the tippy-tops!