Wednesday, November 13, 2013

MASS MoCA - the Sol Lewitt retrospective

 With my husband and son, yesterday we spent the day visiting a favorite art museum, MASS MoCA (the Massachusetts Museum of Contemporary Art).  I have so much to share as a result of that exhibit that I will have to divide it into probably at least two posts!  Lots of photos in this post!!!!
A row of hanging upside down trees greet you before you enter the museum!  Why am I always there at a time of the year when they have no leaves? Reminder to self:  Go to MASS MoCA in the summertime!
First, briefly about MASS MoCA - it is, as its name says, a contemporary art museum, one of the largest centers for contemporary visual art and performing arts in the country, located in North Adams, MA, in the lovely Berkshire Mountains. Each time I'm at this museum, there's stuff I love, and stuff I... wellll... stuff I don't love.  But I'll talk about that in another post.  This post is about an exhibit that I most decidedly loved, though it did provoke some serious conversation with my family about what it means to be an artist.  I'll share that concept later in this post.
Me.  Overwhelmed by the huge wall drawings in the Sol Lewitt Retrospective.  I have greatly cropped the wall drawing behind me for this photo.

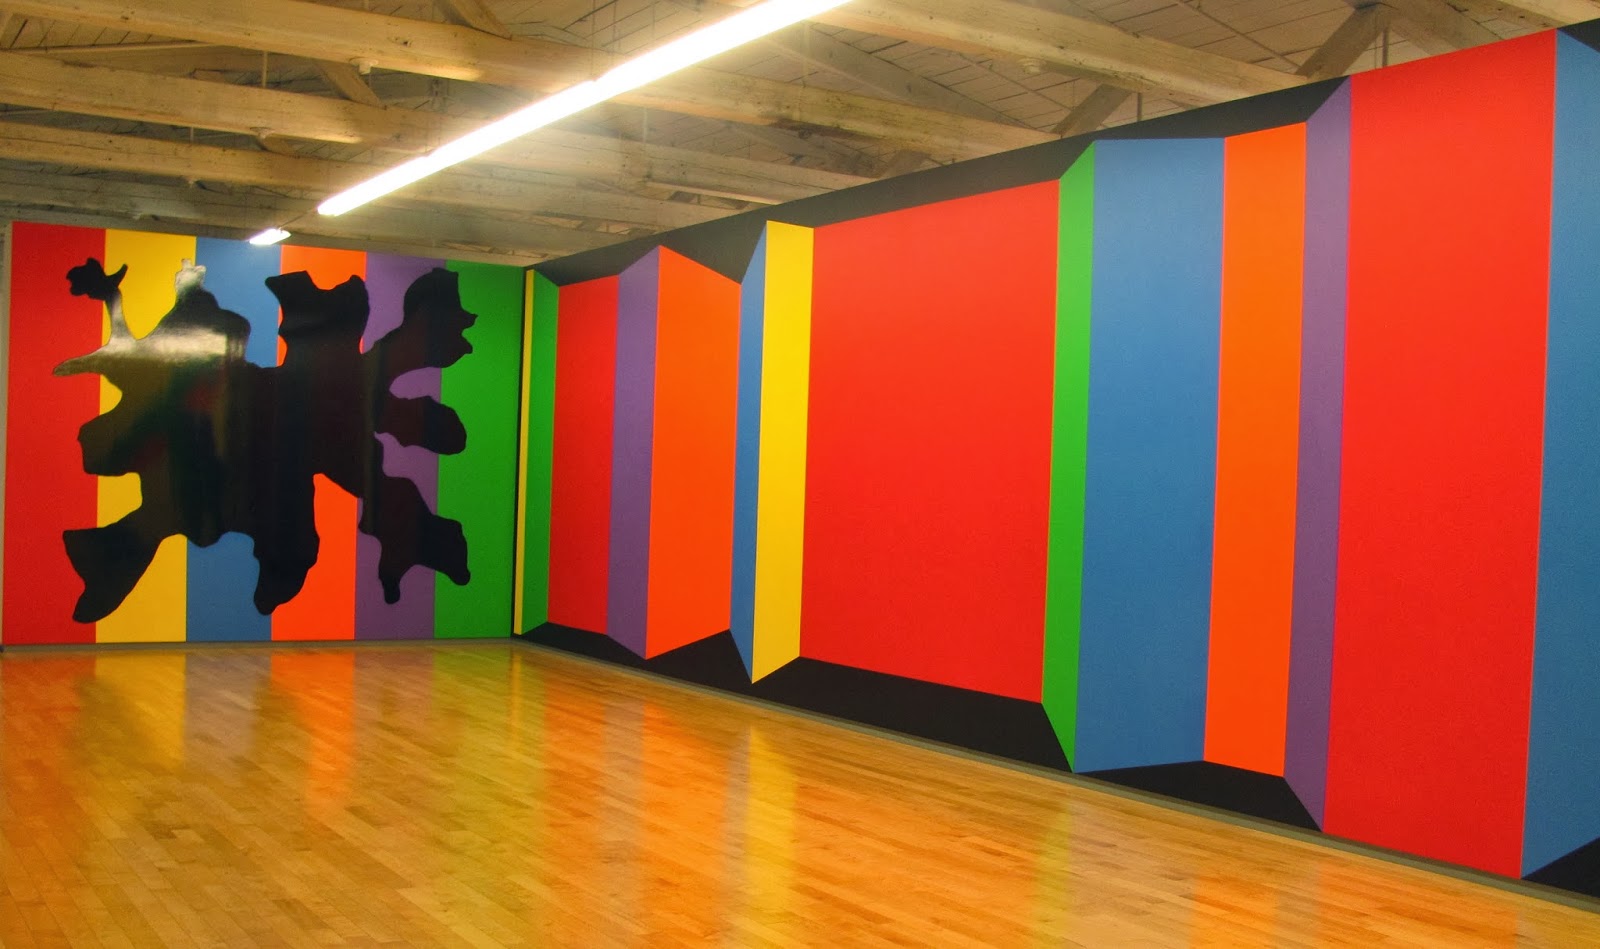
So - this post will focus mostly on a giant retrospective of Sol Lewitt's giant wall drawings. (Yes, I just used the word giant twice in that sentence.  I'll have to try not to  use it any more in this post.)  This installation will be at the museum for 25 years, so take your time; it will likely still be there when you go for a visit!  Let me share a number of the  pieces with you here, and then I'd like to talk about them a bit, as I said above.  I have photographed people in proximity to the artwork so you can see the monumental size of this artwork. The young man in the white hoodie who appears in several photos, including the one directly above, is my son.  Please forgive me, but these pics are not posted chronologically.  Sorry!


When my son was little, he loved driving around little matchbox cars.  A wall like this in his room would have been great; all those black lines would make great roads for little cars!


 A note about the piece directly above.  I am enthralled.  I would like it to be a wall of my living room.  My husband positively cringed when I told him that.  But can't you just see a sleek couch, in a bright primary color, directly in front of that wall?  It would make me feel so very sophisticated!
 
 Please take note that the walls of this amazing museum are as terrific as some of the artwork!
 
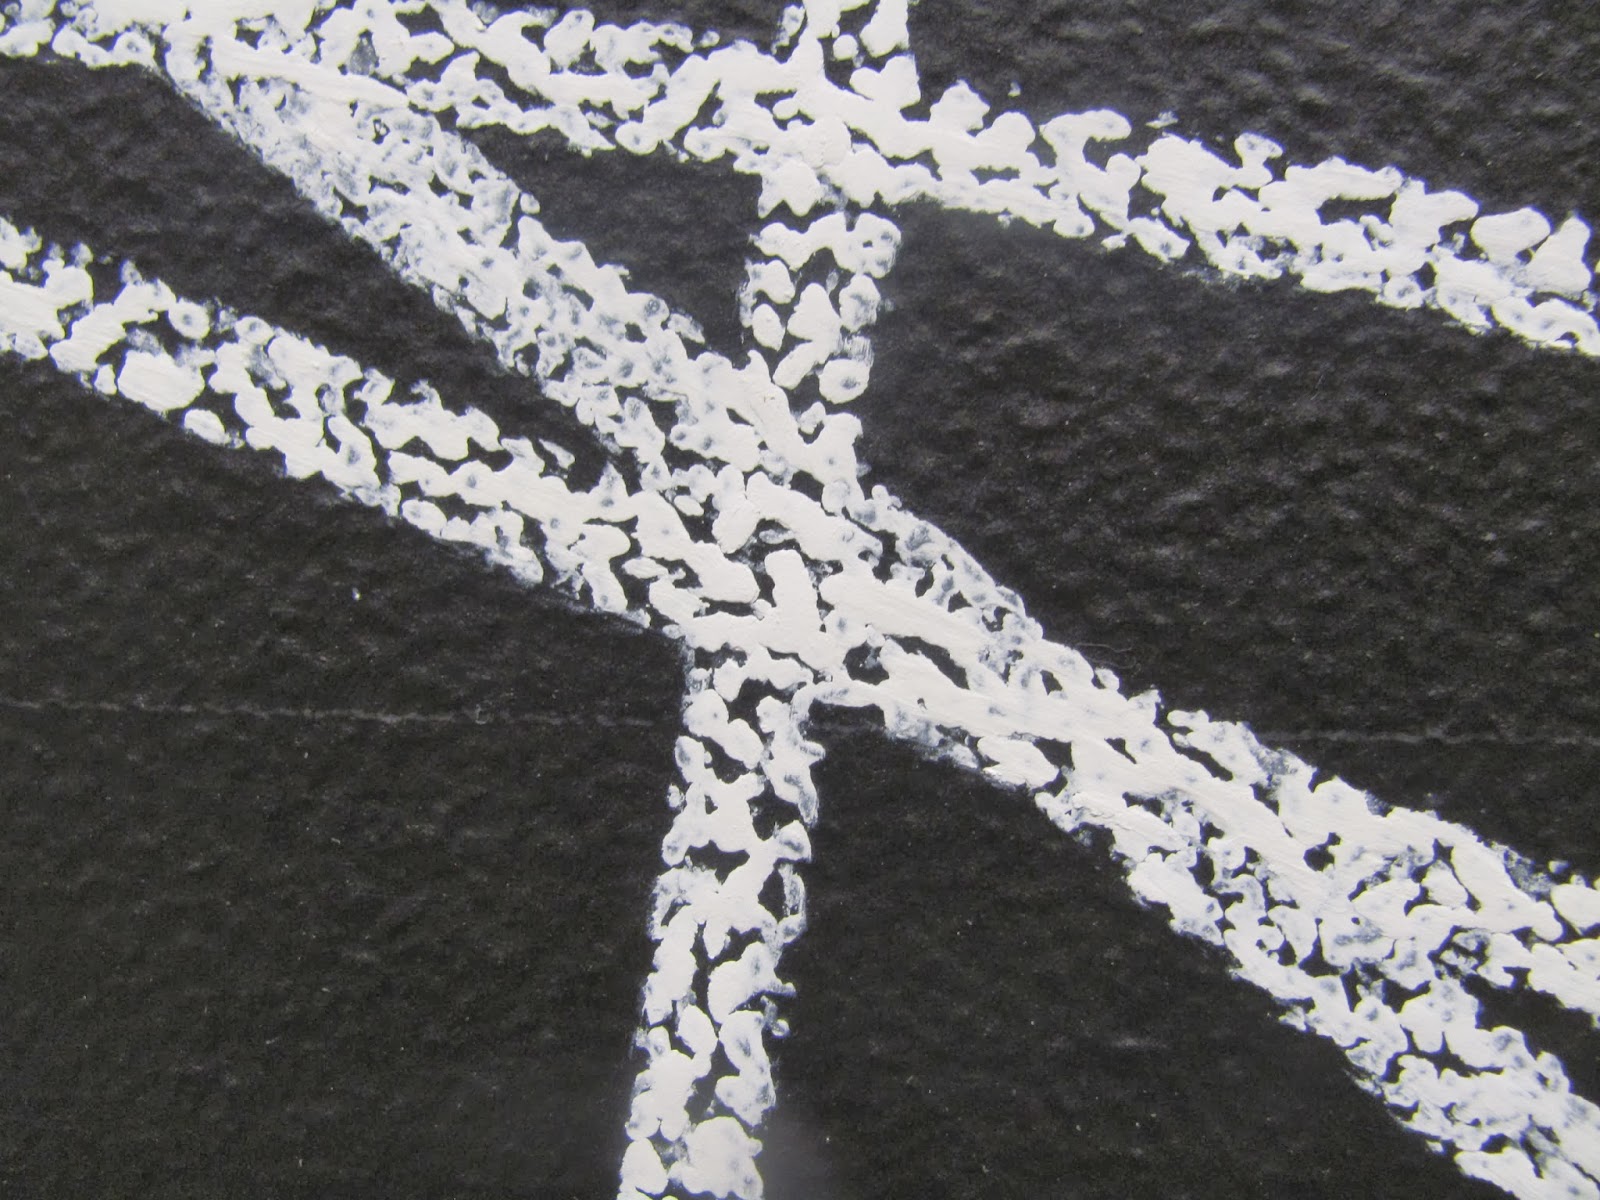
 My son thought the lines in this piece looked like lips and butts.  I also saw sewing needles.  Below is a closeup of the lines in this work.
 There's a mathematical thought process for the arrangement of lines in this piece.  Below, a closeup.
 
 
Two walls of straws
 
 Above are extreme closeups of the work below.  It is all made of layers of overlapping pencil and colored pencil lines.  Lots and lots and lots and lots of lines.  They are probably 1/4" apart and cover a huge wall.  Crazy.
The piece below is a small section of a piece, consisting of...well... lines.   The 'artists' who drew the piece on the wall were given Sol Lewitt's directions about how many lines to draw, and information about where lines should go from/to, but a lot of the decisions were made by the actual draftsmen.
Above is a closeup of a section of the painting below.  Three 'artists' painted this wall, one with each color, taking turns painting their line based on the line they were next to.  Does that make sense?
 The painting below is a carefully organized progression of colors.  As in many of the other colorful pieces, the paint is an acrylic ink applied with rags in layers to achieve the desired tones.  The color progression started with gray, then the primaries, then the primaries  mixed with the gray, then the primaries mixed to make secondaries, then the secondaries mixed with the gray, then all of the primaries mixed together, and then all the primaries mixed with the gray. The last two sections are missing from my photo.
So, are you still with me?  I promised to share some of the provocative discussion I had with husband and son as we viewed this exhibit, and watched a short video about the production of the pieces in the show.  I told you we had some discussion about the meaning of the word 'artist' which I have put quote marks around in paragraphs above, as well.  So here goes...

The exhibit is a retrospective of Sol Lewitt's work.  But the actual drawings on the walls were created by others, according to his specifications.  But his specifications were not always totally specific. For example, the specs for one piece might say to draw a certain # of straight lines and a certain # of curved lines that intersect in a specific # of places, but then it is up to the person who puts it on the wall to determine exactly where those lines go.  The people who drew and painted these lines and colors all over the walls were referred to in the video as artists.  There was a huge wall-size chart of who was doing what, and when.  It was complex choreography.  But is someone an artist who simply places colors on a wall according to specs?  Or are they just draftsmen/ladies?  Or is someone an artist who simply gives someone specs to follow but doesn't actually paint or draw the colors and lines?  Who is the artist here?  The person with the creative inspiration, or the people who brings that inspiration to life?  What do you think?

We couldn't come to an agreement, but we did nevertheless enjoy the lively fun colorful work.  Meanwhile, I'll be talking more about the nature of art when I post again, in a couple of days, about the other work that we saw in the museum.  

Please weigh in with your opinions! I'll close here with a couple of visual reflection photos from the museum.  By the way, all these photos were shot with a Canon Powershot point and shoot camera.
 

Saturday, November 9, 2013

Meet Violetta, my new twin

If you are a regular reader of this blog, you probably know I'm a Project Runway fan.  And you probably also know that I sew.  While I have sewn all sorts of things, my favorite (and most frequent) sewing projects are clothes.  But when I sew a clothing item, I'm forever having to get undressed, try the item on for fit, get dressed, repeat.  It's time consuming and a pain in the neck, and I'm not particularly patient.  I currently  have a sewing project in the beginning stages that I am struggling to figure out because I am not working with a pattern, and just can't figure out how to fit it to my body.
Violetta, dressed in pearls
So, after watching Project Runway last week, I decided that I needed a dressmaker's dummy.  I went online and started shopping and immediately recognized a bigt problem: my size.  I discovered that I could find adjustable-size mannequins in small, medium, large, extra-large, and petite.  As I am under 5' tall, with a short torso and short legs, I consider myself petite.  But, there were no options for sizing in petite dummies; they were just 'petite', and their adjustable measurements were decidedly small.  Mine are not.  So my choice was: get a petite dummy that did not expand to my dimensions, or get a medium dummy whose torso would not be short like mine.  Neither choice was acceptable, since clothing I built on them would not fit me accurately.  Darn.

That's when I started discovering all the online tutorials for Duct Tape dressmaker's mannequins!!  Eureka!!   I enlisted my husband (I'm doing a sewing project for him, making seat covers for his vintage car, so I figured he owed me a couple of hours of time) and I went to the store for supplies.  I reviewed dozens of tutorials, and explained to hubby what he was about to do.  And being a man, he listened to... some of it.  And of course, he was sure he had a better way.  We took lots of process photos but they all kept inserting sideways, so I'll only share those that are aiming the right way.

Right here, I'd better say, this is NOT a tutorial.  As a matter of fact, I don't even recommend you try to follow the tutorials you might find.  Because, you see, they might indicate that it is EASY to build a duct tape mannequin, and I'm here to tell you, they are LYING.  It is a serious challenge and you might not be too thrilled with the results.

Instructions say to start with a tight firm wrap around the waist (over a slim fit garment; I was wearing a thin knit), which my husband did, but then he began to deviate from my direction.  As a result, it was not as snug as it should be, as you  can see below.
 
 And honestly, while I greatly appreciate my husband's willingness to do this silly project with me, and while he was a great sport about it, I'd strongly recommend, if you do try to make a duct tape dummy, to enlist another female to do the taping rather than your spouse.  My husband just didn't understand the bra shape construction, and was more concerned about getting the tape smooth, so, well, let's just say my dummy's boobage is not exactly shaped properly.  (Lift and separate, please, honey?)
 Anyhow, here I am, all taped up with a layer of silver Duck tape.  The red collar was cut off of an old turtleneck to protect my neck from the tape.  By they way, if you have long hair and a low hairline like mine, think about how to keep it out of the tape.  I had mine tied up, but I wish I had put on a shower cap or had it tucked in to a hat.  My husband repeatedly caught my hair in the tape, and then pulled it off, breaking much of  the hair at my hairline on the back of my neck.  It was painful, and now I have a bunch of hair in the back that won't stay in my pony tail. 
 Isis was very curious abou the crazy ongoings in our living room.  
 I had some red tape that we were using to mark the center and the shoulders.  If it looks off-center to you, you'd be correct.  I have some spine curvature, which results in me having a slightly crooked body - one hip and shoulder a little highter than the other, and a sloped back. 
 In the photo below you can see that my left shoulder is lower than the right .
 When it was all done, my husband cut it up through the back so I could remove it.  It came off very easily.  You can see that he didn't exactly complete the arms.  By that point, he had had enough of my trying to tell him what do do, I think!
Then, the next job was to tape it back together.  This might have been the most challenging part of the whole project, but not one of the tutorials mentioned that!  At that point, I sat the dummy in a chair and found something else to do.  I was tired of Duck tape.
 But it started to get squished in the rocking chair, so I inserted a hanger inside the shoulders and hung it from a light fixture until I'd have time to finish it.  My bum looks a little squished, no?
My husband, wonderful man that he is (no kidding) cut a 2x2 piece of wood that I had bought, and build a support for the body that you will see in the photos below.  I cut cardboard for the ends of the arms and neck, inserted them and sealed them with Duck tape.  I also cut a piece for inside the waist, and for the bottom of the body. 
The tutorials mostly said to stuff the dummy with pillow stuffing (though a few used wads of newspaper and a couple actually used spray foam).  I bought a big 10 pound box so that I could stuff it tightly.  Big mistake.  Stuffing it tightly makes it stretch, and stretching in places caused wrinkling in others.  It was bad.  I know I'm not skinny, but it started to bulge uncomfortably.  In the end, I took most of the stuffing out, leaving in the barest minimum to hold the shape.  And honestly, I think it turned out somewhat OK, though not quite what I anticipated.  I'd still like a real dressmaker's mannequin, if I can ever find one that  has my proportions.  Anyhow, Violetta (my mannequin) now is in my art studio room, where I also sew, and she has been trying on some of  my clothes, such as this former sewing project:
She's been trying on scarves, jewelry, and sweaters, and seems to fit in my clothes fairly well, all things considered.
Sideways, I know, but here I am with my new twin!