Friday, March 4, 2016

Papier-Mache "Wild Beasts"!

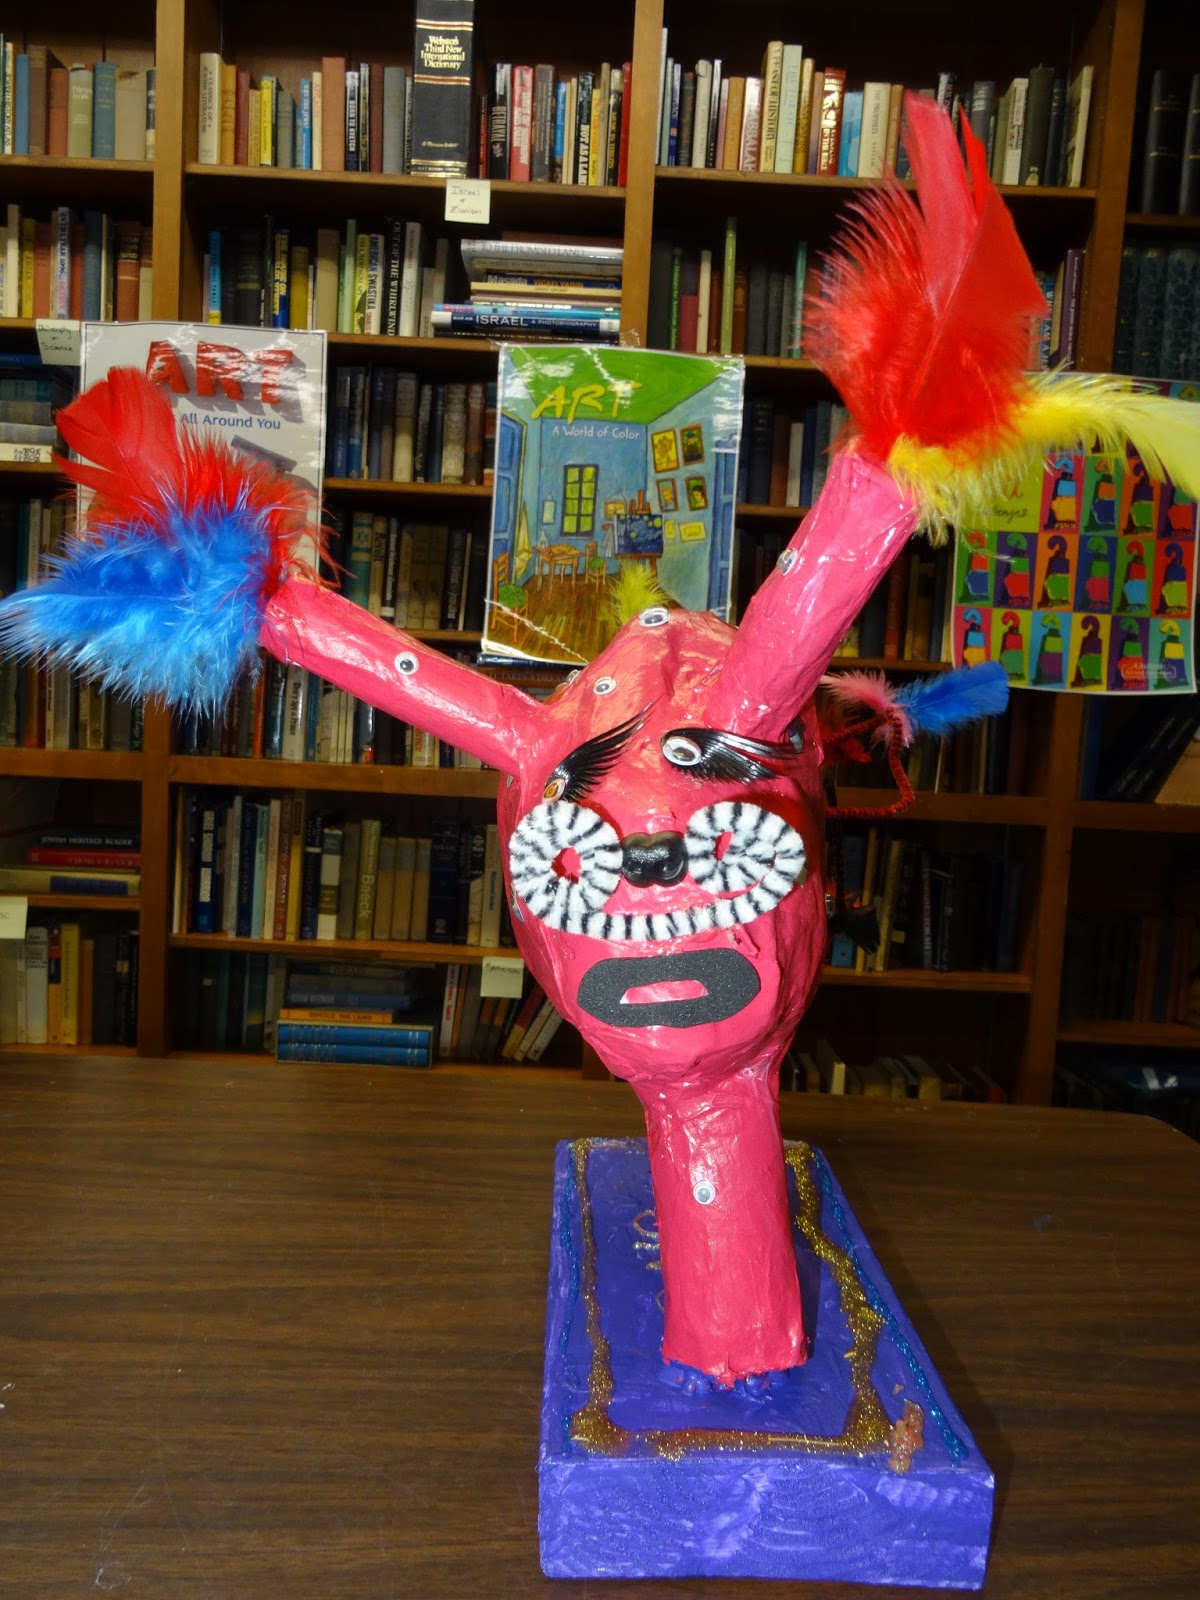
 My four DragonWing Arts students recently completed building goofy papier-mache "wild beasts".  Above is the creation of my oldest student in the class, a 4th grader who takes her work and her decision-making very seriously.  

The first steps were to use their sketchbooks to develop ideas for their creatures, and then to figure out what would make good armatures (or the bones and muscles) from the materials I had available.  The materials used included plastic bags stuffed with newspaper, wads of newspaper, cardboard rolls, cereal box cardboard, some armature wire, and a few other oddball recyclables that I had available. The kids learned how to cut tabs for attaching features, and then used lots of masking tape to make them hold together securely.  Here you can see what they look like from design to completion. 
 I unfortunately don't have a photo of this 3rd grade boy's project in its absolute complete state.  Some pompoms, mimicking the pink, orange, and purple of the spikes, were glued onto the black spots, and crazy antennas were added over the eyes.  Here it is just prior to those final touches. 

 My youngest student in the class is a 2nd grader.
Here's her project from design to completion. 
Below is a completed photo of the project, but unfortunately it is a sub-par photo.  In case you can't tell, the final touch on this creature was to add a row of colorful feathers going down his back, kind of like a full-body mohawk haircut! 
 This frontal pic below was taken before the row of feathers was added to the beast's back.
 The ocean beast below was designed and created by a third grade boy.  
Here it is, from design to completion. 
He is now wearing a cute collar with a dangling ornament, which unfortunately was not on the beast when I took these pictures. 

 The kids used art paste and torn newspaper strips for their layers of papier-mache, using my fool-proof method, which you  can read about HERE.  If you are going to be at the NAEA (National Art Ed Association) convention in Chicago in a couple of weeks, I'll be teaching a workshop that will cover all sorts of tips and hints to make papier-mache easy and fun.  I'd love to see you there!
 You can tell, from the photo below, just how much fun this process can be!  But why, when she has a container of goo right in front of her, does she have to reach over her brother to access a different bowl of goo??  Silliness!!

When the papier-mache was completed and dry, the beasts were painted with a layer of gesso.  Gesso is not always a necessary step, but it strengthens the papier-mache, and also provides a beautiful white surface for painting. 
 The projects were then painted with school grade acrylic paints, and embellished with feathers, pipe cleaners, pompoms, wiggle eyes, and more, to create the finished pieces I've shared above. 

 This week, the four students had a mini art show, showing off their painted wild beasts, the papier-mache beasts, and a couple of other projects too.  I'll share about two of those other projects in my next blog post.  In the meantime, here are the kids proudly sharing their creations to their families!

Saturday, February 27, 2016

Wild beasts, wild patterns, wild colors!

Cheetah by Sylvia, grade 2
My DragonWing Arts students were introduced to Henri Matisse, and his use of both bright colors and repeating patterns in his paintings.  We talked about how he and his contemporaries were criticized for their wild use of color, and were nicknamed "fauves" which means "wild beasts".
Zebra by Mackenzie, grade 4
So, my students drew and painted wild beasts!  To be specific, they selected from the wild animals of Africa, and incorporated both bright colors and repeating patterns in their paintings.

To begin, students examined pictures of their selected animal, looked for the basic shapes in their bodies, and practiced drawing them in their sketchbooks.  Once they had practiced, the animals were drawn with yellow chalk on white sulphite paper that had been cut to 15"x 21", Chalk was used for three reasons: to encourage the kids to draw large, to make it easy to wipe off (erase) and adjust the lines, and to eliminate having pencil lines that would show through the paints.
The animals were painted with fluorescent tempera paints.  When dry, black Sharpie was used to outline the patterns on their bodies, and also any details of the painting.  The elephant below is not quite complete, as the artist was absent for one class.  The ear, eye, and mouth will be outlined, which will help define the animal.
Elephant by Joe, grade 3
Meanwhile, on a sheet of 18"x 24" white paper, a 1-1/2" border was marked off with pencil. The borders were left white, and inside the border, the rest of the paper was painted with black tempera. When the black paint was totally dry, white patterns were added by stamping various items, including the ends of cardboard rolls, dowels, and pencil erasers; also the edges of cardboard squares, and pipe cleaners shaped into zigzags. As you can tell, this was a fun activity!
The animals were cut out and glued onto the black and white paper.  The white border was decorated with animal print paper, and, in the case of the zebra, also turquoise metallic paper.  Finally, the projects were glued onto sheets of 20"x 26" fluorescent poster board!
Giraffe, by Forrest, grade 3
By the way, the animal print paper, the colored metallic paper, and the fluorescent poster board all came from Pacon.  I had developed a lesson for Pacon using their new plastic poster board, and to thank me, I was given the opportunity to select $100 value of any products in the Pacon catalog!  These papers were among the materials that I selected.  Thank you, Pacon!  A small business like DragonWing Arts can't always afford purchases of these niche products.  By the way, I wrote about the plastic poster board, here and here on the blog, and one of the lessons I developed using the poster board will be distributed at the Pacon booth in the vendor area at the upcoming NAEA convention in Chicago.

Coming soon, here on the blog, more wild and wacky fauve wild beasts, this time made from papier-mache!  Here's a little teaser for you!