Showing posts with label Wolf Kahn. Show all posts

Monday, January 28, 2019

Using my Wolf Kahn lesson as inspiration for painting with adults

In my book club, a different person picks a book each month and hosts the group for food, beverages, and discussion.  When we read The Art Forger this past month (which I told you about in my previous blog post, HERE), the host thought the book didn't have a lot of 'meat' for discussion.  Her artist daughter suggested she host the book club as a paint-and-sip.  I'm the only artist in our group of 10 women, so she contacted me, wondering if I thought we could 'forge' the Degas painting that was central to the book.  I said no.
I've never presented at a paint-and-sip, but I've attended one, grudgingly, and I really despised the concept of a group of people all painting matching schlocky paintings.  And I looked closely at Degas paintings, and his layers of subtle color glazes, and I knew that these non-artist ladies would never feel successful trying to imitate his colors, or trying to draw a nude, or a ballerina, or a horse.
So I suggested another approach, and the host agreed, purchased paints and canvases with my guidance, and provided paper plates, rags, and a place to paint.  I provided easels, paintbrushes, and my presumed expertise.  And of course there was wine.
I showed the ladies the paintings of Wolf Kahn, that I had recently used for inspiration for a lesson with my DragonWing Arts students that I posted about HERE.  I explained that we would be loosely using his paintings for our inspiration, to create (or 'forge') our own 'missing masterpieces'.
I explained that they'd begin with big brushes, creating layers of colors for sky, background, middle ground, and foreground.  Each layer would be created by brushing together two or more colors, plus white if desired.  We quickly reviewed the color wheel and I recommended mixing analogous colors but not complementary colors, unless they wanted to create browns and grays.  The color choices were totally up to them.  I explained my Wipe Wash Wipe method for keeping their brushes clean, and they went right to work. 
Their color choices and brush strokes were sometimes bold, sometimes gentle; some color mixes and textures were intentional, and others were a complete surprise.
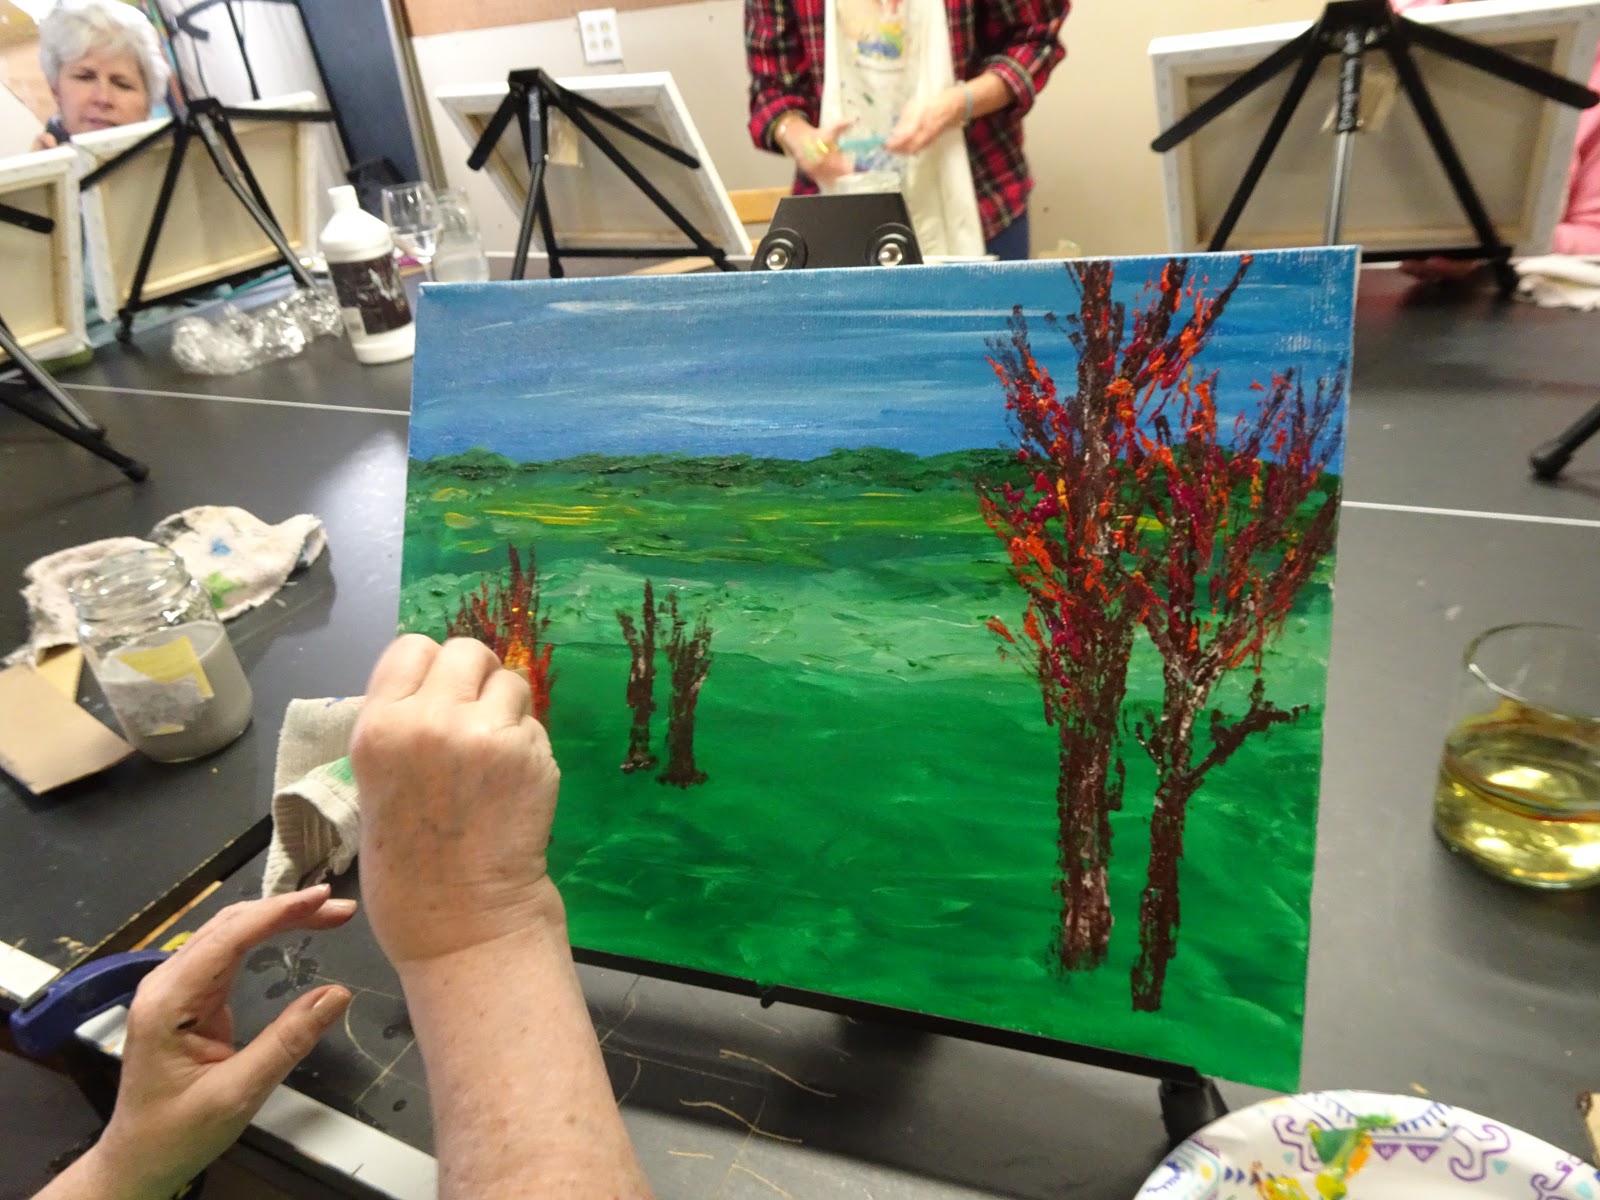
We took a break for some dessert, and let the paint dry a bit, and then returned to paint some trees as desired.  I gave the choice of painting trees with brushes, or using strips of corrugated cardboard with paint on the edges to stamp textured trees, and demonstrated both. We talked about size of the trees to create perspective - smaller for further away, larger for close, and then I totally left it up to them.  And they each approached their trees in a totally unique way.  Nobody tried to copy!!!
Some chose to be very symmetrical, others were not.  Again, the decision was their own.  Do trees grow in rocks on the beach?  Not usually, but why not, for the purpose of the painting below?
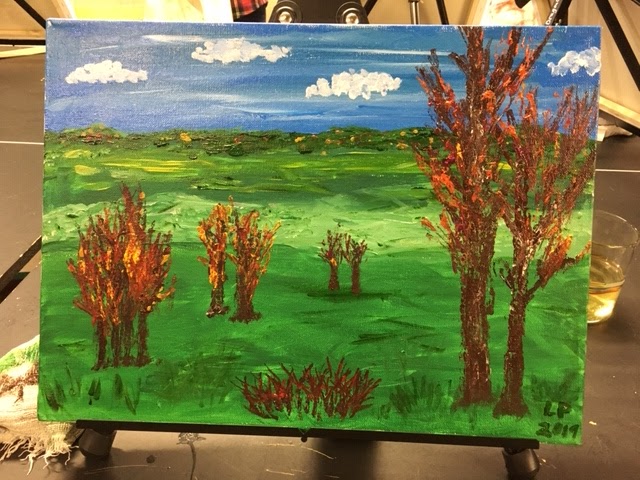
The painting below was a view of a local golf course.  The trees are not there, but were added in and I think really make the painting pop!
The ladies were so incredibly successful!  And not only that, they also had a fabulous time, are proud of their paintings (which are each unique), and want to paint again!  Success!

*Just realized, I'm missing photos of a couple of finished paintings.   Oops...  It was not intentional.  :(

Saturday, January 5, 2019

Wolf Kahn inspired landscapes!

My DragonWing Arts winter session has begun, with a couple of new students joining the class!  Our theme for the winter is 'Color my World', and we will do projects that beat the winter blues by using lots of colors, with the natural world as our inspiration.
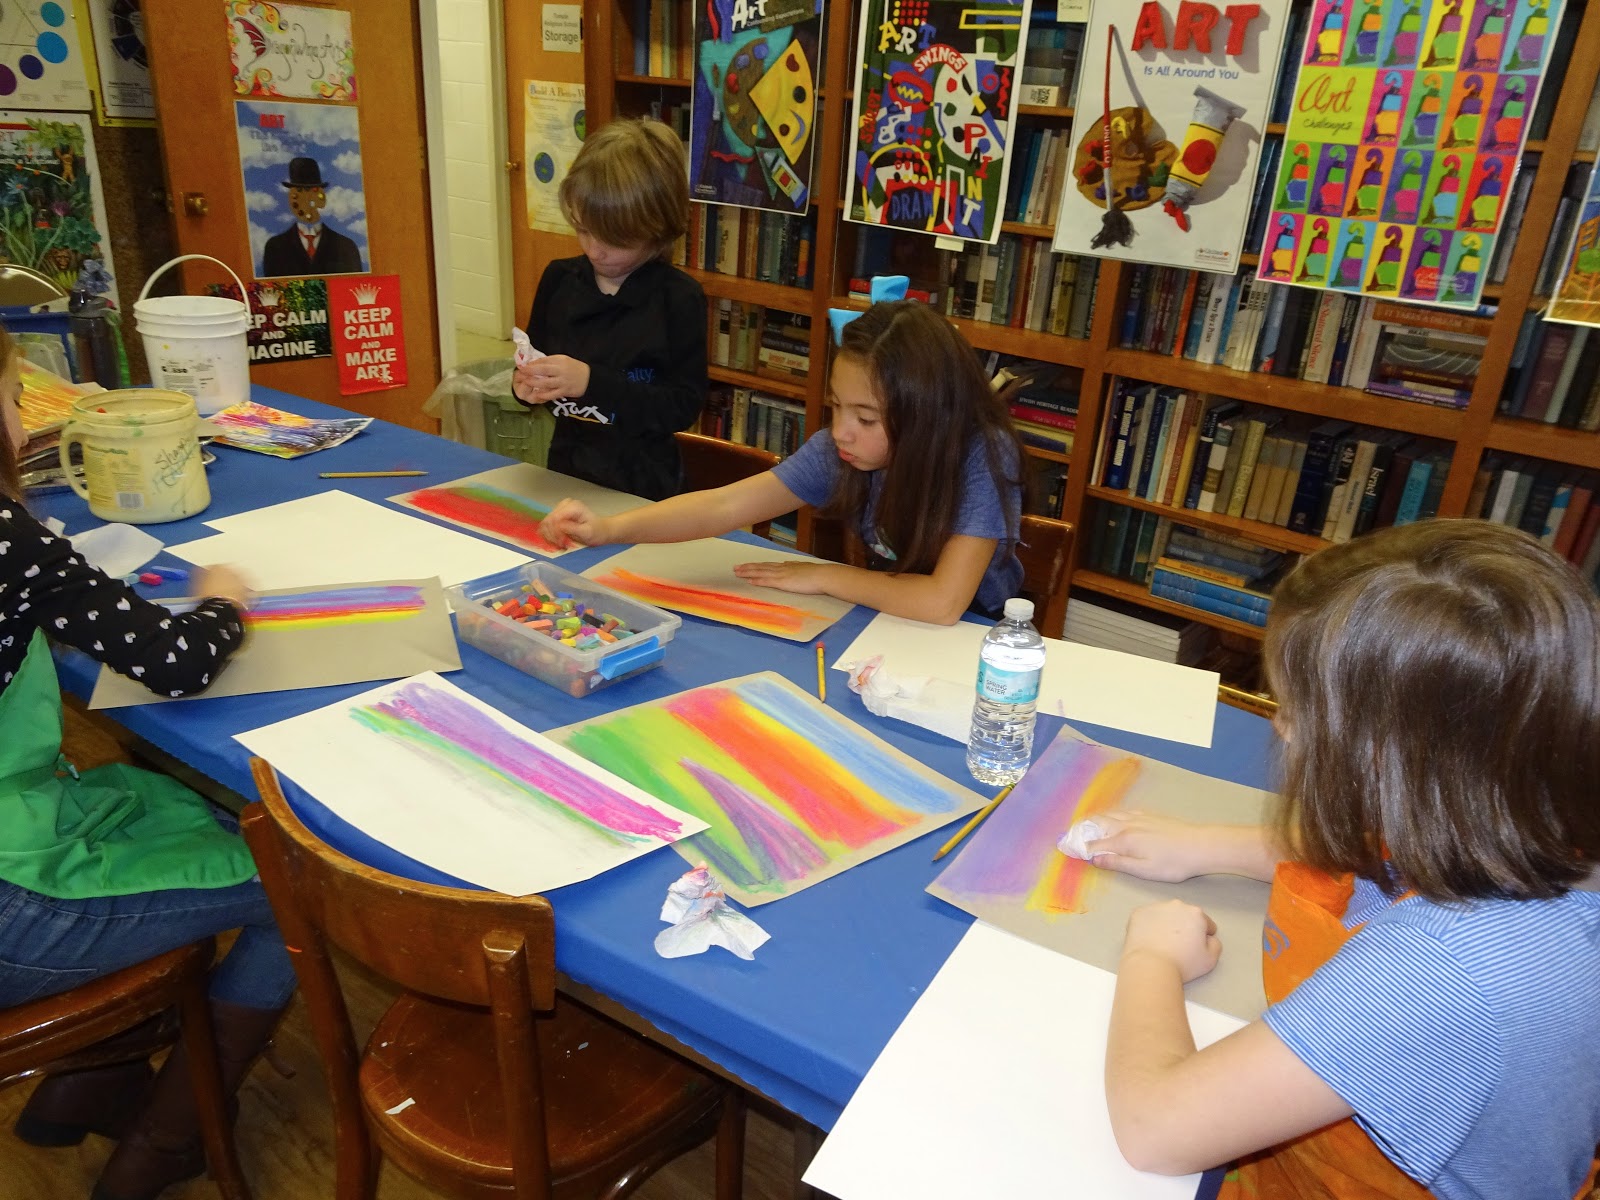
We started with a quick project, inspired by the work of artist Wolf Kahn, to get everyone messy.  The kids liked his cheerful colors, and the simplicity of the lines of his trees.  We didn't seek to copy his work; we instead used it as a motivation and inspiration.  His work often has layers of color, to represent background, foreground, and middle ground.  We created our layers of color with pastel chalks, on both white paper and on gray bogus paper. 
The kids colored with the chalk and then used either their finger, or a paper towel wrapped around their finger, to blend each layer.  We shook excess chalk dust into the garbage can to prevent dust in the air!
 Then, we used the edges of rectangles of cardboard as our painting tools!  (The brushes were for a different project.)
I had a genius inspiration about paint distribution. I wanted to squeeze paint into lines on these foil cookie sheets, so that the kids could dip the long pieces of cardboard.  But I didn't want to have to wash the trays.  I discovered I had some scraps pieces of vinyl contact paper, and I lined each tray with a piece of it.  Here's a pic of the contact paper covered trays.
Because I have just 5 students in the class (and one was absent), I was able to give each student their own tray, so they could select their own colors.  Then the cardboard was dipped in colors and stamped to make trees.  Here we are, stamping away!  You can see the trays with the lines of paint on them in the pic below.  By the way, the paint was tempera.
 There were also shorter pieces of cardboard that the kids could use for branches or bushes. They could even be folded to create foliage.
 One student bent his long cardboard pieces to make trees that bent and twisted.  I think they look pretty cool.
 Here's all the final results on the gray bogus paper.
 Each one is so unique!
And here are the final results on the white paper.
 When everyone was done, and we were out of time, we pulled monoprints off the leftover paints in the trays, and then peeled up the contact paper to discard.  Poof!  The foil trays were clean again!  This pic below is the paint left on the tray.  I'll show you to monoprint another time, since we will be using them for a future project.  I think this looks like an abstract painting!  If it was acrylic, I'd have wanted to save it.  But since it was tempera, I knew it would just crack, so it was discarded. 
And here's how easy it peeled up off the tray.  Any paint on the silver was something that was there from a previous use of the tray.
I was planning to have the kids use the leftover paint to do something like my sample below, but we ran out of time.  Our hands (and one nose and one forehead) were VERY messy with chalk and paint, so cleanup was a priority!
 Below are some samples I made to test out the project before introducing it to my students.  I experimented with using chalk over paint, but in the end I preferred the samples with chalk as background. 
 On the sample below, I added some chalk shadows under the trees when the paint was dry.  I plan to give the students an opportunity to do that to their paintings in the next class, if they'd like. 
It was  a fun project, and when everything is dry and complete, we will probably be 'framing' them with some colored construction paper.  They should look terrific!