|
| lampshade completed! |
This fall, after a visit to my brother in Cape Cod, we took a leisurely drive home through the back roads, stopping at antique and junk stores and scenic overlooks. At one antique/junk stop, my husband found an old lamp, made from a cracked pitcher and wash basin, pictured below. The lampshade, unfortunately, was stained and decaying. But he figured he could replace the shade, and that it would fit in beautifully with the many vintage pieces in our Adirondack camp.
He went online looking at lampshades, and it didn't take long to discover that to buy a new bell-shaped vintage-looking lampshade, it would easily cost triple what he had paid for the lamp. Being that the pitcher has a crack, and that he would have to replace the wiring, it began to seem sort of ridiculous to have to invest big bucks in the shade. So, silly me, I said "I'll make a new shade for you". And I proceeded to strip the stained and brittle fabric off the lampshade frame.
Someone should have told me how challenging this would be. I mean, I'd gladly make another lampshade, but NOT one with a bell shape and scalloped bottom edge. I went online, solicited advice, and found a tutorial I liked. I dragged my husband to the fabric store (since it is HIS lamp, I wanted his approval). He cleaned up the rust and spray-primed the bare lampshade frame. And many, many, many hours later, after much measuring, pinning, wrapping, sewing by both machine and hand, and gluing trim, the lampshade is complete, and I couldn't be prouder.
For the trim, I really wanted to put a fringe on the bottom, but I couldn't find what I wanted locally, and was concerned that the color wouldn't match appropriately if I purchased it online. So I dragged hubby back to the fabric store a second time, and he picked out this pretty beaded trim. I'm not sure it was the best choice, putting a scalloped trim on a scalloped edge, but we are satisfied.
And here it is, all newly rewired, and assembled. Isn't it cute?
Not all projects have to be so challenging! This next project was a solution to a storage problem. We had gotten a new TV, and a Roku player, and found ourselves with a multitude of remotes. I would leave them on the coffee table, and my neat-freak husband would shove them in a little drawer in the coffee table, where they inevitably got stuck. So I found a little cardboard box, and raided my box of remnant fabrics and trims. And with a little cutting and gluing, I made this:
Isn't it cute?
By the way, a little shout out for wonderful Sobo Fabric Glue that
made both putting the trim on the lampshade and decorating the box so easy.
I even covered the bottom, to protect the coffee table!
And look how perfectly all the remotes fit in the box!
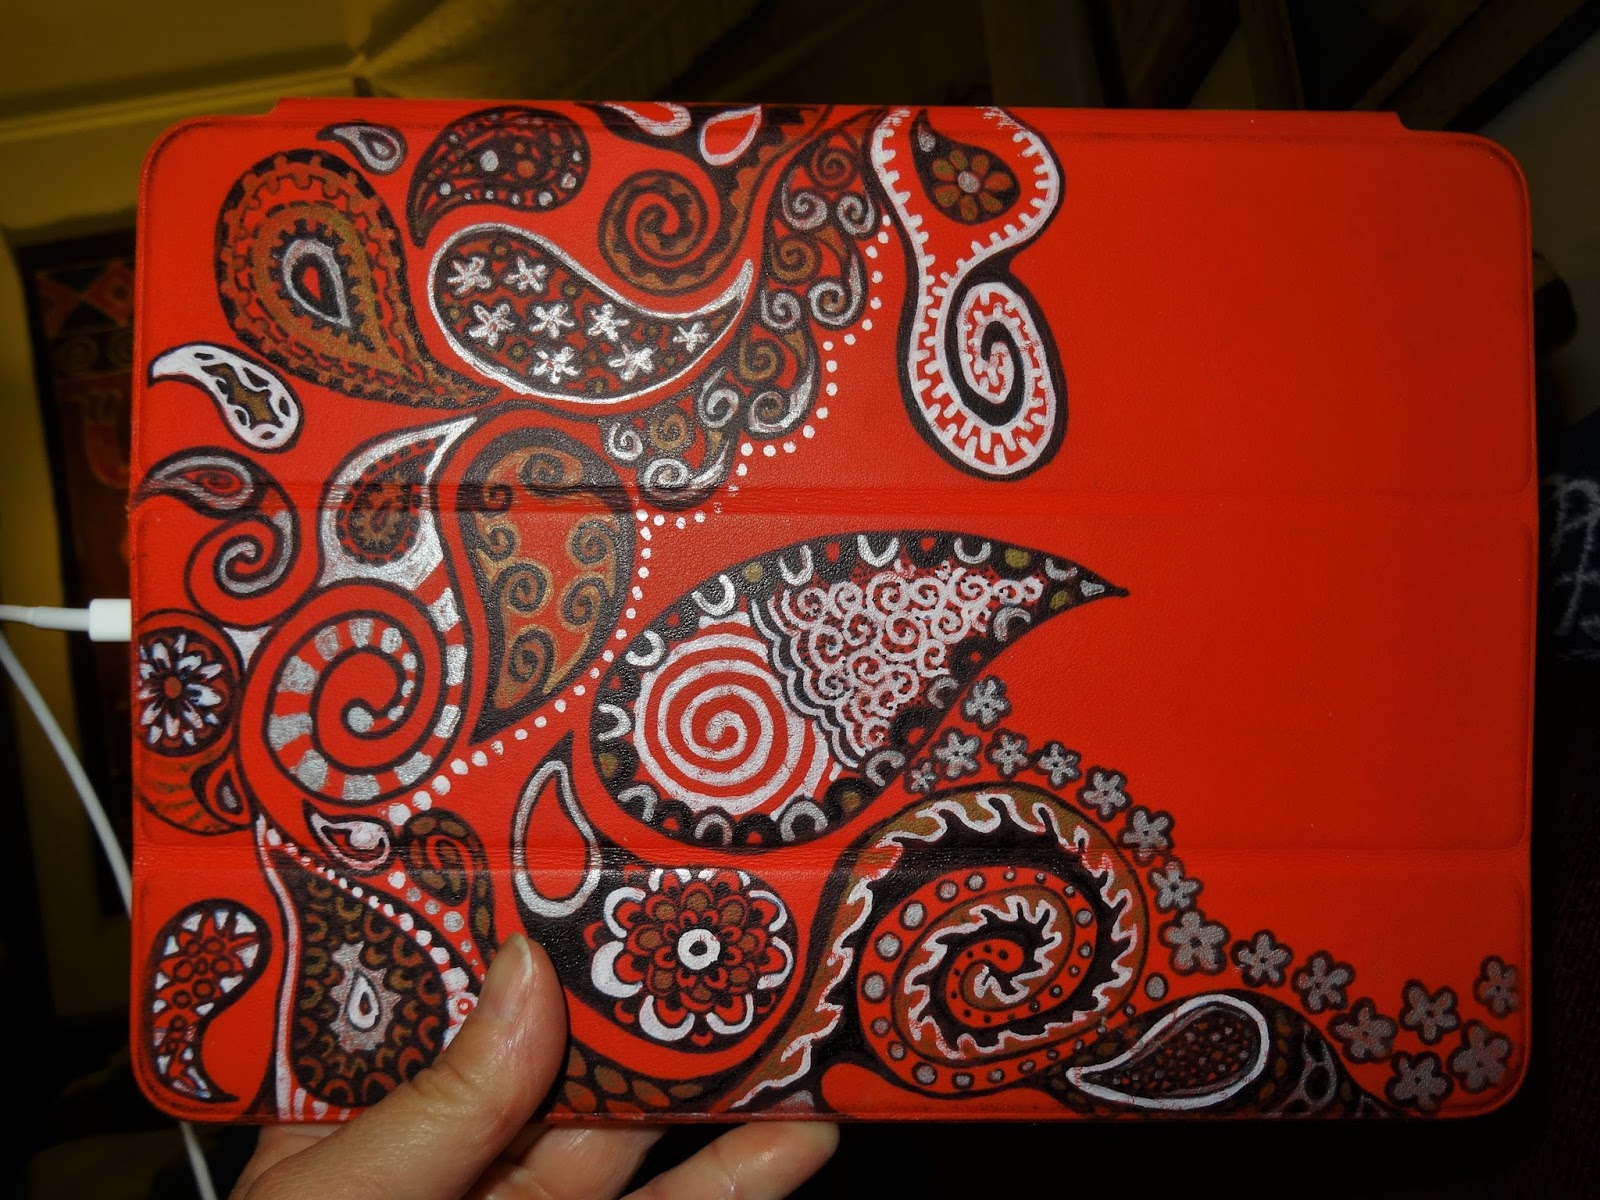
And one more project... A while back (last year?), when I got my iPad Air, I got a new cover for it, too, and promptly began to decorate it with metallic and black Sharpies, and a white Sharpie paint marker. And I stopped about halfway and never finished it.
Until a couple of days ago, when I was on hold on the telephone. I got out the Sharpies, and finished it up! Here's how it looks now, below.
What little crafty projects have you been up to this winter?