Showing posts with label art lessons. Show all posts

Saturday, December 7, 2019

Funky Fun with Chalk Pastels

I recently taught a workshops at my state art teacher's convention called Funky Fun with Chalk Pastels, and I want to share all about it here!  The hands-on workshop was intended to share unusual and innovative ways of using chalk pastels, especially for people who don't like the dust and are fearful of chalk.  The room was set for about 30 people; about 60 attended.  We squashed people everywhere!  Some were even sitting/drawing/painting on the floor!!
Nevertheless, it was a great workshop, with everyone creating enthusiastically.   All photos in this post are pieces created by the workshop participants.  I was blown away by the work they did!
 In the workshop, we mostly used bogus paper, an inexpensive and highly absorbent thickly fibrous ugly gray paper.  I purchased it through Nasco but it can also be purchased elsewhere.  I soaked the bogus paper in a tub of water.  Workshop participants used a variety of soft pastels drawing directly onto the surface of the wet paper.  The chalk pastels become paint-like on the wet surface, creating luscious vivid color!
A second technique was to paint lines in black acrylic on white (or bogus) paper.  Then, areas of the paper could be painted with water, and colored with chalk. 
Or, chalk could be colored and then blended with liquid starch, using your finger, a paintbrush, or a Q-tip. 
An additional technique is called 'chalk dips', and was done on colored or black paper.  Participants dipped their chalk pastel sticks in white tempera paint and worked in bold strokes of chalk.  The paint 'outlines' the chalk color, as in the photos below.  Any color tempera can be used for this technique.
My favorite thing that happened in the workshop was the way the participants combined the various techniques and materials.  Chalk dips were added to the chalk drawings on wet bogus paper, and on the white paper with liquid starch. 
And some people combined the chalk on wet bogus, the white tempera chalk dips, and also added the black acrylic.  Can't you see some of these pieces, such as the ones below, re-interpreted as giant abstract paintings in oil or acrylic?
When the pieces dry, they will turn chalky again  (unless the colors were blended with liquid starch, which 'fixes' the chalk).  To restore the vibrancy of the colors and prevent the dry chalk from smearing, you can paint over the artwork with Mod Podge, or some other acrylic gloss varnish (or also Sax Gloss Tempera Varnish) to seal them.  But this needs to be done carefully to prevent smearing the chalk.  I recommend painting the gloss over one chalk color at a time, and rinsing/wiping the brush in between colors. 
 Here's a few more pieces from the workshop.
I taught a shorter version of this same workshop three years ago at my state convention.  You can find a blog post about that workshop by clicking HERE.  And click HERE for a link to a post where my after-school students used chalk and liquid starch as part of a project they were doing.  

Saturday, January 5, 2019

Wolf Kahn inspired landscapes!

My DragonWing Arts winter session has begun, with a couple of new students joining the class!  Our theme for the winter is 'Color my World', and we will do projects that beat the winter blues by using lots of colors, with the natural world as our inspiration.
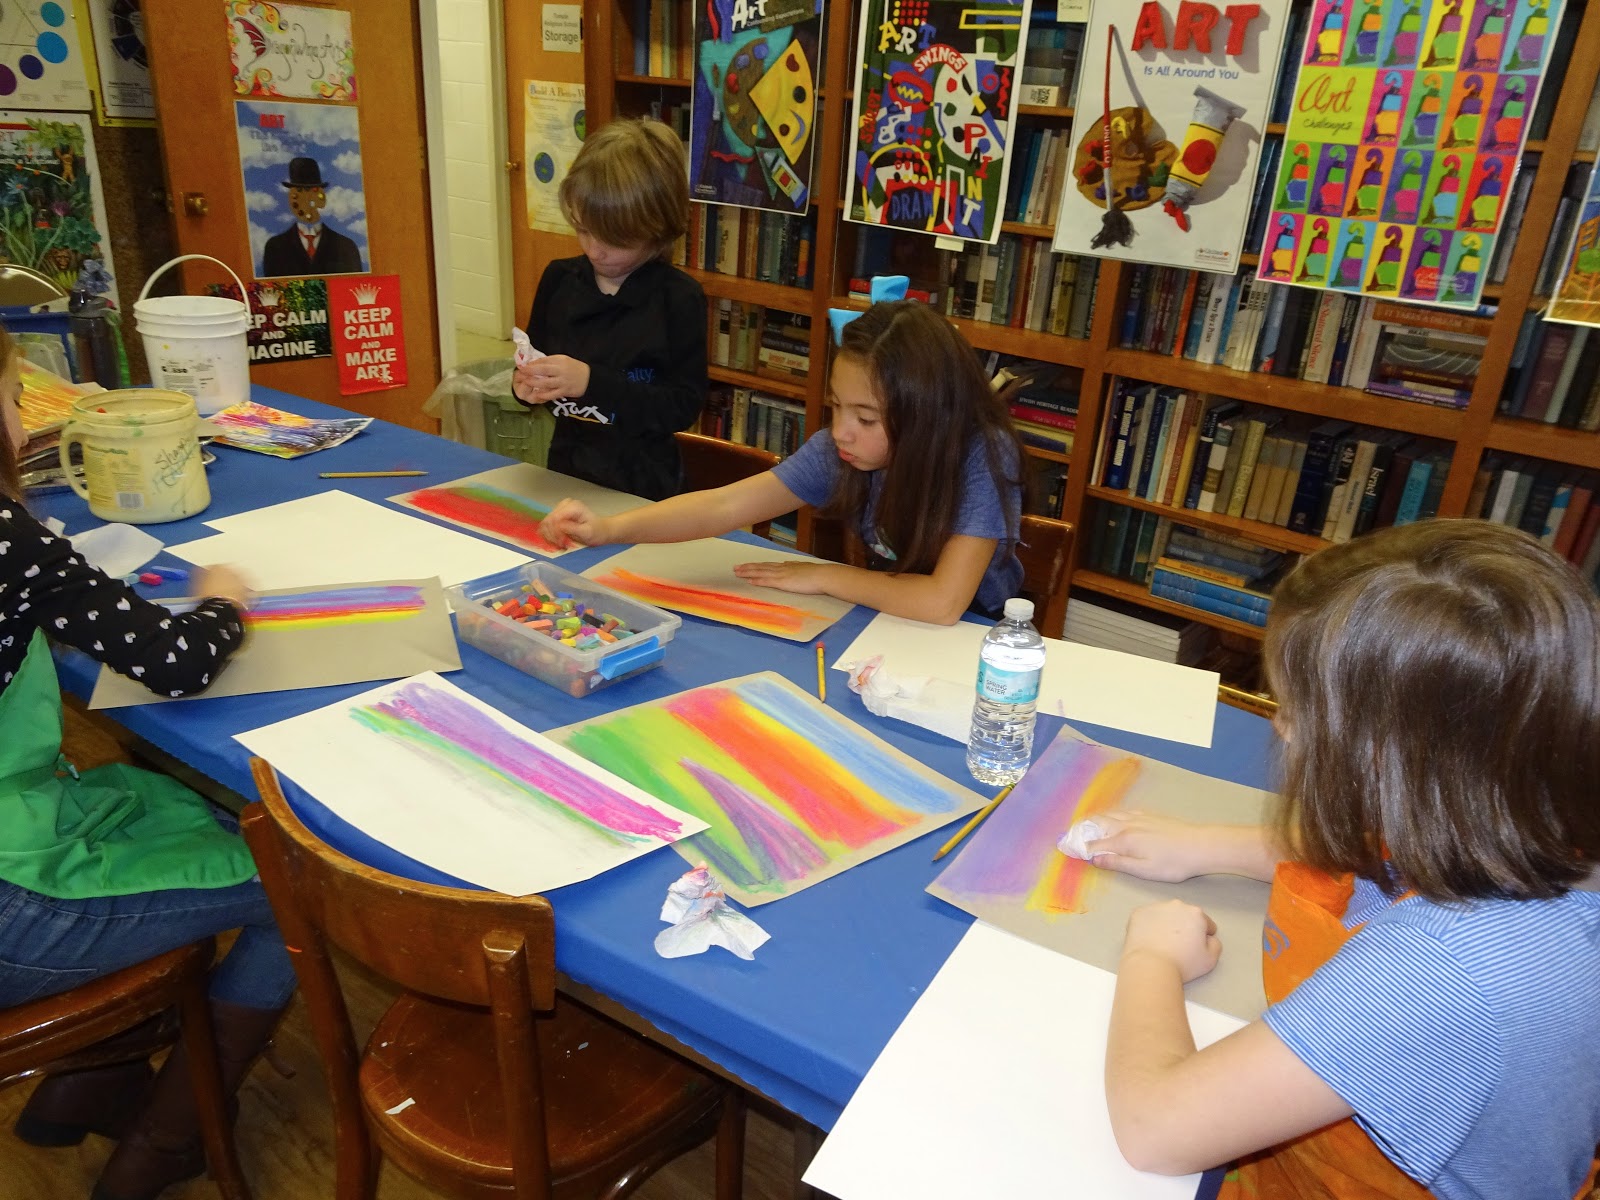
We started with a quick project, inspired by the work of artist Wolf Kahn, to get everyone messy.  The kids liked his cheerful colors, and the simplicity of the lines of his trees.  We didn't seek to copy his work; we instead used it as a motivation and inspiration.  His work often has layers of color, to represent background, foreground, and middle ground.  We created our layers of color with pastel chalks, on both white paper and on gray bogus paper. 
The kids colored with the chalk and then used either their finger, or a paper towel wrapped around their finger, to blend each layer.  We shook excess chalk dust into the garbage can to prevent dust in the air!
 Then, we used the edges of rectangles of cardboard as our painting tools!  (The brushes were for a different project.)
I had a genius inspiration about paint distribution. I wanted to squeeze paint into lines on these foil cookie sheets, so that the kids could dip the long pieces of cardboard.  But I didn't want to have to wash the trays.  I discovered I had some scraps pieces of vinyl contact paper, and I lined each tray with a piece of it.  Here's a pic of the contact paper covered trays.
Because I have just 5 students in the class (and one was absent), I was able to give each student their own tray, so they could select their own colors.  Then the cardboard was dipped in colors and stamped to make trees.  Here we are, stamping away!  You can see the trays with the lines of paint on them in the pic below.  By the way, the paint was tempera.
 There were also shorter pieces of cardboard that the kids could use for branches or bushes. They could even be folded to create foliage.
 One student bent his long cardboard pieces to make trees that bent and twisted.  I think they look pretty cool.
 Here's all the final results on the gray bogus paper.
 Each one is so unique!
And here are the final results on the white paper.
 When everyone was done, and we were out of time, we pulled monoprints off the leftover paints in the trays, and then peeled up the contact paper to discard.  Poof!  The foil trays were clean again!  This pic below is the paint left on the tray.  I'll show you to monoprint another time, since we will be using them for a future project.  I think this looks like an abstract painting!  If it was acrylic, I'd have wanted to save it.  But since it was tempera, I knew it would just crack, so it was discarded. 
And here's how easy it peeled up off the tray.  Any paint on the silver was something that was there from a previous use of the tray.
I was planning to have the kids use the leftover paint to do something like my sample below, but we ran out of time.  Our hands (and one nose and one forehead) were VERY messy with chalk and paint, so cleanup was a priority!
 Below are some samples I made to test out the project before introducing it to my students.  I experimented with using chalk over paint, but in the end I preferred the samples with chalk as background. 
 On the sample below, I added some chalk shadows under the trees when the paint was dry.  I plan to give the students an opportunity to do that to their paintings in the next class, if they'd like. 
It was  a fun project, and when everything is dry and complete, we will probably be 'framing' them with some colored construction paper.  They should look terrific! 

Wednesday, April 25, 2018

Yet another pet peeve - "can I have your lesson plan?"

For several years, I have willingly and openly used this blog to share projects I've done with my students, including instructions.  And I will continue to do so.  But instructions are not the same thing as lesson plans!
Often, particularly in various Facebook groups, someone will post images of a really cool project they've done.  It is not unexpected that people will get excited and want to know how it was done.  But more often than not, the request is "can you share the lesson plan?"
So today's post is a little reminder about what is and what is NOT a lesson plan.  "How-to" instructions  and lists of materials are NOT lesson plans.  A lesson plan will usually outline objectives, using whatever jargon is appropriate.  It might be that your objectives are written as Essential Questions and Student Outcomes, or Big Ideas, or SWK (student will know) statements, etc.  It might include Anticipatory Sets, Guided Practice, and so on.  You may need to include the Standards being addressed in the lesson.  There are many formats for writing lesson plans; a lot may depend on your education and training, the philosophy of the school district where you teach, and so on.
So, when you see a post of an interesting project by me, or by someone else, and you are intrigued and would like to try it out, think about what you are asking for.  I will gladly give you my instructions, a "how-to", but I will NOT give you my lesson plan, because your lesson plan should be unique to your situation.  Plus, if I give you my lesson plan, I'll feel like I'm doing your job for you.  And I don't want to. 
For example: I recently posted tooling foil samples.  Many people asked me for my lesson plan.  I gladly gave instructions, via some videos, some photos and text, and even a Google doc.  But none of those things were lesson plans.  What might my lesson plan have been?  My lesson objectives are individual to me and my unique needs, according to my teaching philosophy, my schedule, my student body makeup, and so on.  Perhaps my objective is for my students to learn to use tooling foil with appropriate tools to achieve deep relief.  Perhaps there's an expectation for my students to learn the vocabulary of working with tooling foil.  Perhaps the objective is to use the medium of tooling foil to create masks that share various characteristics used in African masks, like symmetry, use of geometric shapes, exaggeration, and decorative pattern.  Perhaps the objective is to discover how tooling foil can be used in a collage, whether as an animal, a robot, or whatever.  Perhaps the objective is to use the foil to explore the tooled metal folk art of various cultures from around the world.  Do you get my point?
And maybe there will be, in your situation, a written companion piece to the art-making project.  Perhaps your lesson plan will include how an objective about completing the piece for display.   Maybe there will be a critique element to your lesson plan.
Lots of times, I see projects that seem to exist for the fun of the project, and nothing more.  In my current business teaching after school art to kids who simply want more art-making time, this is absolutely OK.  If anyone were to ask for my objective, it would simply be for my students to explore various materials, and have a positive art-making experience.  But that might not be enough in your school.
 By the way, if you want some instructions for any of the projects pictured in this post, please feel free to ask.  Just don't ask for my lesson plan!