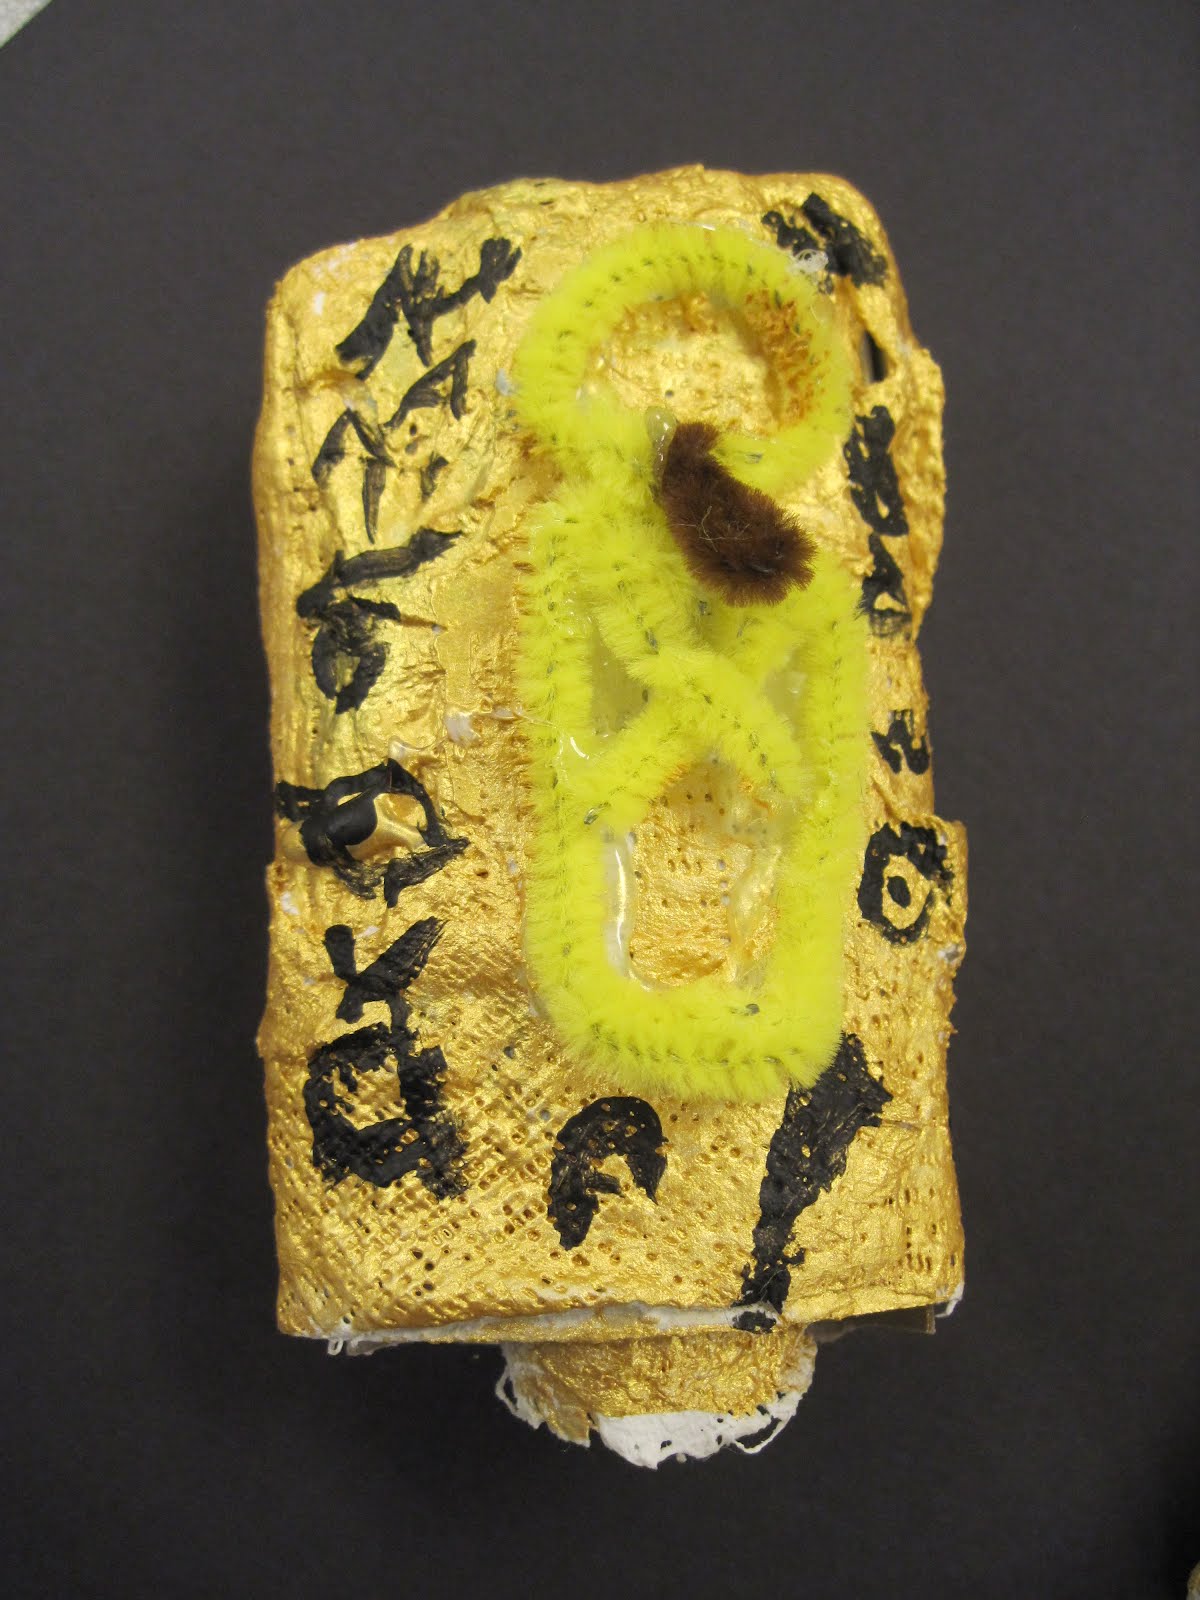
If you are a regular reader of this blog, you know that I love papier-mache, but the truth is, I also adore plaster bandage. While there are similarities (use them both as a final 'skin' over an armature) there are many differences as well that make one material or the other better for certain projects. For example, there's the smooth texture of papier-mache vs the rougher texture of the plaster bandage gauze. The big bonus about plaster bandage is that it sets quickly, whereas papier-mache takes a while to dry. So a project like this one would not have been possible with papier-mache.
Most of the photos in this post are from one of my earliest blog posts, 4 years ago, and the rest are from a post in 2013. I'm sharing them today as the first of several posts that will bring back some of my favorite projects, techniques, and more.
The project is begun by casting a finger. The only finger the kids were allowed to cast was their pointer (for obvious reason). To cast the finger, coat it first lightly with vaseline. Then wrap cut pieces of moistened plaster bandage for at least a couple of layers to make it strong. (We pre-cut the plaster bandage into pieces maybe 1"x2" or 3".) Remove from finger when dry. Most of my students were able to make two finger casts in one 40 minute class, if they followed directions.


How you set up for plaster bandage makes a HUGE difference. We cover all tables with large sheets of paper or cheapo plastic dropcloths that can be discarded. Sorry, this isn't my most eco-friendly project. All materials - scissors, plaster bandage, and water bowls - are kept in one location and returned there at the end of art, so that no painting water bowls are used by mistake, or good scissors. (I have junky scissors designated just for plaster bandage. You don't want kids ripping the strips.) The cut strips are placed in microwave dinner dishes, in the center of the tables. Water is placed in containers near the students. By the way, the warmer the water, the better/faster the plaster bandage will set!!! By putting the bandage in the middle of the table, and the water on the sides, basically you prevent water from getting unnecessarily dripped into (and ruining) a bunch of plaster bandage, which is too expensive to waste. Paper towels for blotting excess moisture are placed near the students.


To the left above is snowboarder Shawn White before he cut his long red hair.
The finger casts are left to dry, and in the next class, the real work begins. I plug in several low temp hot glue stations, and put out a heap of materials, including pipe cleaners, cereal box cardboard, and Styrofoam balls. If a Styrofoam ball is desired for the head, it is hot glued on for a temporary hold. Arms and legs might be added with pipe cleaners, getting glued on the back (two arms = one pipe cleaner piece). Wings would be cut out of cardboard. Kids are very ingenious about what to add to get the desired effect. (For example, beads make great 'boobies' for ballerinas and cheerleaders. I wish I had photos of them to show you!) *Note: the Mad Hatter in the photo above left is not complete. Somehow I never got a photo of the completed puppet. Below are an unfinished Elvis, and the 5th grade teacher who claims that Elvis is her husband.


Once the features have been hot-glued on the finger cast, then it's time for another round of plaster bandage. We use it like tape, attaching permanently heads, wings, arms and more. The kids could choose to leave the pipe cleaners partly uncovered if they wanted to be able to bend them. *Note - you cannot hot glue onto wet plaster bandage. It has to be completely dry.
Important - plaster bandage cleanup: pour water gently from containers into sink, leaving plaster sludge settled in the bottom of the water bowls. Do NOT pour it down the drain! Next class, the dried plaster can be tapped out of the bowls. All other materials are returned to starting location, and table coverings are rolling inwards from the edges and discarded. Tables are swept as needed. Do not sponge if you can avoid it; you'll leave a white haze on your tables!
Next up is time to paint! We used Nasco's Bulk-Krylic for a nice result. Once the painting is done, then the kids can embellish, using fabric, yarn, buttons, tissue paper, wooden sticks, colored foam, glitter glue, wiggle eyes, and so much more.
Here's the sun. There was also a moon.
The Easter Bunny!
An Egyptian mummy case
My students always loved making these puppets, so much, in fact, that they built puppet theaters, and even once held a puppet wedding. (Oh why didn't I take photos??) They made book characters, movie characters, every animal imaginable, crazy creatures, and even puppets of favorite teachers!
Below is a box of some of my (many) samples, in
many different stages. There's Professor Dumbledore, a frog, an eagle, a
penguin, and out of sight, a ballerina, a teddy bear, a rock 'n roll
band, and more.