Open up the photo above, and step WAY back and look at it. Squinting a little will help. How many colors are there? No doubt you see turquoise, and red, and probably a gold-yellow and a paler yellow. Guess what! The two yellows are actually the identical color! It is an illusion! None of the pieces pictured in the photo below has any more than three colors in it, even though you probably see at least four.
I posted about this intriguing project way back in 2011, but it's a post that hasn't had a lot of views, and it's a really interesting lesson, so I thought I'd share it with you again. This project is designed to show the effect that one color has on another.
The materials are simple: each student will need three sheets of 12"x18" construction paper - two dark colors and one light color. They will also need a ruler, a pencil, a scissors, and glue. That's it!
Watching students decide which colors are light and which ones are dark is actually pretty interesting. I guided decisions if I didn't think their choices would work, but sometimes we were surprised at the outcome. I recommend that the two dark colors be very different from each other - perhaps one warmer and one cooler color. And as long as the two dark choices are darker than the light color, the illusion should work. And if someone really wants to use white for their light, or black for a dark, don't discourage them. You'll never know the result until you actually see it! I had a huge selection of colors to choose from, not just the bright Tru-Rays, but the paler color pastels from cheaper brands. (If you only have the 'good stuff', ask an elementary teacher to trade a few sheets for some pale blues, yellows, or pinks perhaps.)
Then, the papers are labeled in a corner - one dark color is labeled 'A', and one is labeled 'B'. The light color is labeled 'C'. I gave each student a paper clip to hold the papers together at the end of ar class, so they only need to write their name one one sheet of paper (the C paper).
Also on the C paper, students copy the following color pattern off the board. Write it on a corner, near an edge, so it doesn't take up too much space on the paper. Here's the pattern:
A-B-A-B-A-B-C,
B-A-B-A-B-A-C,
A-B-A-B-A-B-C,
B-A... until you run out of paper.
A simple shape, no larger than a quarter, is cut out of the A paper and glued (we used good glue sticks) on the B paper, starting near a corner but not right on the edge. Each time a new piece is cut and glued onto the next layer, have them cross the letter of what was cut off the written pattern. Following the pattern is essential for the illusion to work.
Use the ruler to find an 1/8", and draw a shape around the original shape, larger by 1/8". Cut out the shape, glue it back onto the A paper, and cross it off the pattern. Repeat the process. Over and over again, measuring, cutting, gluing, crossing off, measuring, cutting, gluing, using the A paper, the B paper, and occasionally the C paper as per the pattern. Following the pattern is essential, as one time the C paper will be between two layers of color A, and the next time it will be between two layers of color B, and so on.
The most important thing to watch is that the kids do NOT skip all
over the paper cutting and gluing, or they will run out of paper too
soon. Start at a corner, and try to snug it in nice and close, each
time you glue it down to cut again. Remember, you only need a border of
1/8". Very rarely, if a student does not pay attention to this
instruction, you may need to give them an additional piece of paper in
order to finish the project. Or, sometimes, if they have a couple of
parts of a paper that are too small, you can have them overlap and glue
them together to create a larger piece.
Once they are done, have kids hold them up at a distance from other students, and then have students taking turns guessing what colors were used. You'll be amazed. Kids will guess as many as 7 or 8 colors on one illusion. You can't see the full effect here on the blog; you have to try it! The colors chosen will give halos of colors to the others, and the kids will absolutely not be able the guess the only three colors that were used. It's really pretty amazing.
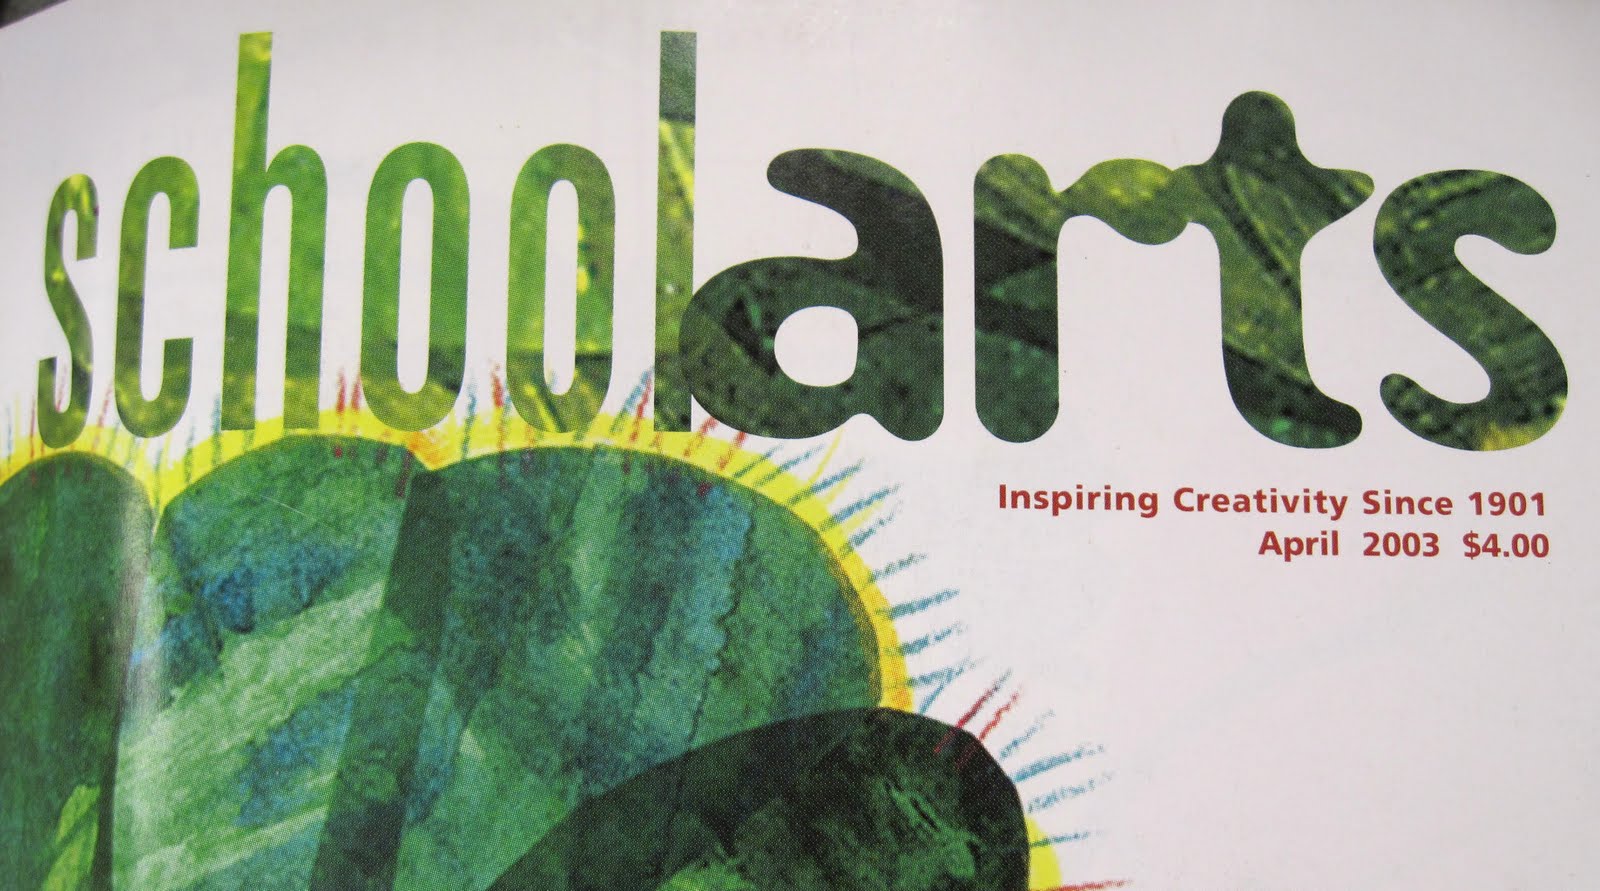
By the way, the original lesson for this was not my idea. I found it right here, in the April 2003 issue of School Arts Magazine!
One last thing - follow-up. Ask the kids how can they think they can use what they learn in their daily lives? Perhaps in clothing choices? In colors they pick to decorate their rooms? I have a purplish carpet in my living room (it is actually subtle blue and red fibers, but visually, it is a dull purple). Years ago, when we had a royal blue rug, the walls were painted a buttery yellow. When we replaced the carpet, and I could not find a tweedy blue like I wanted, we ended up with the purplish rug instead. As a result, because it is next to the yellow walls it looks gray! I can't believe I didn't think about how that would happen when we picked the carpet! (Of course the good side is that you cannot see the cat hair... or maybe that's the bad side?)
Anyhow, try one of these illusions yourself, and you'll want to do it with your students! I did it with 5th graders. You can try younger, if you think the kids could manage the pattern and the measuring, but be warned - if they make the borders much larger than 1/8", the illusion will not be as effective. So I'd do this with students who can carefully measure and follow the pattern. Have fun!
Showing posts with label color. Show all posts
Saturday, May 24, 2014
Monday, May 13, 2013
Pretty Pansies!
In my opinion, there is no better flower than the pansy. The rich vibrant colors make me happy. Each year, we plant pansies along a slate path from the back of our house to our driveway. On Mother's Day, we go to a couple of garden stores, is search of the selection of colors I want (everything!). It's interesting that what they offer changes from year to year. Last year, I couldn't find much red; this year there was a lot of red, but no peach or black to be found. Anyhow, here's a little selection from what we bought.
Labels:
color,
mother's day,
pansies
Wednesday, February 20, 2013
My evening with Cub Scouts
![]() |
| color spinner in progress |
The mom had told me they needed to work on primary and secondary colors, and I planned an activity. The funniest thing happened as we got started. I asked the boys if they remembered the primary colors (which of course I had taught them), and one boy blurted out 'RED, YELLOW BLUE!'. Then the rest of the boys, without skipping a beat, all shouted 'I HEAR YOU!' That was my catch phrase for getting the kids' attention in class. Then someone else came out with 'MACARONI AND CHEESE' and they all responded 'QUIET PLEASE!' - again, a classroom catch phrase of mine. It was so nice that help remembered without any provocation!
![]() |
| color wheel in progress |
And the boys also made color spinners on paper plates. They used both primary markers and scraps of primary construction paper (I actually gave them red, yellow, blue, turquoise, and magenta), alternating two colors that would visually mix when the plate spun. Fun, easy, and successful! The boy pictured above is testing his spinner before adding another color pattern.
The boy pictured below had a great time mixing lots of extra colors after he had finished the color wheel basics. What can be more fun than mixing colors?
All in all, it was fun evening. Thanks, boys, for inviting me!
Labels:
color,
color mixing,
primary colors
Monday, September 3, 2012
Compliments & Complements


Compliments to all my fellow art teacher-bloggers on the beautiful classrooms you have been posting to start the year. You've all done so much work getting ready, and your rooms look fabulous.
In honor of you all, I'm posting complementary colors I've found in nature, mostly of the red (or magenta) and green combo.


To my fellow New Yorkers who start school this week, have a wonderful start to a great year!
Labels:
art education,
color
Friday, August 3, 2012
Color color everywhere...
In the car today, driving to Maine, we found ourselves listening to an episode of RadioLab on NPR. The show was about one of my most favorite things -COLOR!!! We missed the beginning but I will listen to the rest by podcast. But meanwhile, I was so excited about the show I want you all to take a listen! It will absolutely get you thinking differently about color.
Since I'm posting via iPad, I'm hoping this link will work for you all. Check it out!
Saturday, February 11, 2012
Gray, silver, or white?
I found these on Pinterest a while ago. I'd love my hair to be long enough to braid like this (my goal is to look like an aging hippie), and I'd love to have the guts to color my (gray? silver? white? colorless?) hair this way. Isn't it awesome? Anyhow, this is a post about hair color and the things kids say.
Four times in one day. I swear.
My first graders were working intently on self-portraits, using mirrors and drawing with big pencils. In each class (there are 3 first grade classes) someone started coloring in his hair with the pencil. I reminded him/her that "We will be adding color to the drawings in our next art class, and besides, coloring with that pencil makes your hair look gray. The only person with gray hair in this room is me." (Actually I think my hair is silvery, but I also insist my gray car is silver.)
And in each class, the student responded "But Mrs. Brown, your hair isn't gray; it's white!"
The fourth time came later that day. A 6th grade boy stopped in for some help gluing together a chariot he'd made for a social studies project. I was asking him about the horse figurine he'd used, as it reminded me of one in a collection I had as a kid. It was a palomino like this:
He responded "I know why you like it so much, Mrs. B! It's tail is white, exactly like your hair!"
So that makes four.
There was a time when my hair looked like this, and everyone said it was black. It was dark, very dark brown, but it was NOT black.
So here's my college era hippie-hair (excuse the photo quality; they are scans of tiny photos):

Labels:
color,
elementary art,
Pinterest
Saturday, August 27, 2011
Indigo?
I've noticed a lot of people on Pinterest who are pinning a video (here's the link: Roy G Biv) by the musical group They Might be Giants to use in their classrooms.
Truth is, I have trouble with the whole Roy G. Biv acronym. As I said, I love teaching color; it's probably my favorite thing as an art teacher. But hey, my color wheel doesn't have indigo on it. I don't have a bottle of paint that says "indigo" on the label. What the heck is indigo, anyhow?!
In the video, the color pointed out as indigo (the second stripe from the bottom) looks like violet to me, and then the color they call violet (the bottom) looks like a blue-violet, actually almost ultramarine. (An aside here: there used to be a color of tempera paint in the Sax Versatemp line called "ultra blue" which was this type of blue, and mixed with magenta it made the most spectacular purples, but sadly it doesn't seem to exist any more.)
Anyhow, I tend to teach a traditional red/yellow/blue color theory, but then I tell the kids that there are different KINDS of reds and blues and you get such different results. I'll put out trays with red, yellow, blue, AND magenta (for a "substitute" red) and turquoise ("substitute" blue). I used to add the ultra blue as well. And then we mix away.
The kids discover they can make different violets and oranges if they substitute the magenta for the red, and they discover that if they mix them (red and magenta) together, they get a wonderful cherry color. We note that the turquoise makes a great green but a terrible purple, and then we discuss why (yellow in the turquoise). With ultra blue we used to discover a whole different range of violets. I show the kids that if they mix compliments, or all three primaries, or else just a random bunch of colors together, they might get all sorts of browns and grays. And we mix black and white and look at how much different the gray is from the one that we can get by mixing, for example, blue and orange.
So, cute as it is, no Roy G. Biv video for me. What are your thoughts on this?
Labels:
color,
color mixing,
color wheel,
elementary art
Sunday, June 19, 2011
What we did with our colorful coffee filters
With the school year running out, students had some fun creating with the "tie-dye" coffee filters they had created (with markers and a spray bottle filled with water).
Labels:
3rd grade,
4th grade,
coffee filters,
color,
elementary art,
tie-dye
Wednesday, June 8, 2011
I'm not a coffee drinker, but...
But boy do I love these giant coffee filters!!!
I left this project for my sub to begin while I was out, and boy are the results coming out spectacular! It started when I was given about a ZILLION giant coffee filters, from the nearby convenience store. How could I say no??
Each student (in this case, 3rd graders) got one filter and a 12" square of white paper. Their name went on the white paper, and the coffee filters were colored with Crayola markers, NOT the ones labeled "washable".They had to pay careful attention to the order of the wheel to prevent their filter turning to mud.
When the filter was colored, it was placed on top of the white paper, and brought to the "spray station". The filter was sprayed with water, and put away in the drying rack on top of the white paper. In all these photos, the dried filter is on the left, the white paper "print" from underneath is on the right.
The kids are cutting up the filters to make them into tie-dye T-shirts, etc, and hung on a bulletin board with a "clothesline". The white papers are being drawn/doodled into with Sharpies. I'll show you some when they are done. Two projedcts for the price of one!!
These filters would also make fabulous flowers, wouldn't they? And I'm also thinking Chihuly... I'm going to play with them to see what will work to make them hold in curved shapes.
Meanwhile, my sub is going to make them with kids in a summer program at her church, and they are going to stuff them and make them into fish with tissue paper tails, etc. Cool, huh? I want to do a project with them earlier in the year next year, so I have a chance to display them!
Labels:
Chihuly,
coffee filters,
color,
elementary art lessons,
tie-dye
Friday, May 27, 2011
Cakes!!
2nd graders learned about Wayne Thiebaud and then painted these fabulous cakes with tempera.
It was pretty challenging - we outlined with contrasting colors for "halation" and even though they were a small 9x12" size, we still hadn't gotten to painting backgrounds. As a matter of fact some kids were struggling to complete painting their fancy cakes during their art time.
So in the end, I said NO MORE PAINT and we cut them out and glued them on colored paper, which got decorated with an assortment of colored pencils, gel markers, and more. Any unpainted cake got completed with these materials as well, and the kids were happy. So they turned out pretty cool after all! YUM!
Here's (almost) the whole bulletin board:
Labels:
2nd grade,
color,
elementary art,
painting,
Wayne Thiebaud
Subscribe to:
Posts (Atom)


