


These are the first completed surreal collages made by my 4th graders.
They saw the 1/2 hour video "Get Surreal", produced by the Salvador Dali Museum in Florida. It is available for FREE to educators and is a fun, engaging, and informative production. The kids love the flying mustache! I strongly recommend this video.


The video discusses these characteristics of Surrealism: Dislocation (putting things where they are not usually found), Juxtaposition (putting things next to each other that don't usually belong together), Metamorphosis (changing something into something else), and Symbolism.

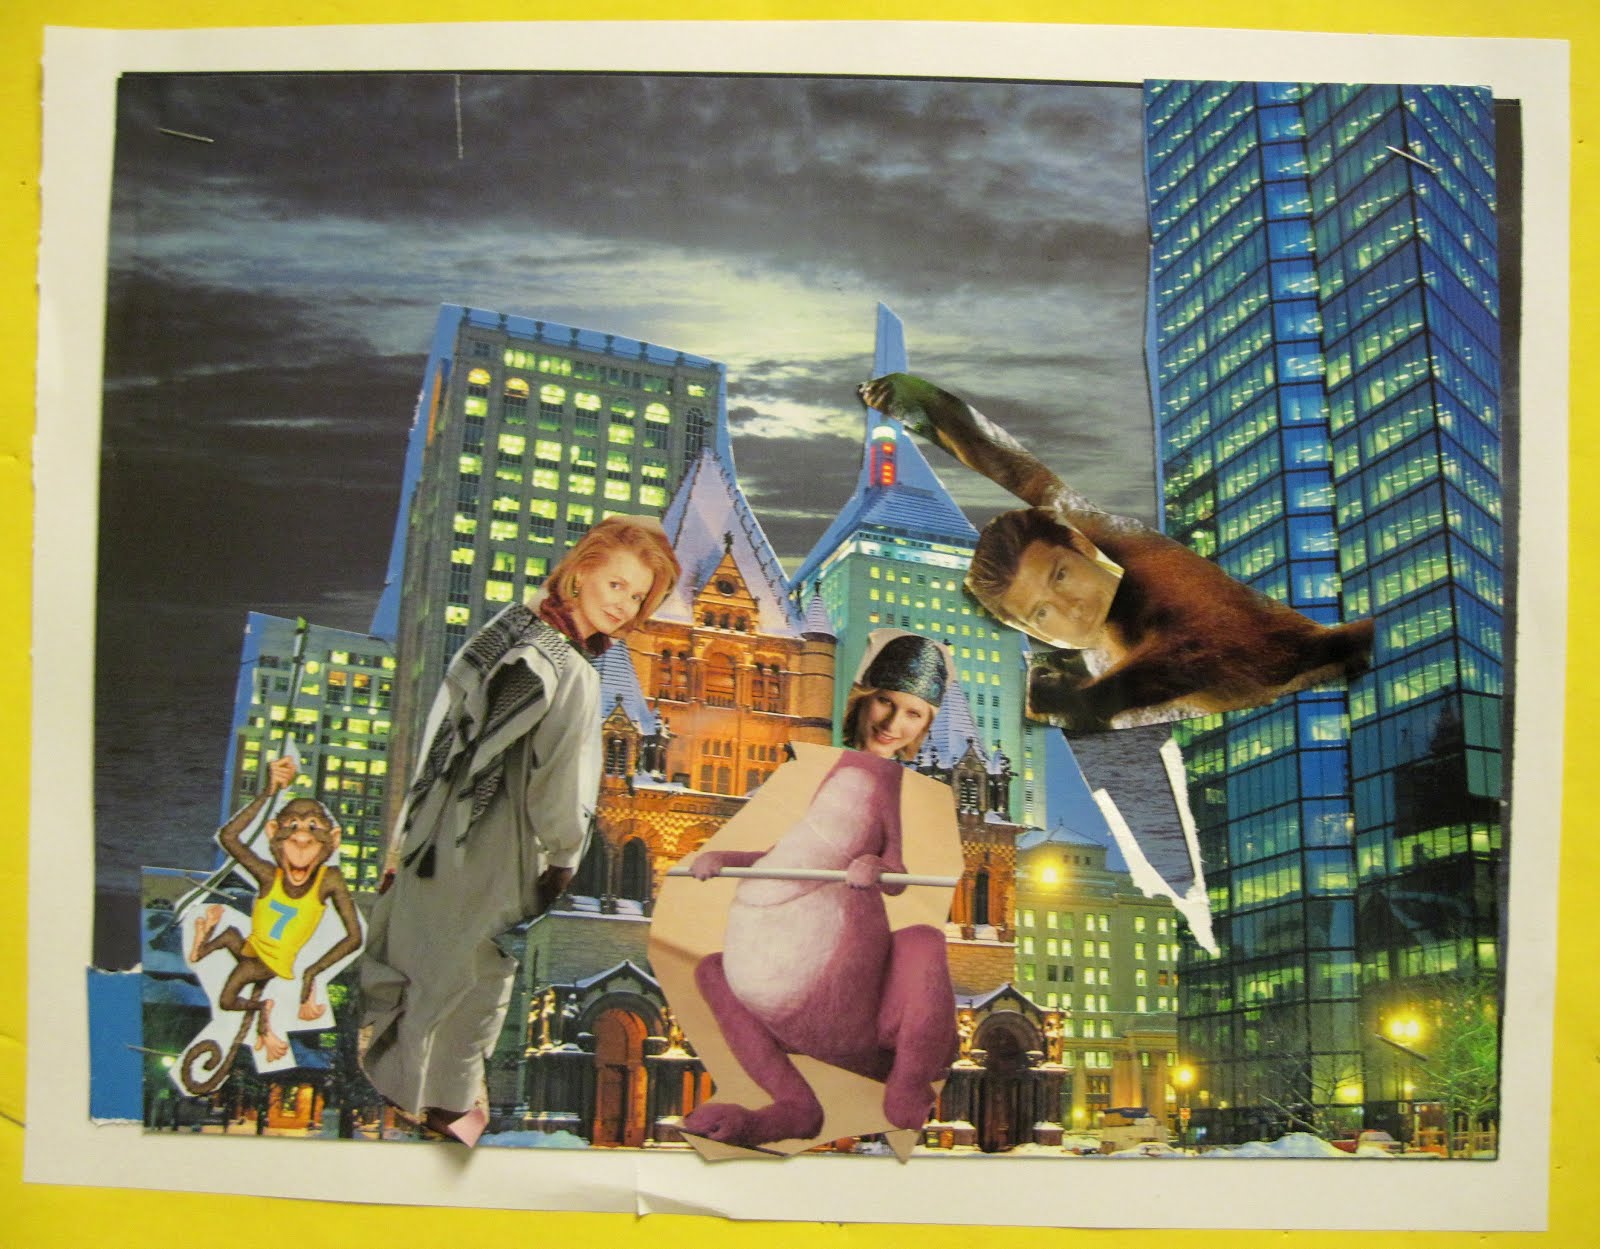
Each student was given a 9"x 12" piece of black oaktag. I have a box full of landscape and other images from calendars that they used to create their background environment. The rule was that the black tagboard had to be covered completely, so they often had to piece together images for their background.
I have boxes of old magazines: National Geographic Traveler, Adirondack Life, Ranger Rick, and assorted home and ladies magazines. Students were each given a gallon size Ziploc bag, and all images they clipped were stored in the bag along with their oaktag. I did not put out glue until everyone had plenty of time to collect an assortment of images to use.
We discussed how SILLY is OK, but offensive is not. They were not allowed to use images of underwear, alcohol, or weapons, and could not put things together that would upset or offend someone. We discussed what is appropriate for school, and the kids were so funny, tearing out and discarding images, especially from the ladies magazines, that referenced stuff they thought was "inappropriate". They were quite zealous about this!
I've done this project several times before, and I thought this year's students selected the oddest assortment of images ever. There was so much great stuff there, and they just passed it by for strange little things. But anyhow - I'll show you more when the rest are done next week.


