Showing posts with label marbling with shaving cream. Show all posts

Friday, January 11, 2019

Creating crazy colorful papers for collage

Here's the beginnings of new project with some fun preparatory steps!  Last week, my DragonWing Arts students painted large sheets of paper with black ink, and then painted over it as desired with a glittery paint.  These are going to become the backgrounds for colorful outer space collages.  We will also be splattering them with some white and silver paint, to create galaxies of stars. 
 So this week's task was to create some colorfully textured papers that can be cut into planets, or any other celestial object desired!  We did these several ways, using liquid watercolors and watercolor paper.  The technique used for the papers pictured in the photo at the top of this post was bubble-wrap printing.  The students wet their papers with a big brush, and then painted them with saturated colors.  Then, a piece of bubble wrap was placed on the wet paint, and some cardboard was placed on top to keep it in place as it dried.  Above are the results when dry. Yes, somehow I have purple bubble wrap!  The color has absolutely no function.  It's just pretty!
A similar process was used for the papers below, but instead of bubble wrap, students used crunched up pieces of wax paper and plastic wrap.  I love the color choices they made - there's paper created for an ice planet, and another for a fiery planet, and so on.
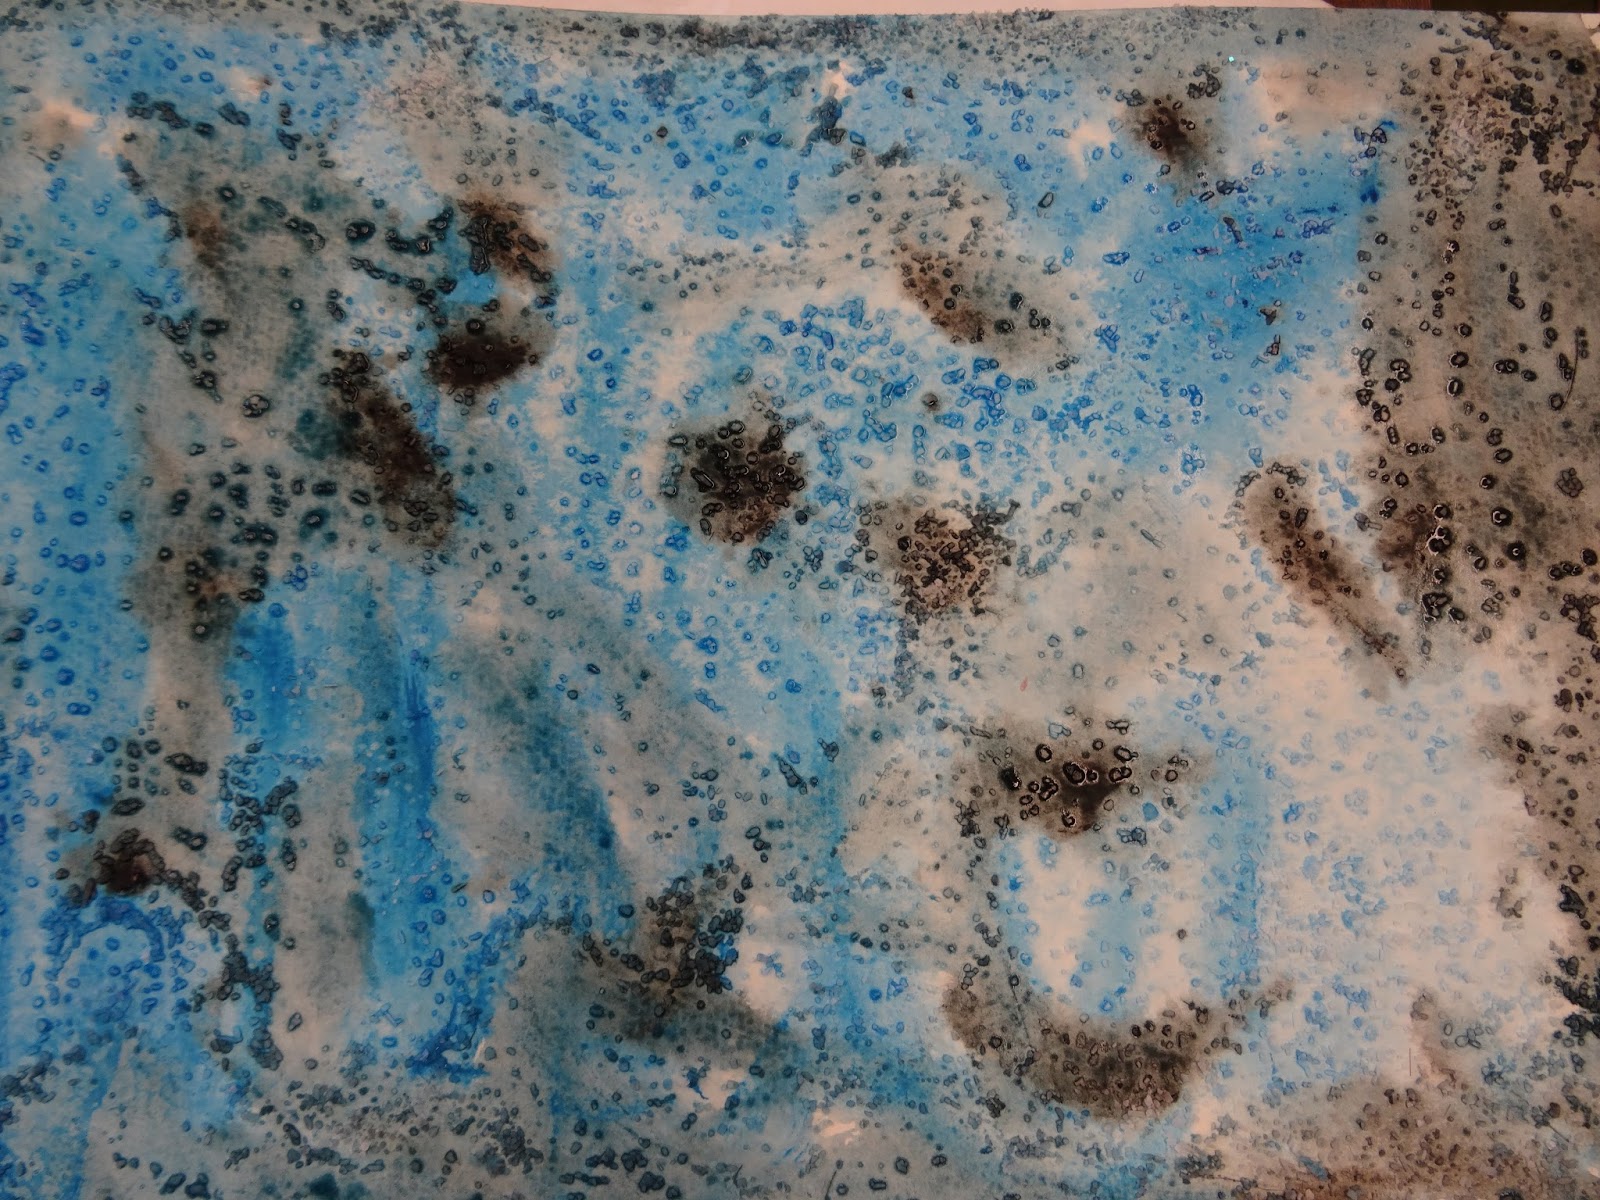
Students then saturated another piece of paper with wet watercolors and sprinkled them with salt. We used a mix of table salt and kosher salt.  The results, pictured below, are really lovely. 
 This one looks like it could be the earth!
Here's a couple more gorgeous closeups!
Finally, the students tried out shaving cream printing.  If you've never done this before, it is easy and messy, but its the kind of mess that cleans up easily.  Each student spread out some shaving cream on a tray.  They dripped liquid watercolors into the shaving cream, and swirled the colors with a fork or a pointy wooden stick. 
Then a piece of paper was pressed into the shaving cream, and the paper was squeegeed off afterward to remove excess shaving cream.  We used pop sticks today, but a rectangle of cardboard is also a great squeegee for this method.
 It's going to be fun to use all these papers to make our planets. If we have time, we will try some other techniques for even more planet paper!  Stay tuned...  we are working on a couple of other projects as well, so you won't be seeing the results for a few more weeks.

Saturday, May 21, 2016

Layered landscape collages with textured watercolored papers

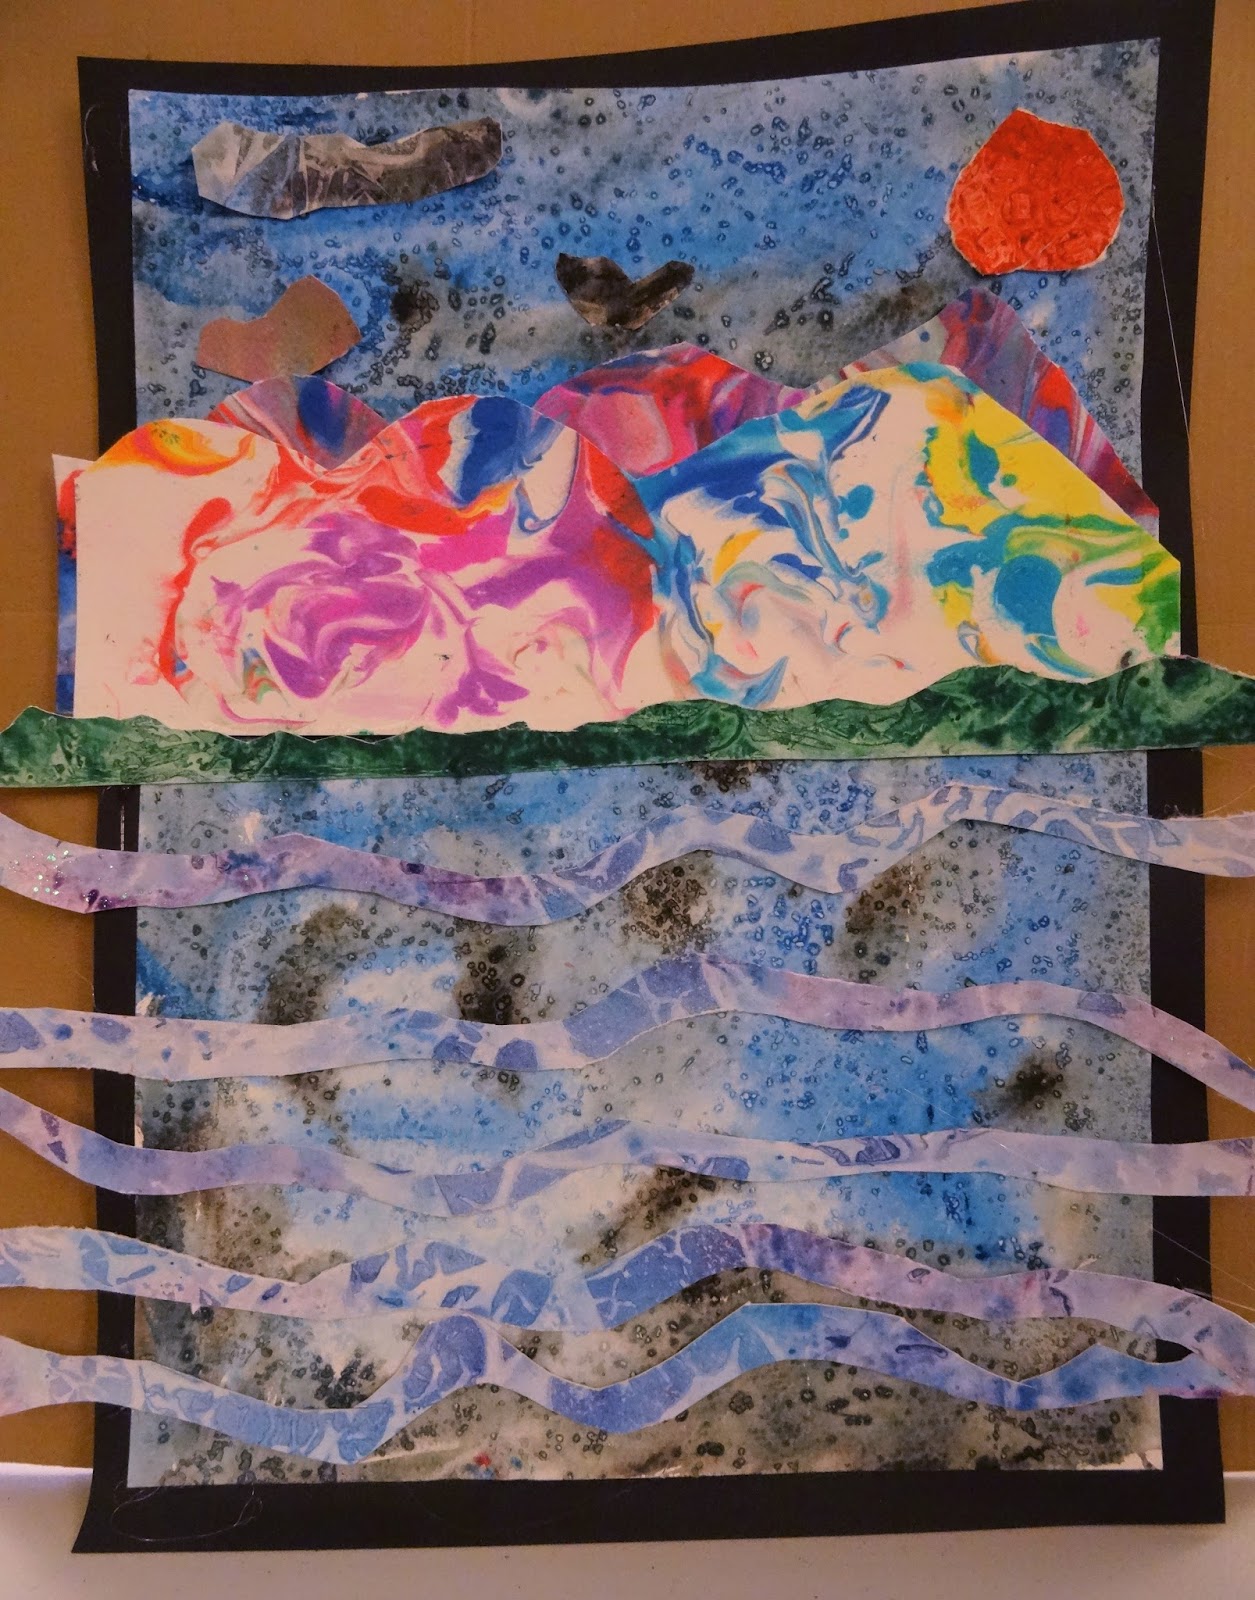
The theme of this 8-week session of DragonWing Arts was "SCAPES - Landscapes, Seascapes, Cloudscapes, Dreamscapes!".  My students completed several projects, including the toothpaste batiks I previously told you about in this post.  This week we finished another project, that I've been planning since the first class.  But, as usual, we ran out of time, so these fun layered landscape collages, with textured water-colored papers, were assembled in less than one hour.  This explains why I was not too picky when the kids sometimes didn't layer the landscapes properly.  We just didn't have time to nitpick!  The lively colorful piece pictured above was made by a third grade boy.

 We were in such a hurry to get done, I didn't get great photos of the completed projects, so these pics will have to do.  I especially loved the decision of the second grade girl who made the piece above, to work vertically and let her waves extend beyond the frame of the page.

 The landscape above was created by a third grade boy, and outlined with black Sharpie.  The papers used for these collages were created in prior art classes.  The base paper, which became the sky, was made using tube watercolors, on watercolor paper, textured with salt.  Below is a sampling of what they looked like.  We used some kosher salt for the first time, along with regular table salt, and it was rather strange.  It stuck to the watercolor paper and wouldn't come off!  So we left it there!

The mountain landscape below was created by a second grade girl. Papers used for the collages were created by marbling with liquid watercolors and shaving cream, and also using watercolors with bubble wrap, wax paper, or saran wrap applied to it.

Below is a sampling of some of the papers my four students created.  We used tube watercolors on watercolor paper.  I had experimented with liquid watercolors and wasn't satisfied with the results.  I had several sample tubes of liquid watercolors, and these worked great, since there was enough pigment to really make the textures show up.

 I think I need to invest in a drying rack! 

Back in April, we marbled some paper using shaving cream and liquid watercolors.  I wrote about the process here.  In that post, I didn't divulge what we were going to do with the marbled paper.  Which was a good thing, since we ran out of time to do everything I'd planned.  But I can tell you now that my original plan was to do landscape silhouettes with black ink on the marbled paper.  Instead, we incorporated the marbled papers into our landscape collages. 
 I had planned to have more time for the students to make these magical landscape collages, to look like some imaginary or fantasy landscape.  But we just lacked the time to add some of the extras I had intended.  Still, I love the way they turned out, and I'm proud of my kiddos for digging in and getting them complete in time for their final "art show" with their parents!

Here's my proud students showcasing all the work they completed this spring!
Like I said earlier, I've previously told you all about those circular "toothpaste batiks".  In a subsequent post, I promise will explain the colorful cityscapes and the two other smaller pieces the kids are showing, one of which was great fun in the making, but not exactly as successful as I'd hoped.  Live and learn!! 
 Look  under the table in the picture below.  There's a photo bomber!!

Thursday, April 14, 2016

Shaving cream marbling, yet again!

Yup.  We've been marbling with shaving cream again, so even though I've posted this process before, I thought I'd share it one more time.  As you can tell by my student's face above, it is rather fun.... 
My DragonWing Arts kiddos began by taping rectangles DIRECTLY ON THE TABLE, slightly larger than their papers. 
 Then, I let them squirt shaving cream into the rectangles.
They used way too much, but since I only paid $1 per can, I didn't care.
 The kids used cardboard rectangles to spread out the shaving cream to fill the taped rectangles.  It was kind of like frosting a cake.
We reviewed the color wheel and discussed what happens when complementary colors get mixed together.  Depending on the proportions, complementary colors mix together to make colors like baby poo brown, dead mouse gray, swamp water greenish brown, and all sorts of ugliness.  We didn't want to achieve those sort of colors in our marbling, so when the students squeezed liquid watercolors onto their shaving cream, they tried to keep the complementary colors away from each other.  But sometimes they ignored the rules, as in the purple and yellow next to each other below.
 We used plastic knives and forks to swirl the colors together.  I demonstrated how to swirl gently to keep the colors from getting muddy, but the kids really loved mixing them all together so they generally swirled them like crazy! 
Then, the kids put their papers face down on their swirled colorful wonderfulness, and pressed them into the shaving cream.
 Finally, cardboard rectangles were used again, this time to squeegee the shaving cream off of their papers to reveal the marbled patterns.  The kids then smoothed out the shaving cream into their rectangles on the table again, and repeated the process to create second pieces of marbled papers. 
Finally, we squeegeed the excess shaving cream off the table.  Some of it went into a bucket of water to dump in the sink, but since we don't have a sink in the room where the classes are held, some of the colorful shaving cream went into the garbage with the cardboard squeegees.  I'm betting the custodian was pretty confused by the colorful foam in the trashcan!  By the way, the kids' hands were quite colorful by the time we were done, but liquid watercolors are washable, unlike food coloring.  So while food coloring might work well, I don't advise using it! 

Below are the results of our marbling.  As you can see, some of them are a little muddier than others!  You'll have to wait a couple of weeks to see what we will be using the marbled papers for!!
 A few close-ups:
 I think this one below might be my example. 
 You can find other blog posts (from this blog) about marbling with shaving cream here, here, and here.  And some other fun with shaving cream, here. 

Friday, March 21, 2014

On shaving cream, coffee filters, color, and imagination!

"Mrs. Brown, WHY are you taking our pictures while we have such a mess going on?"

 Yesterday, two of my DragonWing Arts students finished up a passel of projects, including one using  marbled papers, and another using marker-dyed coffee filters. And of course our flying pigs...

 First, the marbling results:
 I recently shared the process I used for marbling with shaving cream, HERE.  

My students used photos that I had taken of them and printed for them, and added shapes they cut out of some scraps of previously painted paper, and also used a little Sharpie marker to enhance.  We didn't have a lot of time left in our class to work on these, but they were enthusiastic about just diving in!  The girl on her left was not wearing her glasses when I took the picture (they were broken) and I love that she added them in (along with a bracelet and earrings) with a Sharpie.

 And look at those flowers they are holding in their hands along with showing off their marbled collages!  Let me tell you about them, as well.
 In a previous class, we colored large coffee filters with Crayola markers (NOT the washable ones; I like the regular ones way better).  Another filter was placed underneath the colored filter, and the whole thing was sprayed with water.  The water blended the colors together, which soaked through the filter and colored the one underneath as well!  So each girl colored two filters, but ended up with four to use. Here's a sampling of what some of the filters looked like when drying.
 Two of the filters (and a little colored tissue paper, and some pipe cleaners) were used to put together the flowers that you saw in the girls' hands above, and here close-up in my hand.

 The other two coffee filters were used to make dragonflies or butterflies (you decide; I'm not sure which they are!)  The filters were each scrunched in the middle and wrapped with a pipe cleaner, and then wrapped together.  The girls cut out a body of 2 pieces of colored foam, cut pipe cleaner legs and antennas, and hot-glued them to the backside of the front of the body.  Then, the whole thing was hot glued together, and was embellished as desired, with eyeballs, beads on the antennas, Sharpie and/or glitter glue on the body, and a ribbon or yarn to hang it if desired. How stinkin' cute are these?
The proud artists!
 I'll share the flying pig results another day, along with the results of these projects with my third student, who unfortunately was sick yesterday.

By the way, this was there last art class of the winter session, and one more project (using more photos I took of them) was sent home with the kids to finish in their leisure, since we simply ran out of time.  I'll be curious to see what they do.  Here's what I gave them:
Wonder what they are dreaming about, or imagining?  So do I!