Showing posts with label toothpaste batik. Show all posts

Wednesday, March 27, 2019

NAEA Boston - my 2 workshops

I taught 2 workshops at this year's NAEA convention - Get Deep Relief with Totally Terrific Tooling Foil and Using the Unexpected
The first, Get Deep Relief with Totally Terrific Tooling Foil, was a 1 hour and 50 minute ticketed studio workshop.  I'm amazed that the attendees were able to complete such fabulous pieces in the time allotted.  The time seemed to fly by very quickly! 
 I believe the attendee who made the adorable sheep (or is it a lamb?) below plans to add color to help identify his eyes.  I think it will be really cool!
Here is the class, learning the basics, and getting started.
The pic below is someone looking at some of my samples.
And a few more fabulous pieces made by attendees.
Some attendees didn't have time to do the 'antiquing' process, using ink and steel wool.  I hope that they will send me pics of their pieces when they are complete!
I'm not going to go into process details here, because they are posted previously on this blog.  You can find my video tutorials for working with tooling foil HERE, and you can find a link to a handout called "Oh What a Relief" on my Document Weblinks tab, HERE.  To see pics from last year's tooling foil workshop at NAEA, go HERE.
Tons of samples / examples!

My second workshop, Using the Unexpected, was a slide presentation, where I talked about using materials such as toothpaste for an imitation batik resist (example in the pic below), roofing felt as a painting surface, Sheetrock for relief carving, sand as a textural medium for paint, shaving cream for marbling, and more. 
It was a nice big room with most of the seats filled.  I didn't count, but based on the number of rows of chairs, I think there were about 150 people there!!  To access the handout and a PDF of my slide presentation, you can again find them on my Documents Weblinks tab on this blog, HERE.
I really enjoyed teaching the workshops this year, and I think my attendees were mostly quite happy!  But unfortunately there is always a downside, and I want to share that with you as well.  In my tooling foil workshop, during the hectic closing minutes, some visitors stopped in and looked around, and took some pictures.  I should have chased them out, but I thought perhaps they had friends in the workshop.  Unfortunately, I learned the next day that one of them had stolen the kit of materials from one of my attendees.  How awful!  With 6 or 7 thousand art teachers at the convention, there'd be no way to ever find or identify them. 
Then, the next day, someone placed a recording device on the front table in my workshop, to record my presentation, and forgot to pick it up at the end.  It's usually me that leaves things behind and loses them at conventions, so I feel very badly for the gentleman who was recording my presentation to bring back to the rest of his department.  I hope he is able to recover it!

Friday, June 8, 2018

Three projects, all complete!

This spring, my DragonWing Arts students completed three projects in a 7-week after-school session.  There were toothpaste batik pillows and puzzle paintings (one of each, pictured above), and stocking sculptures, which you'll see later in this post! 

 I've done toothpaste batik with my students many times before, but this time I think we lost a little more color than usual on the final products.  But still, the kids were happy with them. I gave them lots of ideas, encouraging them to add borders, to use full-strength vibrant colors, and suggesting abstract designs.  But they had their own minds and because this isn't 'school', I feel like I have to let them do what will ultimately be what they want.  If you want to know more about the toothpaste batik process, and see some other student toothpaste batik projects, you can find posts HERE, HERE, HERE, and HERE. (And HERE, for my toothpaste batik shirt!)  Above are pictured the painted fabric, mostly complete, before washing out the resist.  Below, finished pillows.  Due to time considerations, I sewed the pillows on my machine, and the kids stuffed them and sewed up the openings. 
 
Here's my painted sample, ready to wash.  Sorry no pic of the finished product.

For the puzzle paintings, I was given a bunch of wooden frames, each inset with 9 wooden squares.  I made an example that was a design where the pieces were interchangeable and matched up no matter what.  I thought they'd want to do that, too.  Both of the boys in the class did.  But three of the four girls had different ideas, and again, I let them roll with it! 
 We started by priming all the parts with gesso.  Here's a picture to help you understand what it looked like prior to painting.
 Here's 4 of the finished products.  There's one more in the pic at the top of the post, and I'm missing a pic of the 6th project.  I still have LOTS more of these boards and I'm going to experiment with other ideas for how to use them.

 Many of you have made the stocking sculptures, so I'll give just a very brief explanation.  You can read more about this project in a prior blog post, HERE.
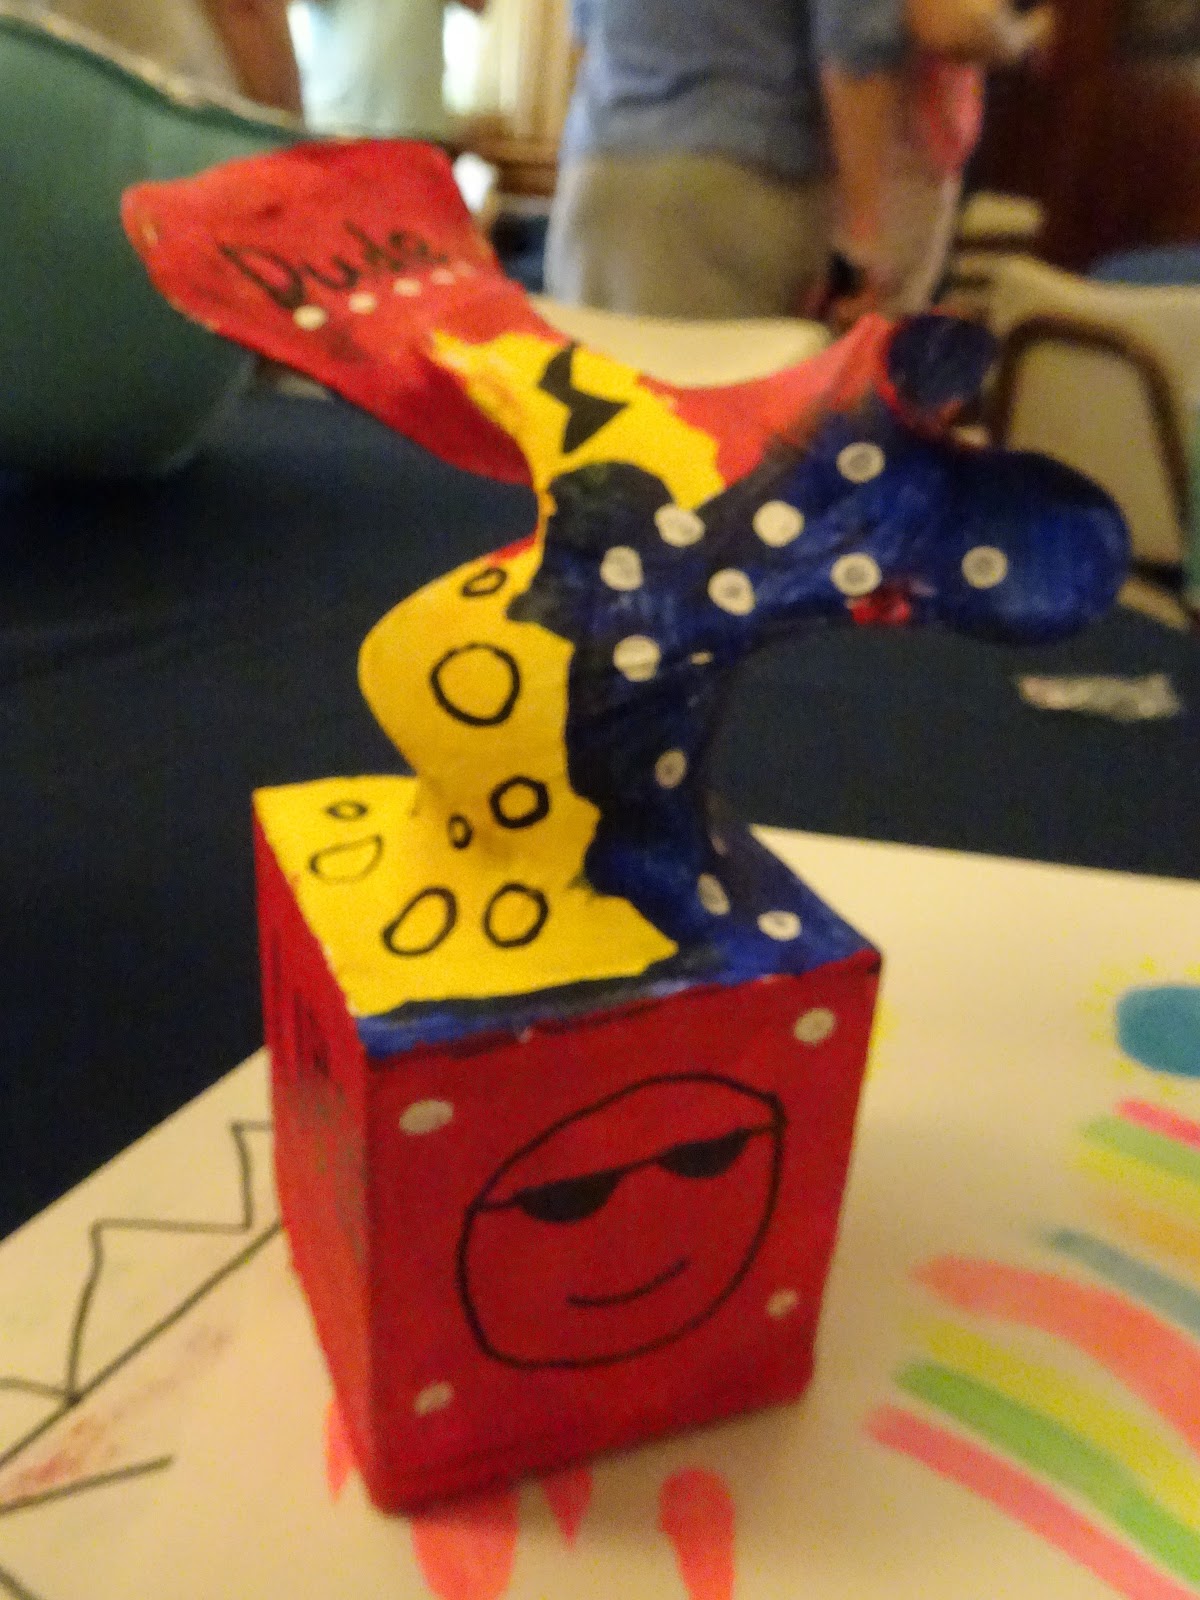
The sculpture structure is a nylon sock, which has been pulled over bent and twisted pieces of wire that are inserted at both ends into a wood block.  We primed them all with gesso before painting. White house paint works well, too.  Basically, the paint stiffens up the nylon sock, making them easy to paint (we use acrylics).
 Here's some of the finished products.  I'm again missing a pic of one of them. I had several finished samples to show the kids, but I let them choose how they wanted to paint theirs. I painted a demo piece with organic faces that fit onto each side.  Sorry, no pic of it!

 One more toothpaste batik pillow before I end this post. 
OOPS the pic is upside down...

DragonWing Arts is now on summer break, but the blog is not.  Still more art stuff to share, including my own artwork!  But when I'm not blogging, I can be found paddling in my kayak with my camera in my lap, or sitting on the dock with a good book, or with my easel set up outdoors for some painting!

Wednesday, March 8, 2017

Toothpaste Batik at NAEA!

The NAEA convention in NY city is over, and I have so much I want to share, that I'll have to break it into a handful of posts.  Today's post is about the two workshops I taught at the convention.  One workshop, a quickie 25 minutes, was called "Sink your Teeth into Toothpaste Batik".  The goal was to simply review the process to give people the info they need to do it on their own, and to share some examples.  I think the lure of toothpaste as an art medium had people intrigued, because to say that it was crowded would be an understatement!  People were everywhere!!!!  Look at them all!!
 I've previously blogged about the toothpaste batik process and results, HERE, HERE, and HERE, and some other places too (use the labels at the bottom of the blog to find them all) so I'm not going to go over the step-by-step again in this post.  Instead, here are links to the handout and PowerPoint that were shared with workshop attendees.  They are also shared on the Document Weblinks tab on the upper right of the blog, if viewed in your browser. 
Meanwhile, what is everyone laughing about in the photo below?  It's simple, really!  I had a bottle of "not glue", the name I use for the mix of toothpaste and lotion that is used for a resist.  I wanted to pass it around toward the back of the room, so they could see it, so I tossed the bottle into the crowd.  Unfortunately, I am not an athlete, and didn't control my throw.  I believe I hit someone in the head.  Thank goodness everyone was laughing!!!
Look at this, there's even people sitting behind me on the floor, and under the beam of the  projector!
I hope it was a worthwhile workshop for everyone there!
Thanks to Kim and Karen (bloggers at Kim & Karen: 2 Soul Sisters) for your total awesomeness!  These two fabulous ladies volunteered to help me.  So handed my camera over to one of them (Kim? Karen?  I wish I could remember which sister is which!) who took these pics in the very poor light of the workshop room.  Thank you, ladies!  So glad to finally meet you, after reading your blog for so many years.

I also taught a ticketed hands-on workshop called "The Amazing Flexagon - Magic with Art and Math".  I've blogged about this project before several times; HERE's one such link
I wish I'd remembered to take more pictures, so you could see what the participants were making, but the time flew by and suddenly we were all cleaning up to go.I hope everyone enjoyed their time making these fun mathematical constructions!
Did you make it to the NAEA convention this year?  Did you have a favorite workshop you attended?  If you attended either of my workshops, and you do these projects with your students, I'd love it if you'd send me photos of their work.  And if you finished your own flexagon samples, I'd appreciate it if you'd share those with me too!!

Tuesday, September 6, 2016

Yippee! Two workshops at NAEA!

Hey, readers - I want to share some super-awesome fabulous news with you!  I submitted workshop proposals for the NAEA (National Art Ed Assoc) Convention that will be held in NYC this coming March, and a couple of days ago I received notification that they were BOTH approved!!!  There was just a 35% acceptance rate, so I'm exceptionally proud to have been approved for two out of two!
If you are going to the convention, here's what I'm presenting:
The Amazing Flexagon: Magic with Art and Math is a 2-hour ticketed hands-on workshop. 

Sink Your Teeth into Toothpaste Batik! is a 30 minute workshop, which included a hands-on demonstration.
 
These are both topics I've written about repeatedly here on the blog.  
 And both are topics/processes that I absolutely LOVE to share about.
 I'd love to see you there in NYC this March!