So, a while back I posted
part 1 of my NYSATA conference adventures, and told you about teaching a workshop in t
ooling foil relief, and I'm back to share part 2 of my conference experience today. There is still a part 3, and maybe even a part 4 to come!
 |
| 'Octopus in a Box' relief carving in Sheetrock |
Besides the
Tooling Foil, I taught two other workshops at the conference. One of these was a
'Friday After Dark' workshop, which are intended as extended hands-on workshops, for a fee, after dinner on Friday night (8:30-11pm). Usually people are looking for a unique experience at this time, and less concerned about classroom relevance. Also, at this time of night they want freedom, flexibility, and limited lecture, so I planned accordingly. The topic of my
Friday After Dark workshop was
Relief Carving in Sheetrock. (I've previously posted about the work my 6th graders have done with this inexpensive and versatile material, and blogged about the Egyptian cartouche project we've done with this material in several posts over the years. Here's
a link to one of them.)
 |
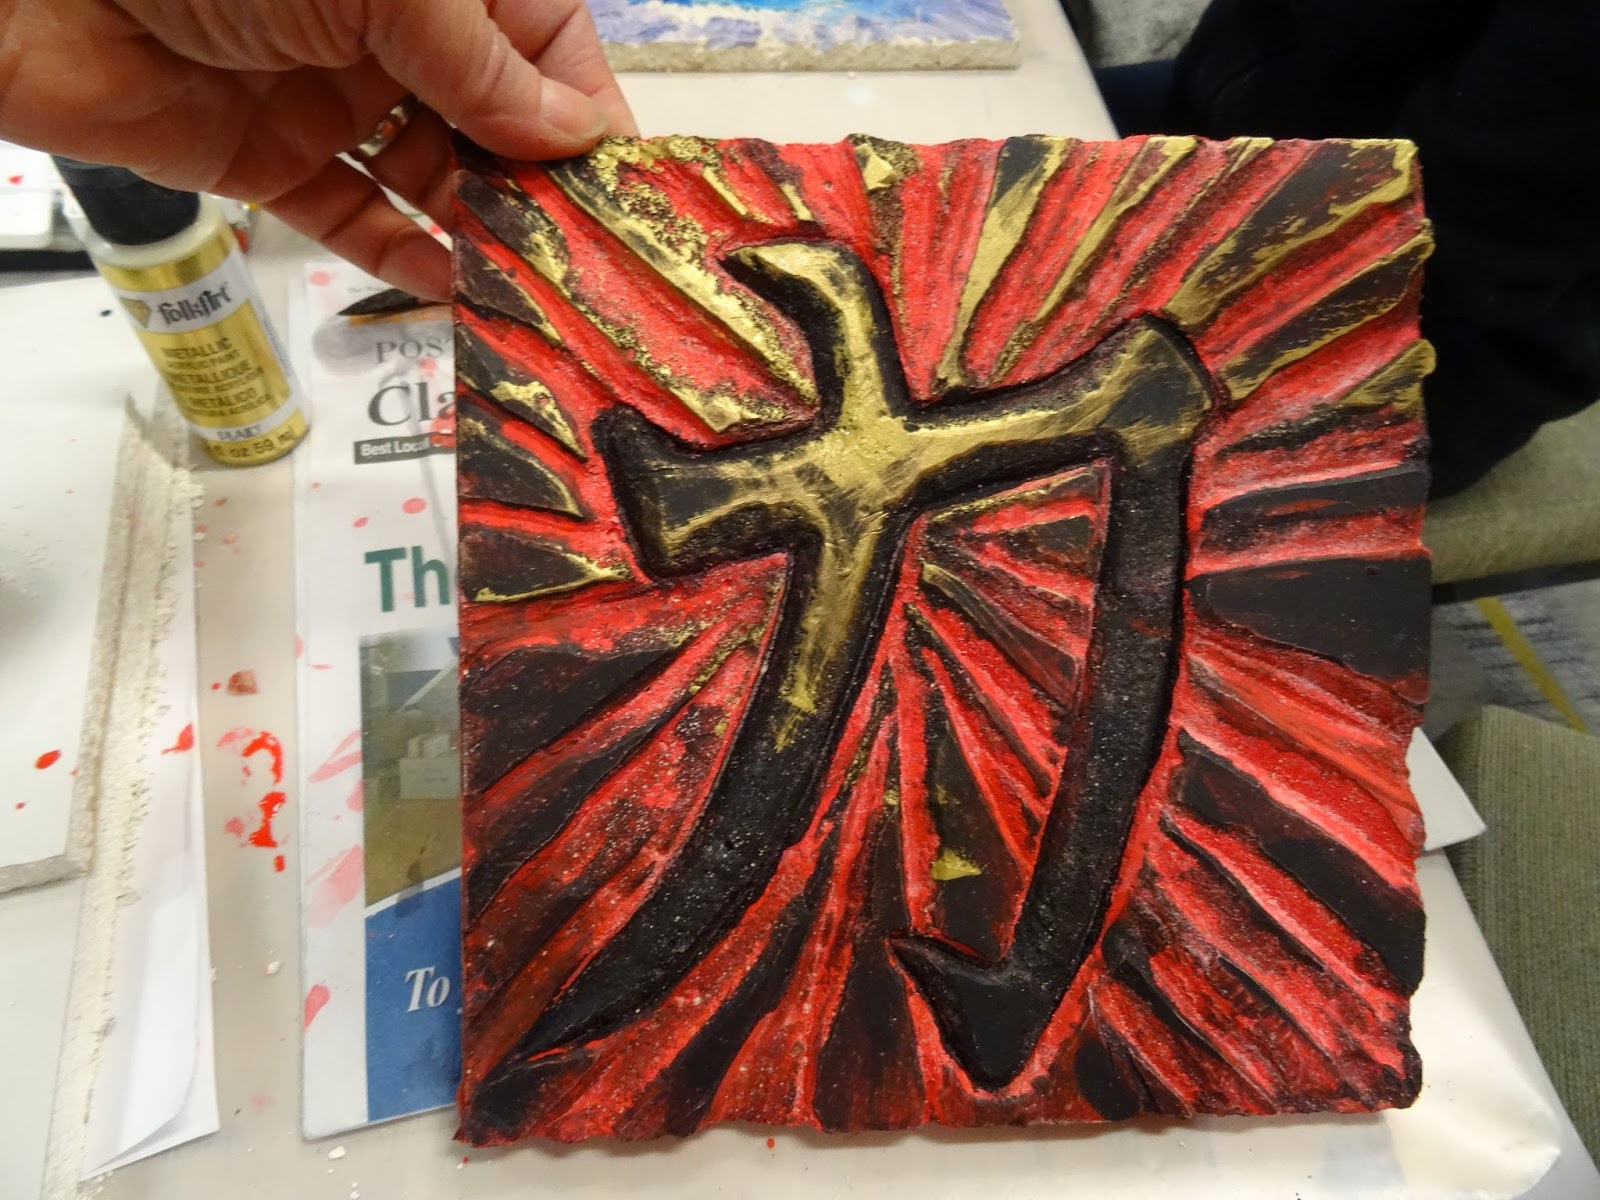
| 'Power' relief carving in Sheetrock |
Students learned, first of all, when selecting Sheetrock, you'll want to check for fiberglass fibers that look like millions of tiny little pieces of hair sticking out of the cut edges of the Sheetrock. You do NOT want to use any Sheetrock that has these fibers - it can be itchy and even painful. Luckily, it is easy to spot once you know what you are looking for, so I made sure to provide material that did not have these fibers. I pre-cut the Sheetrock into various rectangular and square sizes. Each Friday After Dark student was able to carve one piece and take two more home with them for continued experimentation! By the way, all photos in this post (including the two above) are from work done by my art educator students during this workshop.
 |
| My Friday night students, selecting their Sheetrock. That's me on the right. |
We used small wet sponges, our thumbs, and a little patience to peel the paper surface from the front of the Sheetrock. We left the heavier cardboard backing on the other side. Here are my students, peeling away..
Then, once peeled, they could pre-draw a design on pencil, or just dive in! My many suggestions for ideas included geometric design, landscapes, masks/faces, and more. I figured, in a room full of 20 art teachers there would be no shortage of fabulous ideas! My exemplars (not pictured here) included a couple of African-inspired masks, a landscape, and several cartouche samples.
Oh my goodness, everyone is so hard at work!!
We discussed the options of relief carving, versus simple line engraving. We also discussed the various options for paint, including watercolor, tempera, acrylic (including metallics) and ink, and how (and why) they could be used both before carving and after; and we discussed how color could be layered to achieve a rich patina; and we discussed how to use black either first or last, and how to rub on a final coat of color or black so that grooves could be filled with black to highlight texture. Everyone had fun experimenting! Here's a sampling of what my participants did (work-in-progress).
 |
| This design was based on quilt squares. |
 |
| the beginnings of the octopus-in-a-box |
 |
| Unfortunately I never got a later photo of this sweet elephant :( |
 |
| or of this cool abstraction... |
 |
| A friend stopped in to visit. She was attending a face-painting Friday-After-Dark workshop. |
 |
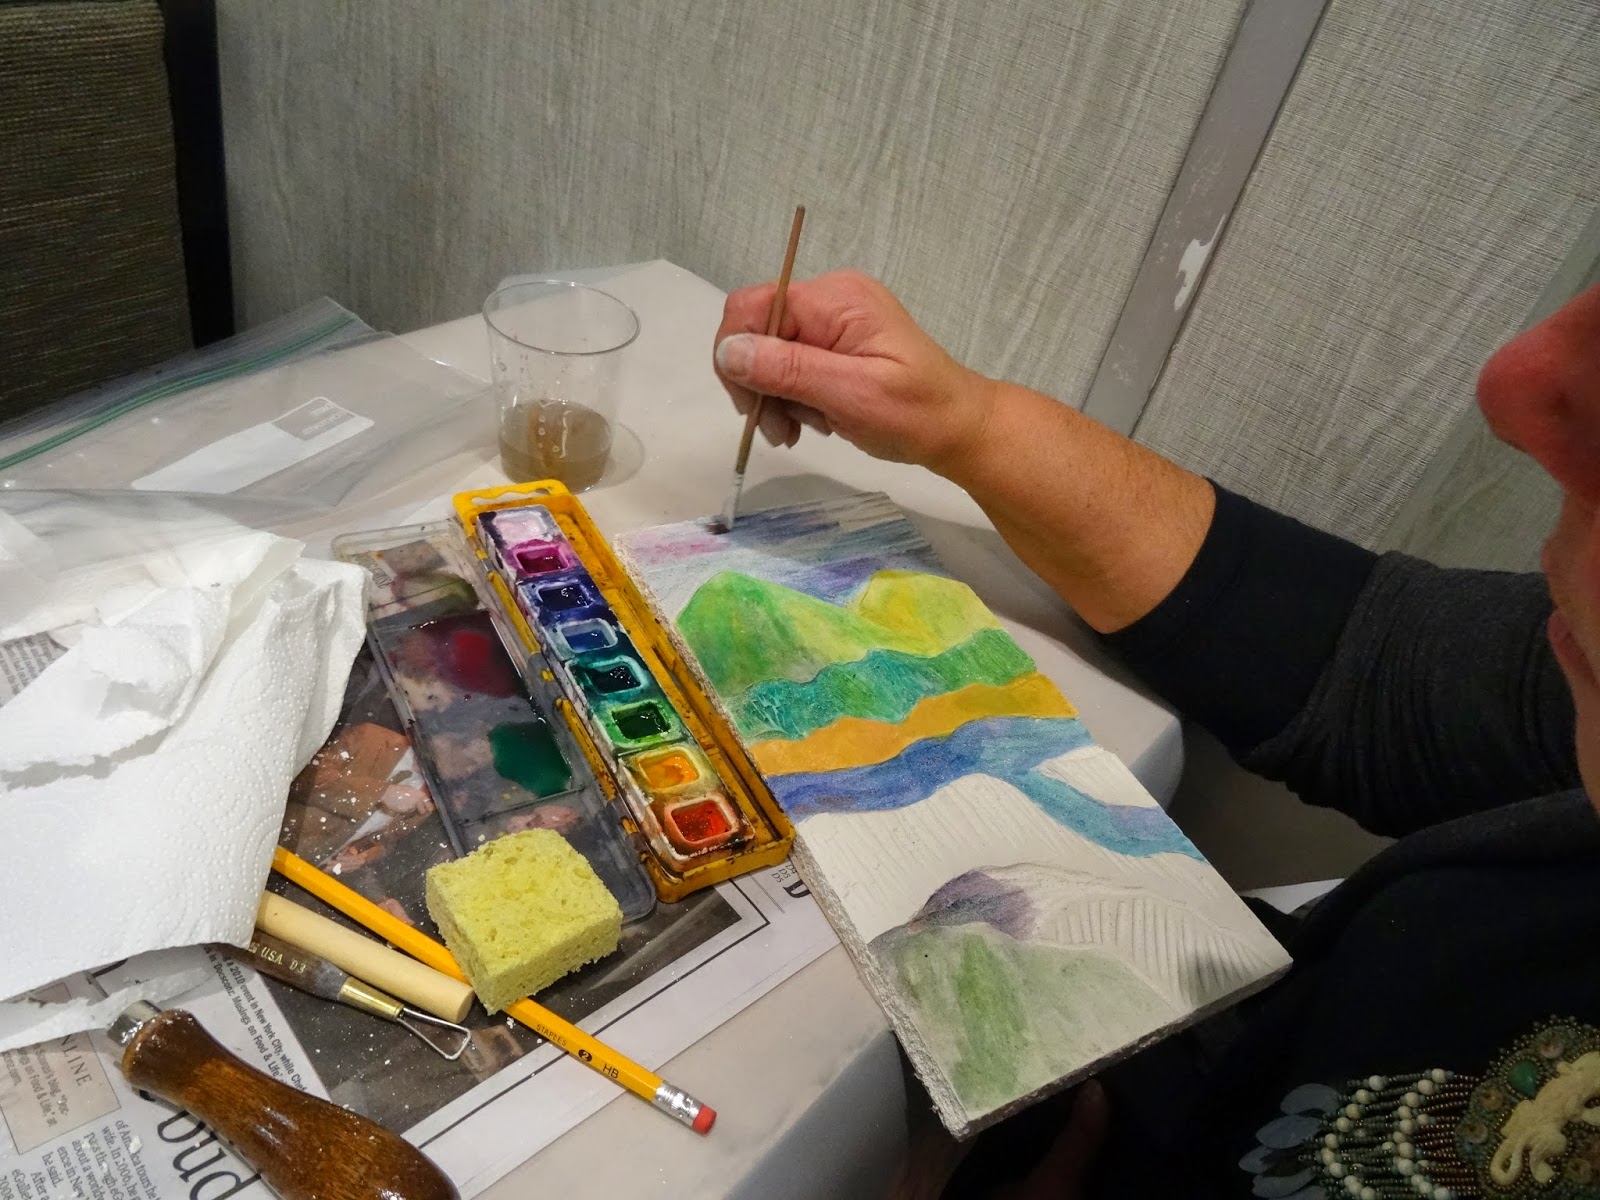
| This person was experimenting with water-soluble oil-pastels. Interesting! |
 |
| A final coating of Mod Podge will seal this watercolor treatment and give it a beautiful sheen. |
The final (unfinished) example above was being done by a pre-service college student who had been assigned to my room as an assistant. I really like where she is going with this simple rhythm and texture.
All-in-all, it was a successful workshop, and a fun end to a great day. Please let me know if you have any questions about Sheetrock carving. Don't be afraid to give it a try!