Thursday, May 29, 2014

A little bloggy giveaway!

A while back, I expressed my desire for my blog to hit the big round number of 1000 followers.  In response, my readers reminded me that Google Friend Connect is sort of passé, and that many people are now following me through Blogloving or some other reader, and that I probably have a lot more readers than I know.  And I suppose that's true, so I decided not to fret over the almost-round number.  But few days ago I discovered that, while I wasn't paying attention, my numbers had been slowly, quietly creeping up, and I actually had passed my goal of 1000 followers on Google without even noticing!  Right now have reached the grand total of 1002.
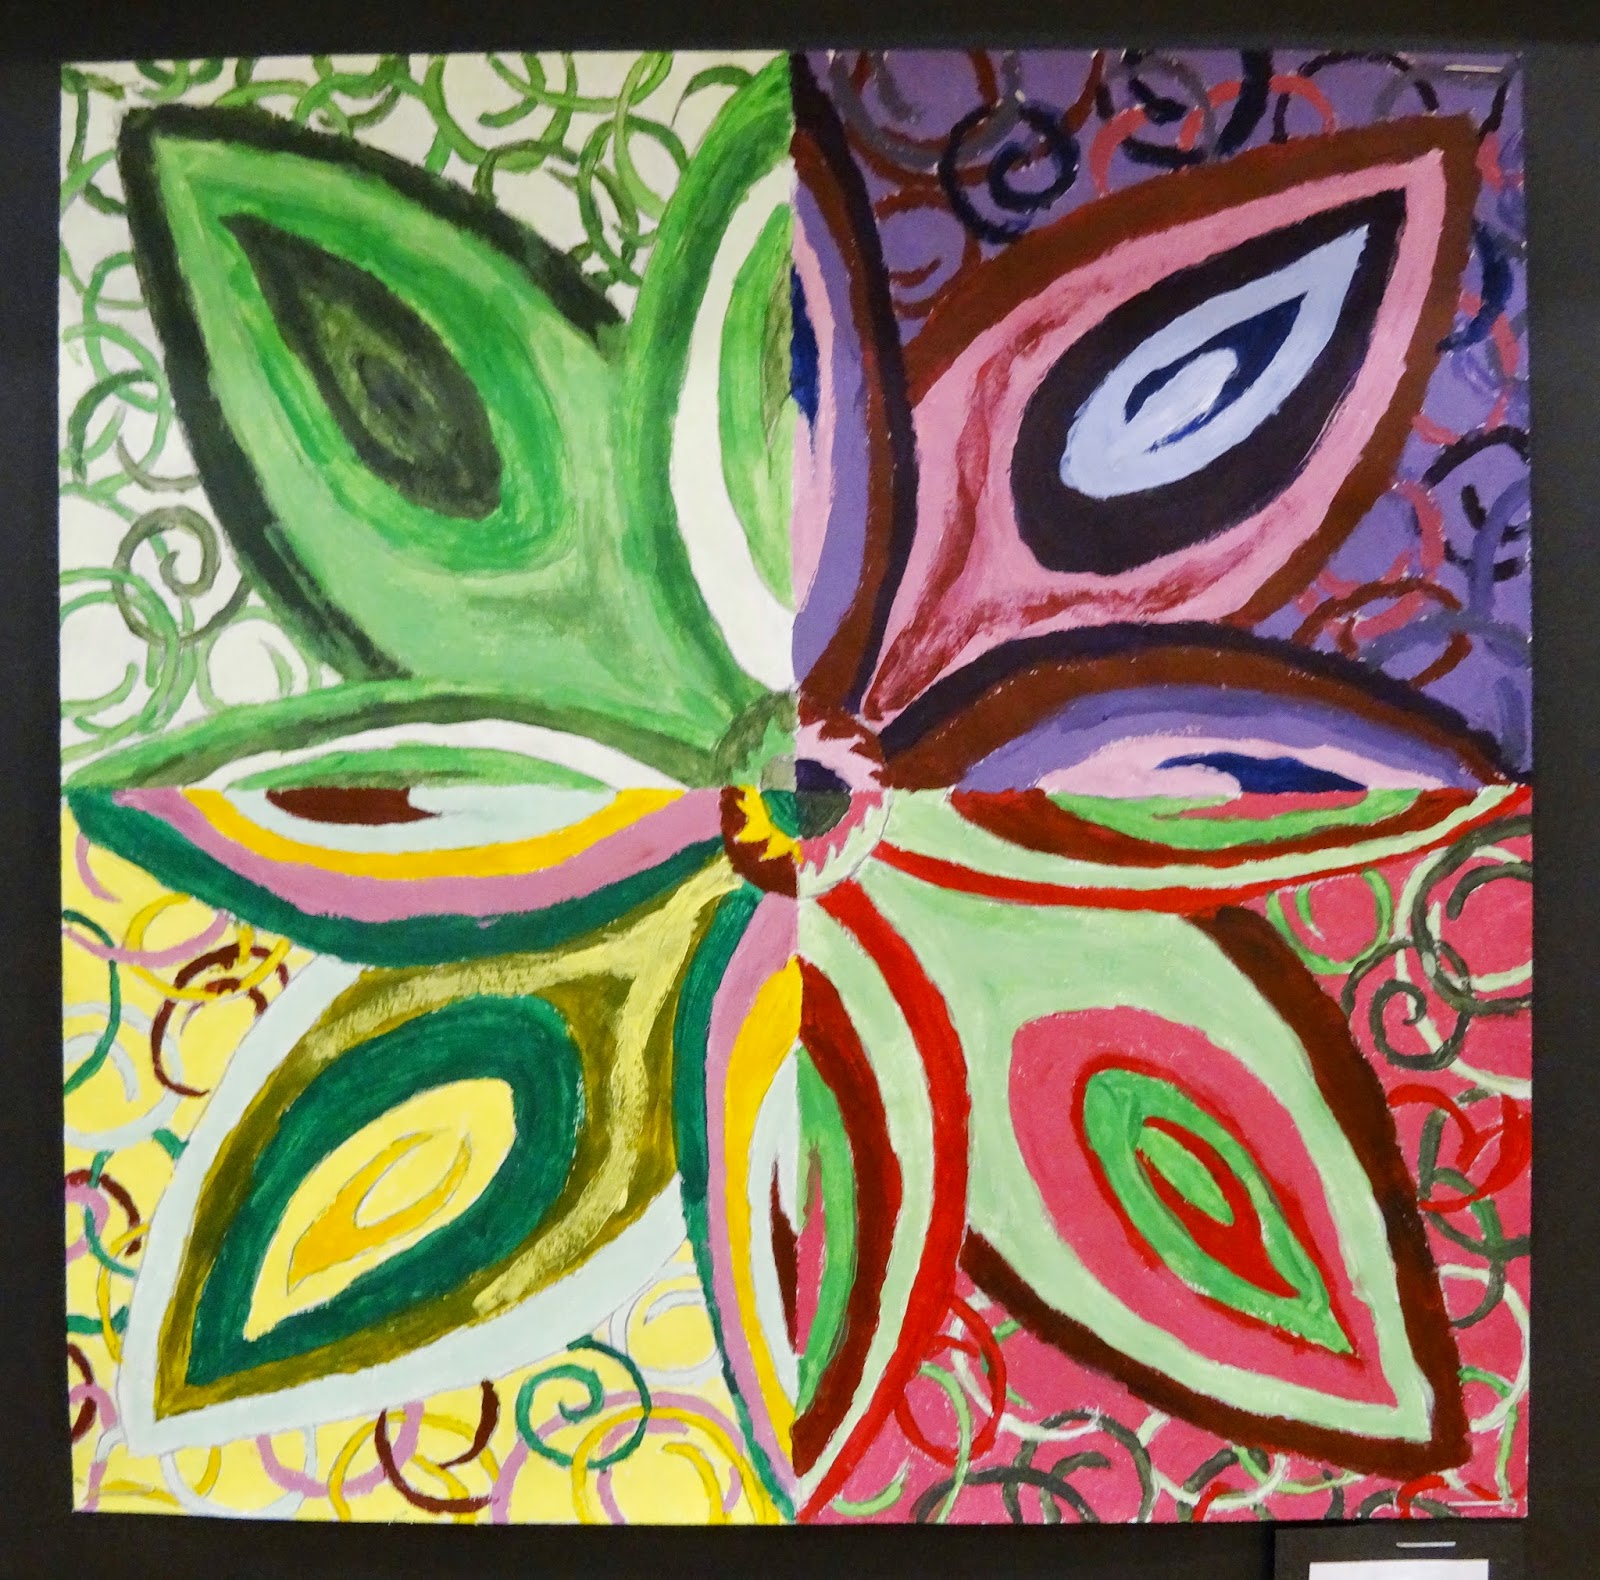
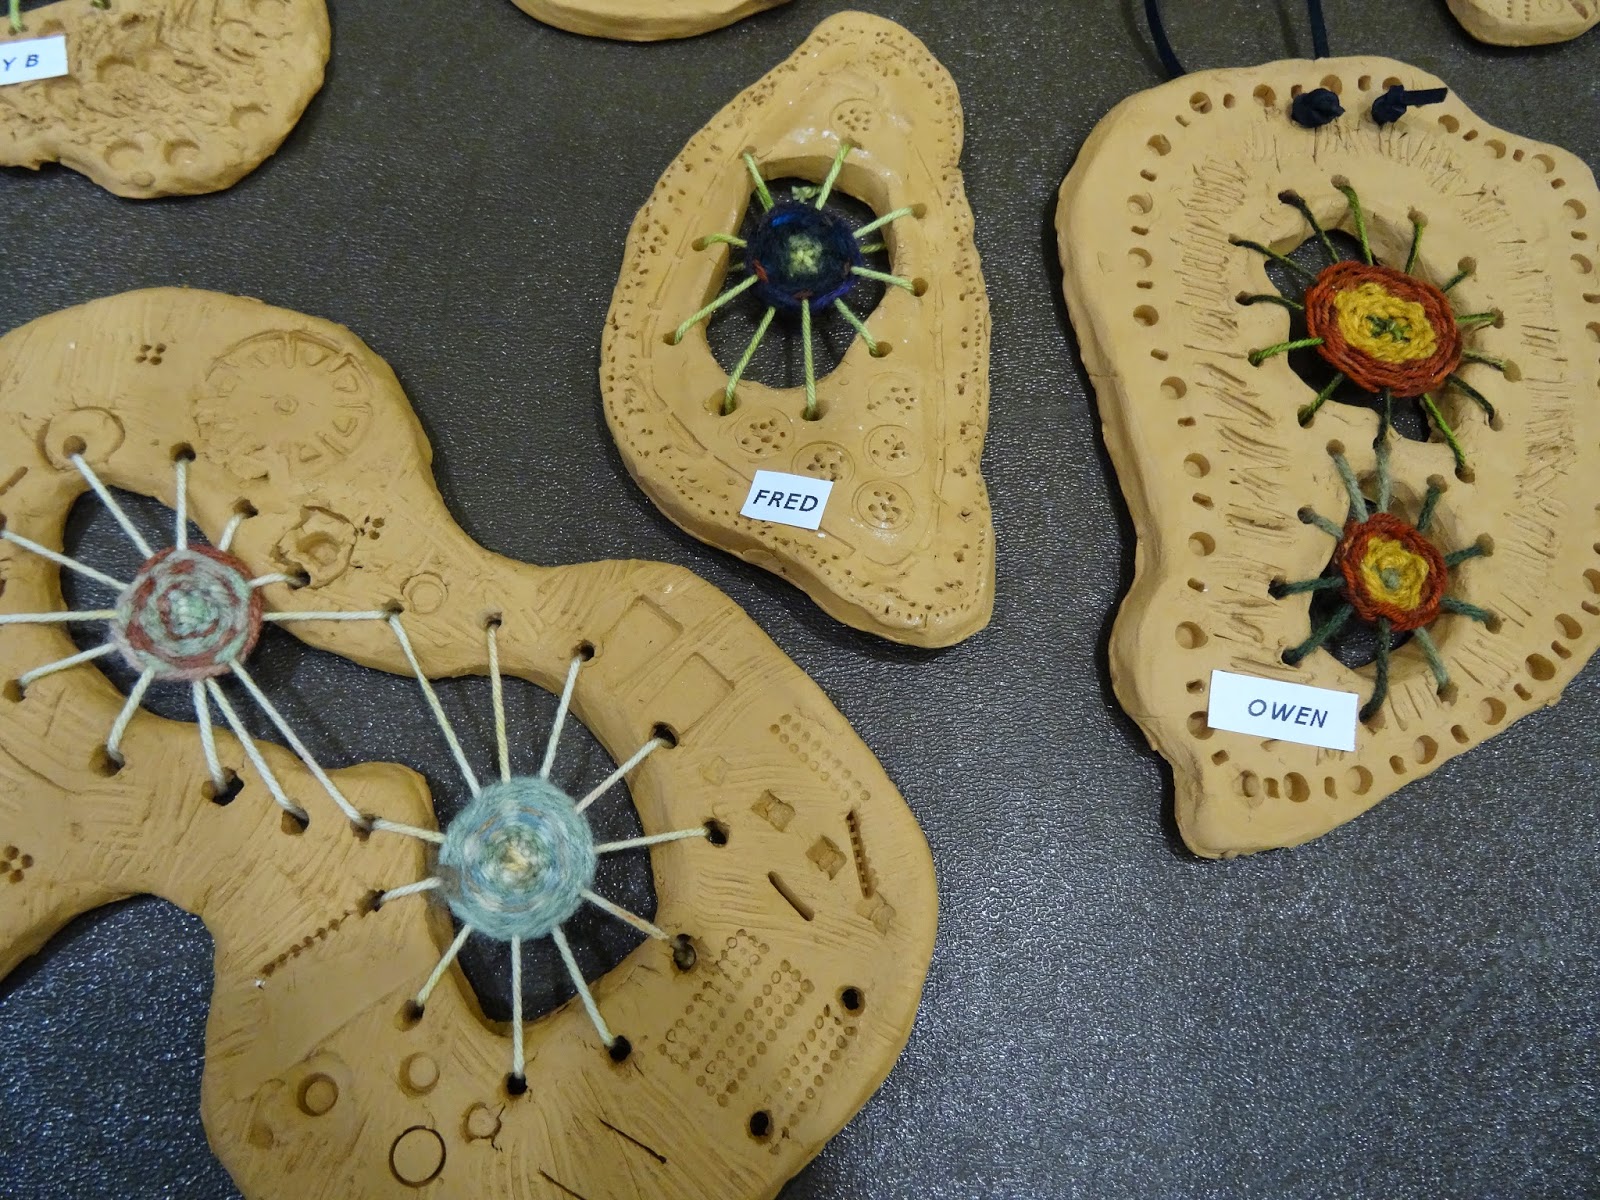
So to say thank you to my loyal followers, I'm going to have little giveaway.  If you read my blog a lot, you know that I love to make jewelry, way more than I ever, ever, ever could or would wear.  So I'm going to give away a necklace, possible a necklace/earring set, or maybe even two, and maybe a couple of pairs of earrings as well.  Don't get too excited - I'm not giving away my PMC (precious metal clay) jewelry - that stuff is ridiculously expensive to make and is all MINE.  This stuff is more colorful and fun, but does not include precious metals.  The photos on this post are a sampling of what I have.  While the only earrings pictured here are parts of sets, my collection also consists of many fun individual pairs of earrings, particularly right for someone who likes a dash of color.

Here's what you need to do if you want to take a chance on this giveaway:
  • First of all, if you don't already follow this blog, become a follower.  
  • Then, once you are a follower (or if you already were one in the first place) leave a comment.  In the comment you need to tell me the following:
  • An email address to contact you if you win.  (Please feel free to write out the 'dot' and 'at' to avoid spam.  I'll figure it out.)
  • Favorite color schemes/color families for jewelry, including metal preferences (silver, gold, copper toned, etc)
  • Size and style preferences, such as big and chunky or light and delicate?  Prefer longer or shorter or any length? Ears pierced?  Funky or conservative?
  • Also: If there is any piece pictured on this post that particularly suits your taste, please point it out, as it is possible that something pictured here might be what is sent, and if you win, I definitely want you to like and wear what you receive!
  • Leave your comment no later than midnight one week from today, Thursday, June 5th.  A name (or maybe even  two or three) will be selected at random and the winner will be announced on the blog and also contacted via email for mailing information.  If you do not leave an email contact, you are not eligible to win.
 Thank you for being loyal readers of my admittedly sometimes quite random blogYou are the best!

Saturday, May 24, 2014

Color relationships and a fun optical illusion

Open up the photo above, and step WAY back and look at it.  Squinting a little will help.  How many colors are there?  No doubt you see turquoise, and red, and probably a gold-yellow and a paler yellow.  Guess what!  The two yellows are actually the identical color!  It is an illusion! None of the pieces pictured in the photo below has any more than three colors in it, even though you probably see at least four. 
I posted about this intriguing project way back in 2011, but it's a post that hasn't had a lot of views, and it's a really interesting lesson, so I thought I'd share it with you again.  This project is designed to show the effect that one color  has on another.

The materials are simple:  each student will need three sheets of  12"x18" construction paper - two dark colors and one light color.  They will also need a ruler, a pencil, a scissors, and glue.  That's it!

Watching students decide which colors are light and which ones are dark is actually pretty interesting.  I guided decisions if I didn't think their choices would work, but sometimes we were surprised at the outcome.  I recommend that the two dark colors be very different from each other - perhaps one warmer and one cooler color.  And as long as the two dark choices are darker than the light color, the illusion should work.  And if someone really wants to use white for their light, or black for a dark, don't discourage them.  You'll never know the result until you actually see it!  I had a huge selection of colors to choose from, not just the bright Tru-Rays, but the paler color pastels from cheaper brands.  (If you only have the 'good stuff', ask an elementary teacher to trade a few sheets for some pale blues, yellows, or pinks perhaps.)

Then, the papers are labeled in a corner - one dark color is labeled 'A', and one is labeled 'B'.  The light color is labeled 'C'.  I gave each student a paper clip to hold the papers together at the end of ar class, so they only need to write their name one one sheet of paper (the C paper).

Also on the C paper, students copy the following color pattern off the board.  Write it on a corner, near an edge, so it doesn't take up too much space on the paper.  Here's the pattern:
A-B-A-B-A-B-C,
B-A-B-A-B-A-C,
A-B-A-B-A-B-C,
B-A... until you run out of paper.  


A simple shape, no larger than a quarter, is cut out of the A paper and glued (we used good glue sticks) on the B paper, starting near a corner but not right on the edge.  Each time a new piece is cut and glued onto the next layer, have them cross the letter of what was cut off the written pattern.  Following the pattern is essential for the illusion to work. 

Use the ruler to find an 1/8", and draw a shape around the original shape, larger by 1/8".  Cut out the shape, glue it back onto the A paper, and cross it off the pattern.  Repeat the process. Over and over again, measuring, cutting, gluing, crossing off, measuring, cutting, gluing, using the A paper, the B paper, and occasionally the C paper as per the pattern.  Following the pattern is essential, as one time the C paper will be between two layers of color A, and the next time it will be between two layers of color B, and so on. 

The most important thing to watch is that the kids do NOT skip all over the paper cutting and gluing, or they will run out of paper too soon.  Start at a corner, and try to snug it in nice and close, each time you glue it down to cut again.  Remember, you only need a border of 1/8".  Very rarely, if a student does not pay attention to this instruction, you may need to give them an additional piece of paper in order to finish the project.  Or, sometimes, if they have a couple of parts of a paper that are too small, you can have them overlap and glue them together to create a larger piece. 

 Once they are done, have kids hold them up at a distance from other students, and then have students taking turns guessing what colors were used.  You'll be amazed.  Kids will guess as many as 7 or 8 colors on one illusion.  You can't see the full effect here on the blog; you have to try it!  The colors chosen will give halos of colors to the others, and the kids will absolutely not be able the guess the only three colors that were used.  It's really pretty amazing.

By the way, the original lesson for this was not my idea.  I found it right here, in the April 2003 issue of School Arts Magazine!
One last thing - follow-up.  Ask the kids how can they think they can use what they learn in their daily lives?   Perhaps in clothing choices?  In colors they pick to decorate their rooms?  I have a purplish carpet in my living room (it is actually subtle blue and red fibers, but visually, it is a dull purple).  Years ago, when we had a royal blue rug, the walls were painted a buttery yellow.  When we replaced the carpet, and I could not find a tweedy blue like I wanted, we ended up with the purplish rug instead.  As a result, because it is next to the yellow walls it looks gray!  I can't believe I didn't think about how that would happen when we picked the carpet!  (Of course the good side is that you cannot see the cat hair... or maybe that's the bad side?)

Anyhow, try one of these illusions yourself, and you'll want to do it with your students!  I did it with 5th graders.  You can try younger, if you think the kids could manage the pattern and the measuring, but be warned - if they make the borders much larger than 1/8", the illusion will not be as effective.  So I'd do this with students who can carefully measure and follow the pattern.  Have fun!

Tuesday, May 20, 2014

Subbing and an almost art show

I subbed today in my former classroom!  The current teacher was busy all day setting up for tomorrow's art show, so I got to spend my day with the 4th, 5th, and 6th grade, all my former students.  It's so much fun to sub there - the kids treat me like a celebrity and are always so excited to see me there.  Lots of hugs!!!
And lucky me - I had a really fun day.  The 4th graders folded paper into 6th's and painted each square to become a different scoop of ice cream - actually, five scoops, and one square for the cone.  I look forward to seeing these when they are complete!  Because I know the kids and love painting with them,the teacher let me decide how to set it up and I was happy with the way the kids painted.  Not sure that the colors are true in these photos, but you get the idea.
 
The 5th graders were working on Wayne Thibaud cakes, but I don't have any photos, and the 6th graders were finishing up some work, scrubbing and scraping tables, and sorting markers, as well as helping with the art show setup.
At the end of the day, I stopped in the gym to see how the show setup was going and shot some photos to share with you here.  They were still hanging more work when I left.  (It's a K-13 art show, 2 art teachers; it takes place on school budget vote day, plus there's a concert, too!  Busy day/night in the school!)  The photo above is of course, me.  They have this at the art show for fun photos!  AAAAHHH!!!!

Below, a paper weaving project, I believe 6th grade.
 Next, some mandalas, with a CD in the center, made I think by 4th graders.
 Some construction paper molas by 6th grade.  These are, like authentic molas, a 'reverse applique' method, which means that instead of stacked layers, layers are cut into to reveal layers underneath.
 
 Japanese carp kites.  Not sure of the grade level.  5th grade I think.
 Wampum belt weaving with pony beads, by 4th grade.
 Sailboat painting/collages.  Maybe 2nd or 3rd grade?  Somehow it seems I didn't get any photos from Kindergarten or 1st grade.
 Papier-mache fish - 5th grade? 4th grade?  Not really sure...
 Circular weavings - again, not sure of the grade.
 A high school Studio in Art (9th grade) color harmony project.
 The coolest things ever, these elementary circular weavings on red clay looms (the color looks brown in these photos, but it was really more reddish I think.)
 And a few more random pieces from some secondary students.