I had the pleasure of teaching 2 studio workshops at the recent
NAEA convention. The first was called
Wampum-Inspired Bead Weaving for Modern
Times, and the second was
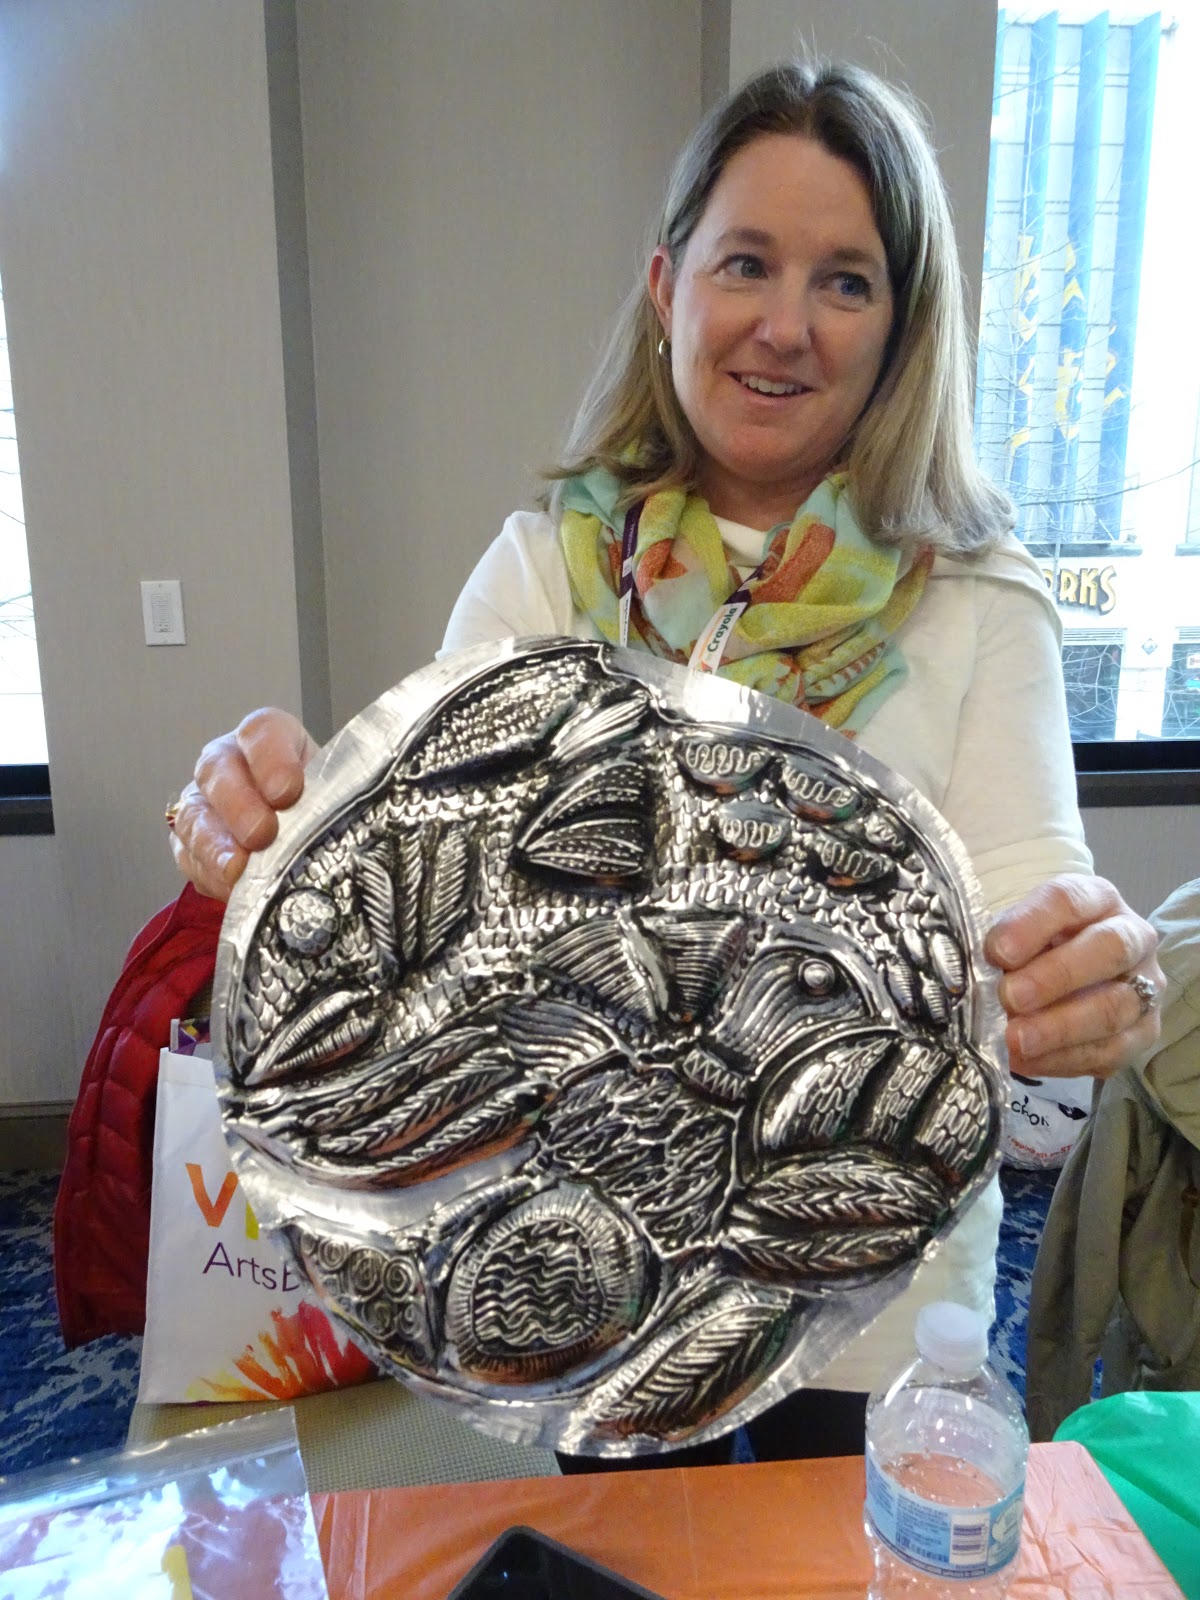
Oh What a Relief - Fabulous Tooling Foil! The pic above is a piece made by a participant during the tooling foil workshop. Nice, huh? This is me, below, by the way. I probably should update my profile pic on this blog one of these days....
Anyhow, for the most part, I think both workshops were pretty successful. I'm not going to go into full "how-to" details about the projects here, because I will direct you to them elsewhere on the blog, in previous posts and such, because both are projects I've posted about several times. Instead, I want to tell you about some stuff that happened in each workshop, one good, one not-so-good.
In the bead weaving workshop, I spoke briefly about the need to be sensitive about cultural appropriation. I made the point that these are not "wampum belts", but instead are a modern bead weaving INSPIRED by the wampum bead weaving of the Eastern Woodland tribes of Native Americans.
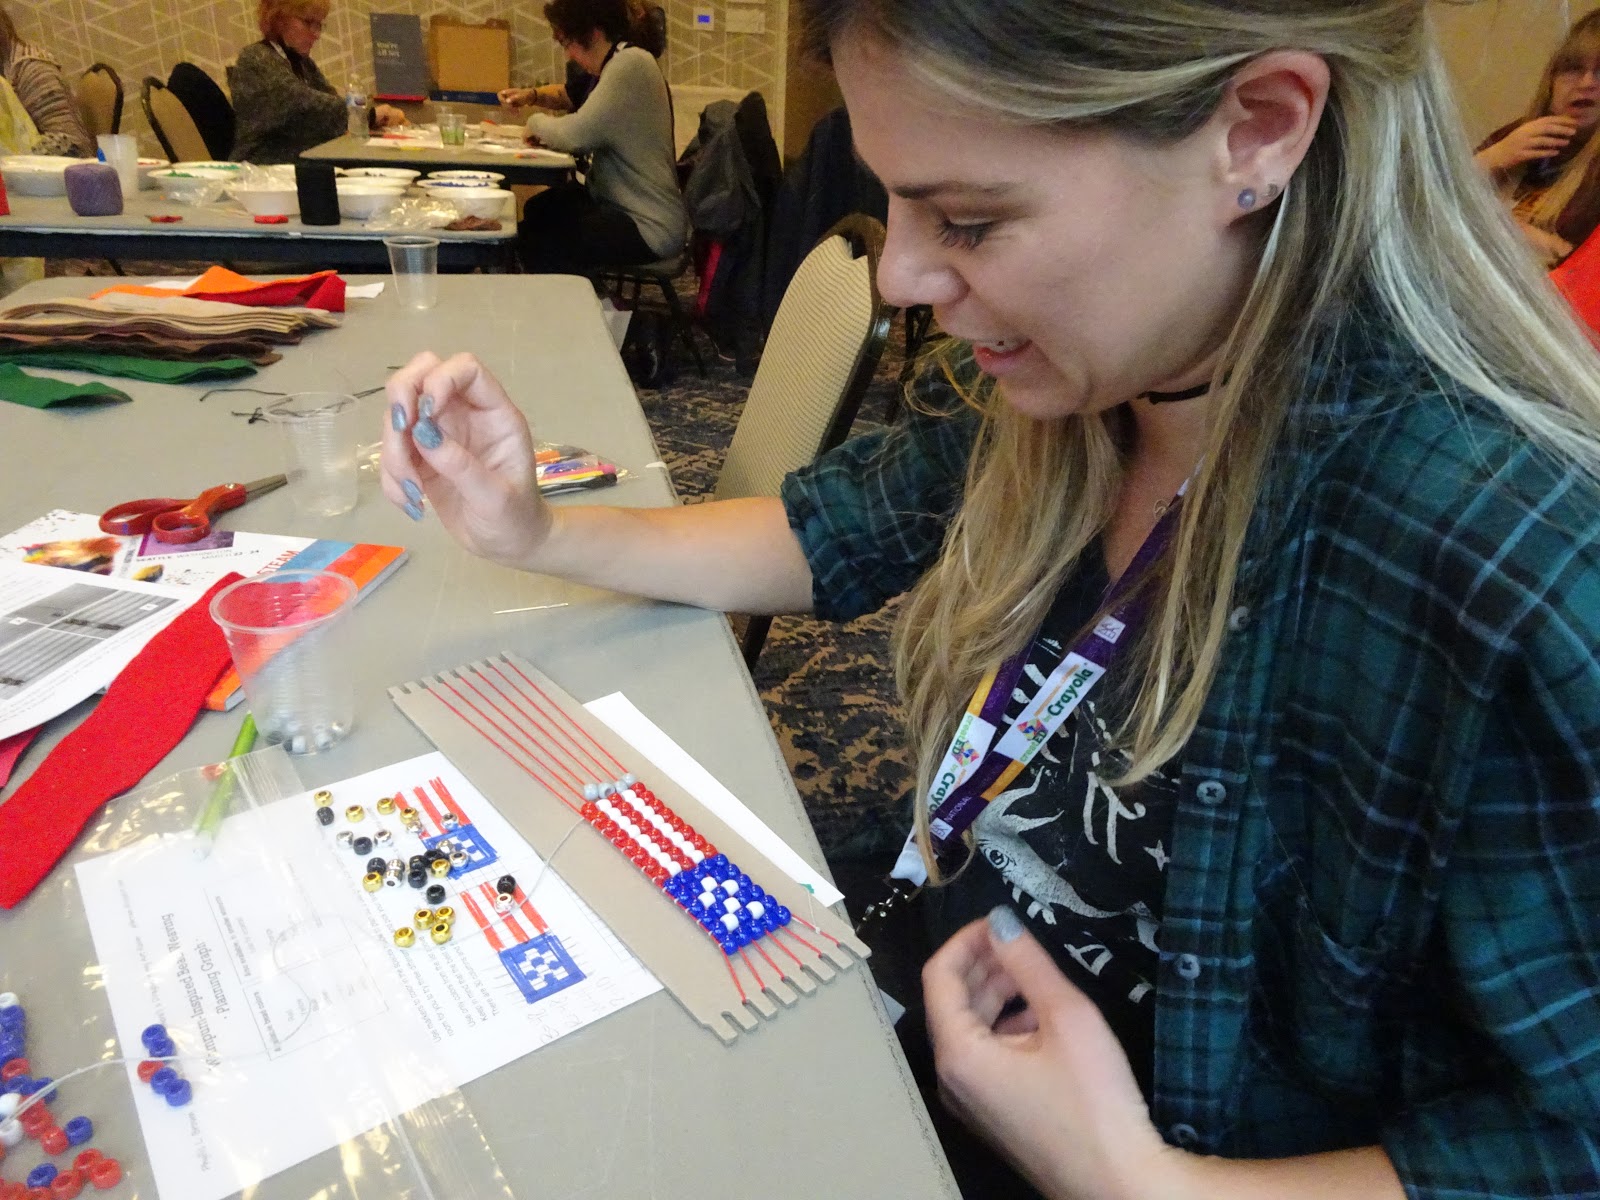
A woman in the class spoke up and said she and her companion (both pictured below) were Eskimos, attending the convention from Alaska. Pictured on the left, Stacey told me she lives in Shaktoolik and grew up in Shishmaref, and is a member of the Inupiaq tribe. (I just looked up both of these locations on my map app, and wow, these are remote locations!) She asked if she could use her family design (I hope I'm using the correct terminology here) for her weaving design, and I thought it was a great idea. You can see, above, her graph planning it out, and her completed project. She used a red string for her weaving, which she said denotes strength. The woman pictured on the right is DeAnn, and is the Alaska Art Teacher of the Year! The pattern in her weaving is not symbolic. I was tickled to meet them both, and loved their enthusiasm. I wish I'd had more time to chat, because Stacey was showing me pics (on her laptop), but unfortunately there were 18 other participants to attend to, and the 1 hour and 50 minutes just flew by! Later in this post, you'll see some other pics of participants in this workshop, and their creations.


You can find my handout with instructions at
THIS LINK. The planning graph for making these weavings can be found
HERE. Please be respectful about giving credit as appropriate when using my materials.
As a presenter, I was initially more confident about the tooling foil workshop, because I'd twice previously taught this at my state convention here in NY. But still, it is, however, a challenging project to learn about and bring to completion in less than two hours. But many participants did, and were successful. I love seeing smiles!
For the workshop handout, go to
THIS LINK. For videos on the process, you'll find them in the post
LINKED HERE. Again, please be respectful about my ownership of these documents and videos.
I had many examples, and offered many suggestions, based on what works best in the material. So I was not surprised to see the robot (above), and the masks (below), because they are themes well-suited to the medium. I'd love to see how the unfinished ones turn out!
This piece pictured below really intrigues me, as a study in texture and repetitive pattern. I think when complete, it will be gorgeous. The black ink that is added to 'antique' the piece will really highlight the detail of all the unique textures. Really lovely!

But I had one thing happen during the workshop that caught me off-guard. As I said, I offered many ideas, both in visual samples I that I brought, and in images and text included in the handout. But three people in the workshop, rather than using my ideas and suggestions as a resource to inspire them, instead chose to trace one of my pieces while I was helping people elsewhere in the room. Nobody asked permission; if they had, I would have responded that they did NOT have permission to trace my work, but were welcome to use the theme of the piece and create their own versions. If you're a long-time reader of this blog, you probably know that I'm generally opposed to the use of templates and tracers, except for simple geometric shapes (circles...). So I was certainly surprised to see my own original creations used as templates. In the interest of keeping the atmosphere of the workshop positive, I let it go and didn't say anything at the time. But I'm sharing it here, to remind you all that copying without permission is NOT OK.
Here's my friend Emily with me, showing her work in progress in the bead weaving workshop, and also a couple of my samples.
And some more pics from the workshop!
I love how wonderfully colorful this woman below is!
Lots of smiles!
If you want to see student examples from both the bead weaving and tooling foil projects, there's lots and lots on the blog. Make sure you are viewing the web view of the blog (using your browser - Safari or whatever). Then you'll be able to see a cloud of 'labels' (tags) at the bottom of the page. You can search the cloud for words like "tooling foil" or "wampum weaving" and it will bring you to a bunch of older posts on the topic. Another alternative, also on the web view, is to use the "Search this blog" tool on the right side of the blog. Type in whatever you'd like, and it will help you find it!
Please let me know if you have any questions on either workshop/process that aren't answered in my handouts or in prior blog posts. Thanks for visiting, and remember to be respectful of the work of others!