

Darn. I can't find the rest of the photos.
I've decided that I will periodically post projects and photos that I haven't previously shown you, using photos from before I began blogging. I've 'disappeared' a bunch of the photos of this project so I'll do the best I can with what I can locate right now.
Here's the history behind this project - years ago, I taught middle school and my favorite project to do with my 7th graders was a mask project that began with a direct cast of their faces using plaster bandage. I did variations of this project for many years, and students looked forward to making their own masks. And yes, I have cast my own face on more than one occasion, so I'm not asking the kids to do that I was unwilling to do myself. I can't show you the photos of those 7th grade masks, as they are all slides. (NO, not PowerPoint slides, but actual slides to stick in a Carousel projector. One of these days I'll try scanning them.)
But then sadly I stopped teaching 7th graders, and the lesson wasn't practical for the younger kids' or their once/twice a week art schedule. I brought the project back for a couple of summers in a camp program sponsored by our (former) PTSA, working with small groups of kids for three hours a day for four days in a row. The students were in grades 3 - 6 then. The student in the photo above just graduated from high school and is pursuing an art career! In this photo she had just completed 6th grade. The girls in the photos below (sisters) had just completed 3rd and 5th grade at the time of these photos and the younger girl still loves art.


The students were taught to use plaster bandage to safely cast each others faces. The 'victim' would lie on a table for the mask-making process. We used Vaseline as a barrier, and covered everything on their faces except their eyes and nostrils. We used shower caps to protect their hair, and the students used washcloths to clean Vaseline and plaster off their faces when the masks were complete. The students pre-cut the plaster bandages and followed careful rules for safety and also to use the material most effectively. They learned to drip and blot excess water off the bandage before putting it on the face, to prevent plaster from dripping into ears and eyes. Over the many years I did this project, very few students opted out of putting the plaster on their faces. It was a badge of honor to make the mask.

Above is the plaster bandage, and what the newly created mask 'shell' looks like before being transformed.
Once the mask was removed from the face, it was left overnight to dry. Then the students transformed the shell. The completed masks in the photos at the beginning of this post were all made by gluing the 'shell' onto heavy cardboard that was cut and shaped according to the students' plan, to make a sculptural piece. The missing photos from the summer program include masks that have been transformed into the center of a giant flower, the head of an alien, a butterfly, and more. My 7th graders often left their masks in a format they could wear, and we often made them around Halloween times and made costumes to go with them, which we wore as we took a stroll through the school building. The students became aliens, monsters, wizards, cats, and one even became a unicorn. Masks grew giant ears, horns, extra eyeballs, beaks, and textured skin. Often they were transformed by color and design rather than by becoming something else. Sometimes hair, feathers, sequins, and other crafty materials were used, and other times they were simply transformed with paint.
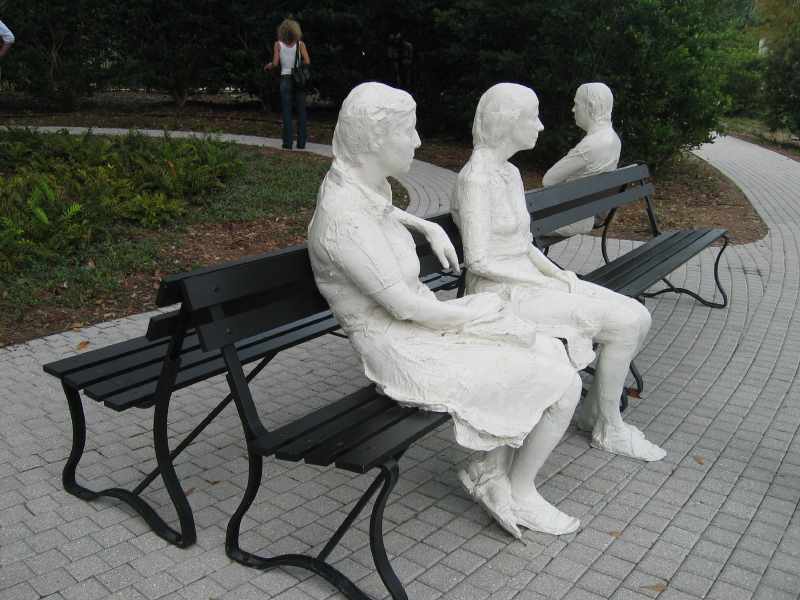
By the way, I always introduced the students to the amazing work of George Segal, since he also worked with plaster bandage.
Have you ever tried making a direct cast of your own (or a student's) face?
Hi Phyl
ReplyDeleteI will definitely show photos of George Segal's work when I teach plaster masks in the fall. Wish I had the time and space to do direct cast masks - we form them on an upside down dollar store strainer. Thanks for posting the fabulous examples.
Rina
I did these masks even when I did NOT have an art room! I taught my 7th graders in a social studies classroom with little slant-top desks, on the 2nd floor, with my supplies in the basement of the school (in other words, the boiler room!). We toted buckets of water, pushed the desks aside andmade the masks on the floor. We had it down to a science - I had a rotating schedule of groups, with three kids in each group, and after the demo/instruction day all the masks were built in three class periods, with each kid knowing which day they were the 'victim'. We were so prepared we had no trouble getting a mask completed and cleanup done in a 40 minute class. The rest of the project was done in subsequent days at the individual desks, with strict cleanup procedures in place. I had one student with spina bifada and we made her mask on her sitting in her wheelchair.
DeleteWow Phyl! I am impressed. I wonder if I can find a parent volunteer as a test 'victim'. I am also curious how you blotted the wet plaster - we have it drip a bit over our water bowls before applying but thats all.
DeleteFun idea! Or a fellow teacher or even the principal.
DeleteWe use paper towels. Blotting it off on a stack of paper towels keeps the wet plaster from dripping into eyes and ears. We only blot during the actual mask-making process.
Fun memories for you, I bet. I did this activity once myself and had it done to me when I was in college. I thought it was pretty exciting and I still have the mask. I'd consider bringing it back to my classroom for the 6th graders. I have my mask displayed on my file cabinet at school. We had the parents collect cheap hotel shower caps and we also used plenty of vaseline. I'm sure we had too many drips, I like your suggestion of blotting the gauze before placing it on the face.
ReplyDeleteI used to do face casting in connection to Egyptian art. We would turn the face masks into Tutankhamen Funerary masks. You can check out the process at my blog: http://onepointsperspective.blogspot.com/2012/03/egyptian-mask-making.html
ReplyDelete